Last updated November 18, 2026



Free written scope consultation - allowances, timeline, and change-order rules on paper before a single trade is scheduled
Fence Installation Troubleshooting: Common Problems and How to Fix Them
A leaning fence post isn’t a wind problem. It’s a footing problem. Rebrace that post without fixing what’s underground and you’ve bought yourself one more season before it leans again. The same logic runs through almost every fence failure we get called out to look at in West Covina: rot, sagging gates, cracked vinyl, split block walls. The symptom shows up at the top of the fence. The cause lives at the bottom, in how it was set, in what grade of material went in, and in what the soil does when the rain finally comes. This guide walks you through diagnosing fence problems by tracing them back to the installation decision that caused them, so you know what actually needs fixing instead of patching the same spot every year.
Quick Answer
Most leaning, sagging, and cracking fence problems trace back to one of four installation errors: footings set too shallow, footings poured too narrow, posts set in contact with soil that never drains, or soil saturation that was never accounted for at build time. Fix the installation cause, not the visible symptom, and the fence stays put. Patch the symptom and it comes back.
Styles & brands we work with
- Kitchen remodeling
- Bathroom remodeling
- Home additions & ADU
- Roofing
- Windows & doors
- Driveway & pavers
- Fence
Table of Contents
- The Four Root Causes Behind Leaning, Shifting, and Sagging Fences
- Wood Rot: Surface Weathering vs. Post-Base Rot
- Diagnosing a Sagging Gate: Hinge, Post, or Frame
- Vinyl Fence Cracking and Panel Separation in High-UV Conditions
- Block Wall Crack Patterns and What They Signal
- West Covina Soil, Slope, and Santa Ana Wind Realities
- Permits, Setbacks, and Inspections for Fence Repairs
- Repair or Replace? A Decision Framework
The Four Root Causes Behind Leaning, Shifting, and Sagging Fences
When a fence leans, homeowners usually blame the wind. In our experience across West Covina, wind is rarely the cause. It’s the trigger that reveals a footing that was never adequate. Here are the four installation decisions that cause the vast majority of fence movement.
1. Footing depth
In West Covina and the surrounding San Gabriel Valley, a fence post footing needs to sit below the frost-affected and moisture-active zone, which for our climate means roughly 24 to 30 inches minimum for a 6-foot wood or vinyl fence, and deeper on any grade that moves water. Shallow footings – often 12 to 18 inches from a fast install – rely on the topsoil to hold the post. Topsoil moves every rainy season.
2. Footing diameter
A 6-inch auger hole for a 4×4 post leaves 1 inch of concrete on each side. That’s not a footing. That’s a sleeve. A proper footing needs 3 to 4 inches of concrete around the post, which means an 10 to 12 inch diameter hole. Footings that are deep but narrow fail in a different way than wide-but-shallow ones: the post rocks side to side inside the concrete collar until the collar cracks and water gets in.
3. Post grade contact
A wood post that touches soil – or worse, lawn irrigation – wicks moisture up through the end grain. Within three to five years, that post is rotten at the base even though the rest of it looks fine. Ground-contact-rated posts, a gravel bed under the post base, and a concrete collar that slopes away from the post are the three details that separate a 20-year post from a 7-year post.
4. Soil saturation
West Covina has heavy clay pockets in many older neighborhoods, including stretches of Cameron Park and the flats below Galster Park. Clay holds water. A post set into a clay bowl with no drainage swale uphill of it will soften the surrounding soil every winter and rock loose by spring. We regularly see spring failures due to exactly this pattern.
Diagnosing which of the four is at play takes about ten minutes with a shovel and a level. If you can rock the post by hand and the soil around the base is soft but the concrete collar is intact, the footing is too shallow. If the collar moves with the post, the footing is too narrow. If the post wobbles inside a solid collar, the post has rotted at the base. If the entire fence line has shifted downhill but each post feels solid, the soil is saturating and moving as a mass. Different problems. Different repairs.
Wood Rot: Surface Weathering vs. Post-Base Rot
Not all wood discoloration is rot. Most of what homeowners point at on a 15-year-old cedar or pine fence in West Covina is surface weathering – the gray patina that forms on any exposed wood in our UV environment. That’s cosmetic. The real problem is post-base rot, which happens out of sight and gets discovered when a section of fence falls over on a windy night.
How to tell them apart
- Surface weathering: Grays or silvers the wood grain but the surface stays hard. A screwdriver pushed into the wood stops at the surface. Boards may check or cup but stay structurally sound. A fresh coat of exterior stain or sealer resets the clock on appearance and slows moisture cycling.
- Post-base rot: Soft, spongy, or punky wood within the first 12 inches above ground. A screwdriver or a key penetrates easily. You may find termite mud tubes, frass, or visible fungal growth. The post may sound hollow when tapped. This is structural and can’t be sealed or stained back to health.
How to probe for post-base rot
- Walk the fence line with a thin-bladed screwdriver or an awl. Push firmly but not aggressively into each post at 6 inches above grade, then at 6 inches below the top rail.
- If the tool sinks more than a quarter inch before hitting resistance, mark the post with tape.
- For marked posts, dig a small trench 4 to 6 inches around the base to expose the post where it meets the footing. Rot below grade level means replacement, not repair.
- Check the rails and pickets at their attachment points. Where fasteners meet wood, moisture traps and rot begins. A picket that’s firm at the middle but soft at the screw hole is on its way out.
Posts that are rotten at the base but sound above grade can sometimes be salvaged with a concrete footing and a post-mender or a post saver sleeve, but the honest answer from our technicians with up to 12 years of experience is that once rot has taken the end grain, the post has 2 to 3 years at most before structural failure. Replacement with a ground-contact-rated post and a gravel bed is the correct fix. If you’re re-doing a full run, the crew that handles our Fence Installation in West Covina work builds every post this way as standard.
Diagnosing a Sagging Gate: Hinge, Post, or Frame
A gate that drags on the ground is the single most common complaint we hear, and it’s also the one most often misdiagnosed. The instinct is to adjust the latch, or lift the gate and tighten the top hinge. That works for about a month. The real fix depends on which of three failure modes is happening, and they require completely different repairs.
Failure mode 1: Hinge failure
The gate post is solid and level, the frame is square, but the hinge has worn, pulled out, or loosened. Signs: the gate sags at the latch side rather than the hinge side, the hinge plates show gaps at the wood, or the hinge pin has play. Correct fix: replace the hinges with heavier-duty units and, if the wood around the original screws is soft, fill the holes with hardwood dowels and epoxy before re-driving. Don’t just upsize the screws into rotten wood – that accelerates the failure.
Failure mode 2: Post lean
The gate post itself is tilting, usually pulling toward the gate or downhill. Signs: the post is out of level at the top, the gate swings open or closed on its own, the gap at the latch grows or shrinks seasonally. Correct fix: this is a footing problem, not a hinge problem. Re-level by excavating the footing, resetting the post in a properly sized footing, and bracing for a full cure. Replacing the hinge on a leaning post makes the gate sag again within days.
Failure mode 3: Frame racking
The post is solid, the hinges are new, but the gate itself has racked out of square. Signs: the gate’s diagonal measurements are different by more than a half inch, the gate rubs on the ground at one corner and has an uneven gap at the top, the pickets have shifted. Correct fix: the frame has lost its diagonal bracing. Add a corner-to-corner tension cable (turnbuckle style) or a solid diagonal brace from the bottom-hinge corner to the top-latch corner. Anything less lets the gate rack again.
To diagnose which mode, do this in order:
- Put a level on the gate post – both faces. If it’s out more than an eighth of an inch over the post length, it’s a post problem.
- Measure both diagonals of the gate frame. More than a quarter inch difference is racking.
- If the post is level and the diagonals match, look at the hinges – play at the pin, gaps at the plate, or a hinge that’s clearly smaller than what the gate weight calls for.
West Covina gates that face west and catch the afternoon sun tend to fail at the hinge faster because the wood dries and shrinks around the screws through the summer. That seasonal movement is why we spec stainless hinges and through-bolted hardware on the gates we install.
Vinyl Fence Cracking and Panel Separation in High-UV Conditions
Vinyl fences in West Covina get harder UV exposure than almost anywhere else in the country. The San Gabriel Valley sits at 600 to 1,200 feet elevation with 280-plus sunny days a year, and vinyl that wasn’t formulated for that climate will show it within 5 to 8 years. The problem isn’t the material – it’s whether the vinyl was specced for this sun load and how the panels were allowed to move.
What causes vinyl cracking
- UV degradation: Cheap vinyl without adequate titanium dioxide in the formulation chalks, fades, and becomes brittle. Hairline cracks start at fastener holes and picket attachment points.
- Thermal expansion without slack: Vinyl expands and contracts 3 to 5 times more than wood. Panels installed tight between posts – with no allowance for movement – crack at the rail ends when the temperature swings from 50°F nights to 105°F afternoons.
- Wind racking: Solid privacy vinyl acts as a sail. Panels in a West Covina yard facing the pass wind load can flex enough to crack at the rail-to-picket joint.
- Footing movement: A shifting post distorts the panel. The crack shows up in the panel, but the cause is the footing.
Which repairs hold, and which don’t
A single hairline crack at a picket attachment, less than 2 inches long, can often be repaired with a vinyl repair kit and a reinforcement bracket behind it. That’s the only repair that genuinely holds. A crack that runs the full picket, a panel that has separated from its rail, or a rail that has cracked at the end – those are section replacements. Trying to glue or heat-weld a full-length crack in a load-bearing vinyl section is a temporary fix that fails within one hot summer.
If a whole run of vinyl is cracking in multiple spots within a few years, the panel spec is wrong for the environment. Good vinyl fencing – the kind we spec from brands like CertainTeed – is formulated for high-UV climates and installed with expansion gaps at every rail. Cheap builder-grade vinyl from out of state, installed tight, is what we see failing in West Covina.
Block Wall Crack Patterns and What They Signal
A crack in a block wall fence tells you something specific about what’s happening underneath. The shape of the crack matters more than the length. Here’s how to read what you’re seeing.
Hairline cracking
Thin, less than 1/16 inch, usually at mortar joints, often in a scattered pattern across a long wall run. This is normal curing shrinkage, especially in walls built within the first year or two. It’s cosmetic. Fill with an exterior-grade masonry sealant to keep water out and monitor once a year. Hairline cracks in a wall more than 5 years old that appear suddenly are a different story – call for a look.
Stair-step cracking
A crack that steps diagonally through the mortar joints like a staircase. This is a footing or settlement issue. The pattern follows the joint because that’s the weakest path, but the crack tells you the wall has moved. Causes in West Covina usually come down to two things: an undersized footing that can’t carry the wall’s weight (block walls are heavy – 40 to 60 pounds per square foot once filled and capped), or expansive clay soil that swells and shrinks with our seasonal rain pattern. A stair-step crack wider than 1/8 inch needs a structural evaluation. Ignoring it risks an eventual wall failure.
Horizontal cracking
A crack that runs horizontally along a single course of block, usually near the middle or two-thirds up the wall. This is almost always a footing failure or a sign the wall was built without adequate vertical steel reinforcement. Horizontal cracks are the most serious of the three and indicate the wall may be at risk of overturning. Block walls in the San Gabriel Valley above 6 feet typically need engineered reinforcing and permitting – if you’re seeing horizontal cracking and the wall wasn’t permitted, stop using the area behind it until a structural engineer takes a look.
What to do first
- Measure the crack width at its widest point with a crack gauge or a set of feeler gauges.
- Note the date and location with a photo. Compare in 3 months – if the crack is actively widening, that’s an urgent repair.
- Check the wall for lean with a straight edge or a level on the face.
- Look for nearby water sources – downspouts, sprinklers, slope drainage – that could be softening the footing soil.
Block wall repairs are the highest-risk fence work on your property because the wall can fail suddenly. Our Groundwork Construction Co. of West Covina home team always recommends an on-site assessment before any block wall repair, and we’ll tell you honestly whether the fix is repointing, rebuilding a section, or an engineering review.
West Covina Soil, Slope, and Santa Ana Wind Realities
West Covina sits in a specific spot – the San Gabriel Valley, at the base of the San Jose Hills, with a mix that ranges from heavy clay in the older residential pockets to decomposed granite on the slopes above. That mix drives fence failures that you won’t see in flatter, sandier parts of Southern California, and it’s part of why we see the same patterns repeated across local neighborhoods.
Take the flats around Cameron Park and the older streets off Citrus: heavy clay, thick turf irrigation, and shallow footings are the classic combination that produces a fence line that leans every spring. On the slopes above Galster Park or down off Azusa Avenue, decomposed granite drains faster but slides when saturated, so posts in these areas need to be set deeper and often need a steeper concrete slope away from the base.
Then there are the winds. West Covina gets Santa Ana wind events each fall and winter, and they’re the moment when a fence that’s been quietly failing for two or three years finally gives up. We get most of our “my fence is falling over” calls in October and November. When we look at those fences, half of them have posts that have been loose for years – the wind just finished the job.
If you’re thinking about a fence replacement at some point, budgeting a full assessment of the site conditions up front saves money later. That’s the same approach our Driveway & Pavers in West Covina crews use when they’re setting pavers on clay soil, and it’s the approach that makes any hardscape on a West Covina property hold up.
Permits, Setbacks, and Inspections for Fence Repairs
A fence repair in West Covina is generally exempt from permitting if you’re replacing boards, re-hanging a gate, or re-pointing a block wall in kind. Once the scope grows – replacing a run of fence along a property line, installing a new footing, or rebuilding a block wall above 6 feet – a permit is typically required, along with possible setback review. The block wall cases are the ones homeowners most often get caught on.
General West Covina practice for fence work:
- Front yard fences: typically 3 feet maximum height without a variance.
- Rear and side yard fences: up to 6 feet is standard in most residential zones.
- Corner lot visibility: front-corner sight triangles at intersections restrict fence height and material to keep driver sightlines clear.
- Block walls above 6 feet: usually need engineering, permits, and inspection.
- Hillside or slope lots: footing design often needs a soils review.
Requirements vary by zoning and lot, so confirm your specific case before you build or rebuild. Reputable installers pull the permits they need and get the inspections passed – our fence installers in West Covina do this as standard. If your repair is borderline, call for an on-site quote and we’ll tell you honestly whether a permit is going to be required.
Repair or Replace? A Decision Framework
Not every fence problem justifies a replacement, and not every repair saves money in the long haul. Here’s how we think about the decision.
Repair makes sense when:
- A single post is rotten and the rest of the fence is 10 years old or less and structurally sound.
- A gate has failed at the hinge or frame but the posts are solid.
- A short run of boards has weather damage and the surrounding boards are healthy.
- A block wall has hairline cracking and no sign of movement.
Replace makes sense when:
- More than 20% of the posts are rotten or loose.
- A block wall shows stair-step or horizontal cracking without adequate reinforcement behind it.
- A vinyl fence is cracking in multiple panel sections without a clear cause you can fix.
- The fence is at or past its typical lifespan for the material (typically 15 to 20 years for wood, 20 to 30 for vinyl, 30-plus for well-built block).
- The original install has systemic problems – footings that are uniformly too shallow, no expansion gaps in vinyl, no steel in the block wall – that will keep producing repairs.
The math most homeowners miss is the repair-versus-replace cost over a 10-year horizon. A loose post repair that runs $300 to $600 and fails again in 3 years costs the same as a new run over a decade. When the underlying installation cause is systemic, replacement usually wins.
Common Mistakes to Avoid
- Re-bracing a leaning post without fixing the footing. You’re buying one more season, not solving the problem. The footing is the fix – the brace is the delay.
- Adjusting a gate latch to solve a sag. The latch is a symptom. Hinges, post level, and frame squareness are the causes. A latch fix on a racked gate can pull the gate out of square further.
- Sealing or staining a post that’s already rotted at the base. Sealant holds moisture in as often as it keeps moisture out. On a soft post, sealing accelerates the failure.
- Replacing one panel of a vinyl fence in a different brand. Profiles and expansion rates differ enough that mixing brands creates new cracking at the joints within a year.
- Ignoring a stair-step crack in a block wall. That crack in West Covina clay often widens noticeably across a wet-then-dry cycle. Waiting a season to address it can turn a repairable section into a full rebuild.
- Setting a new post in the same undersized hole. If the footing hole is 6 inches and the post is a 4×4, the new post will fail just like the old one. The hole should be 10 to 12 inches in diameter.
- Planting irrigation against the fence line. Sprinkler overspray is one of the top post-rot accelerators in West Covina yards. If the fence is 6 inches from a lawn sprinkler head, the post is wet year-round.
See the difference
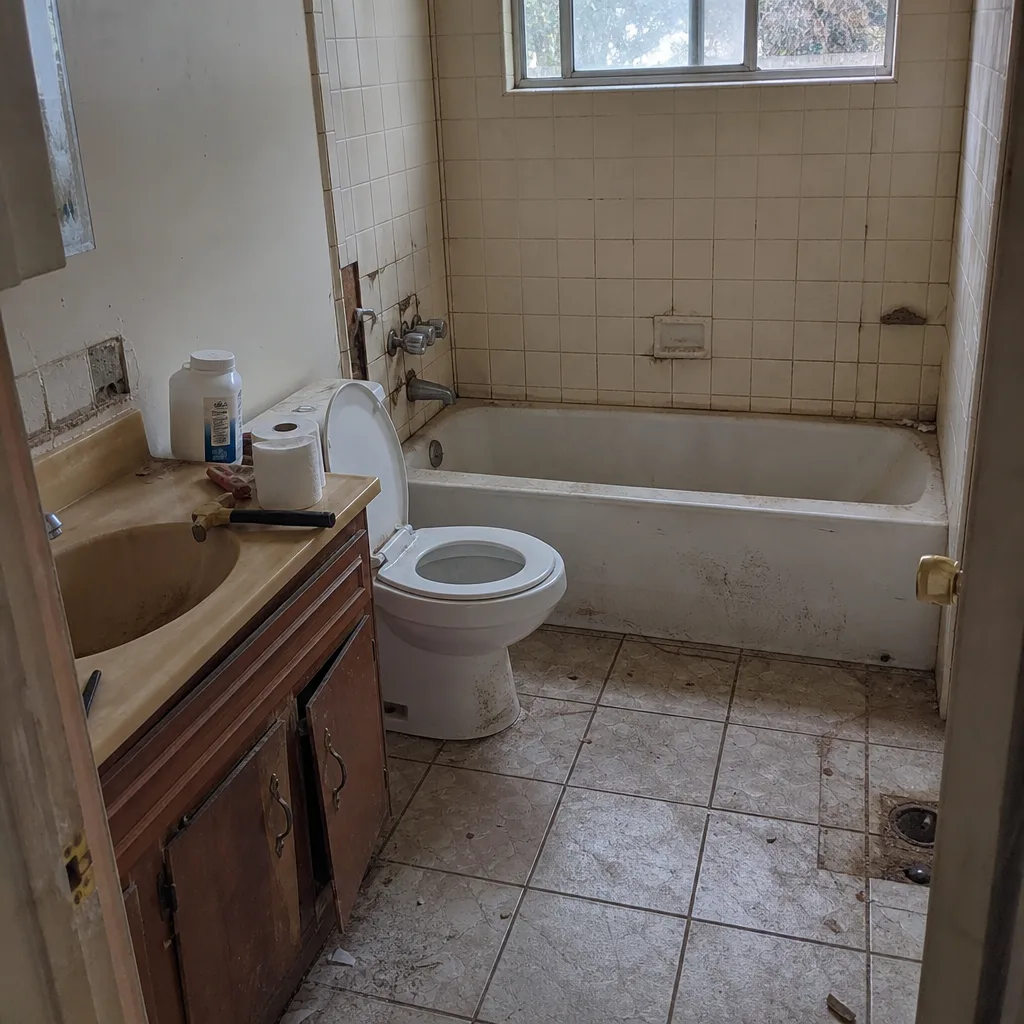 Before
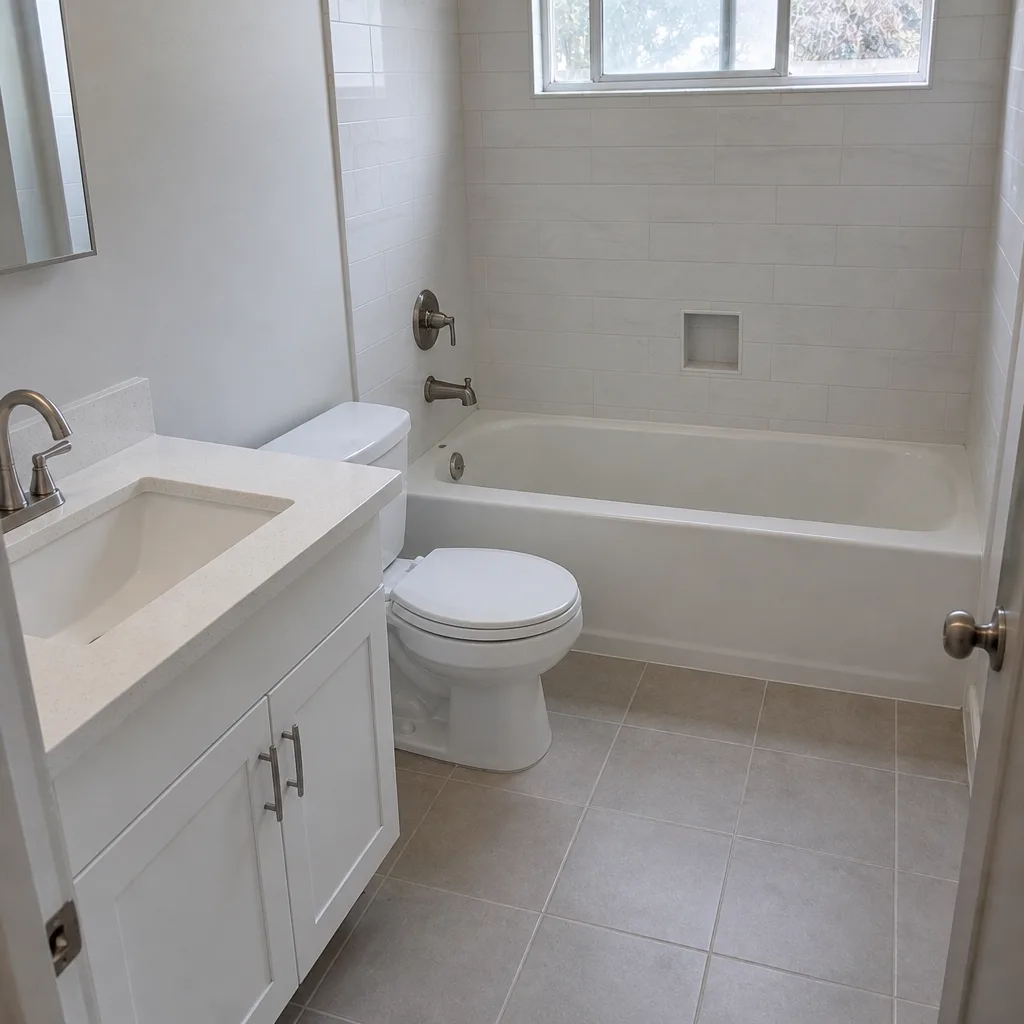 After
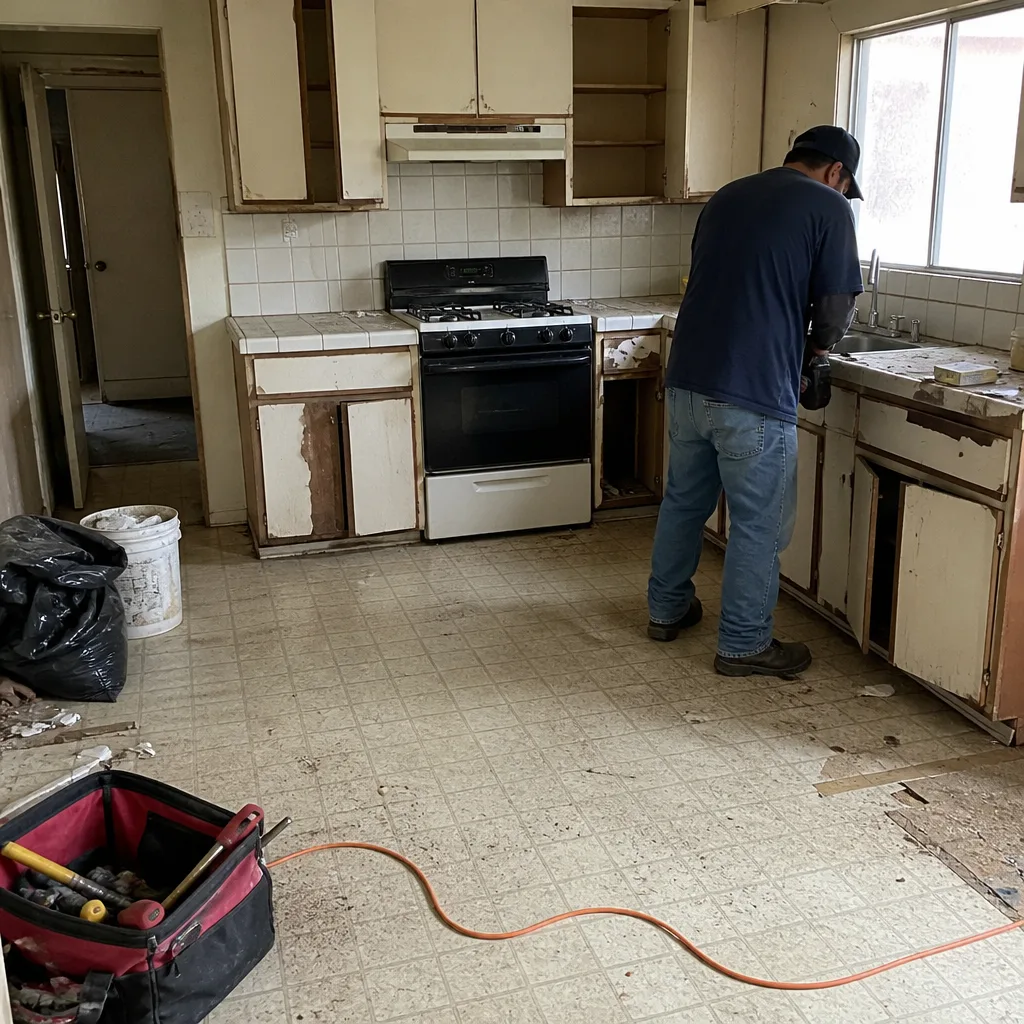 Before
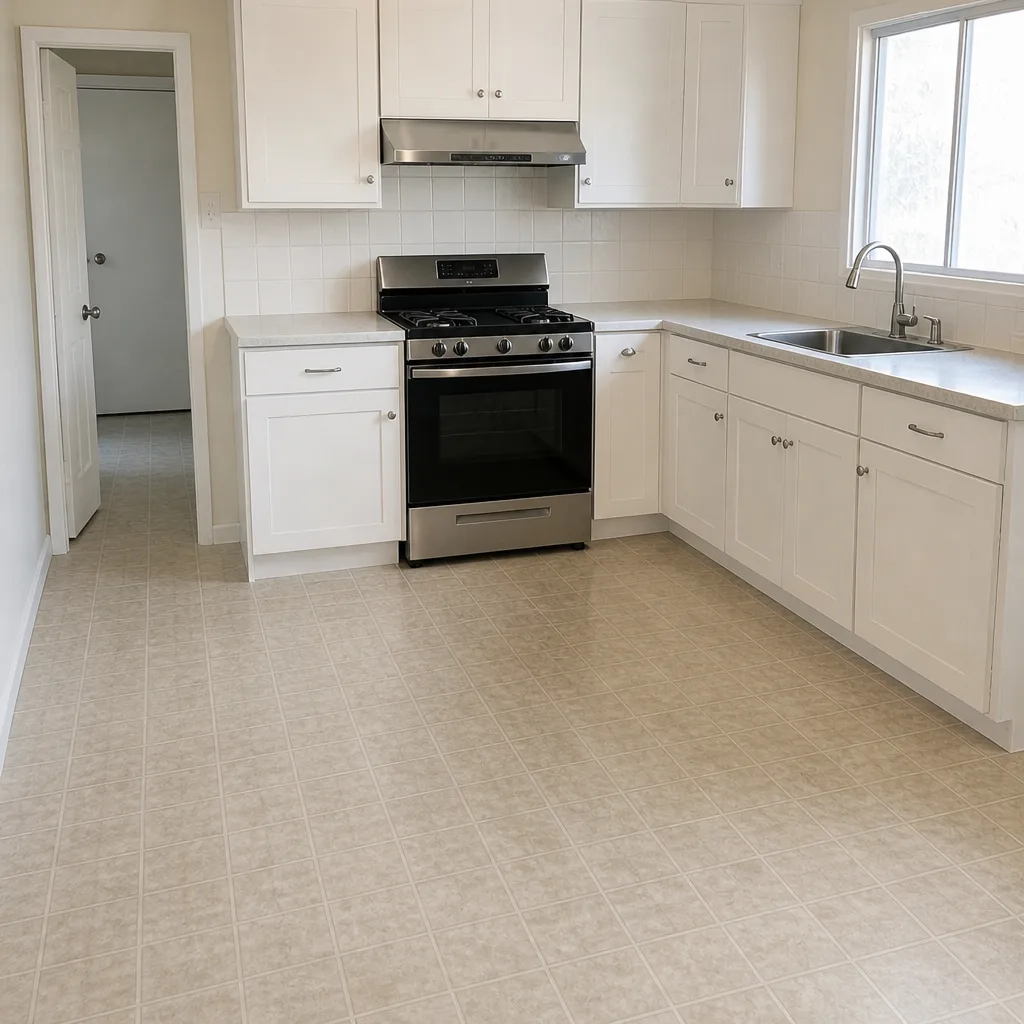 After
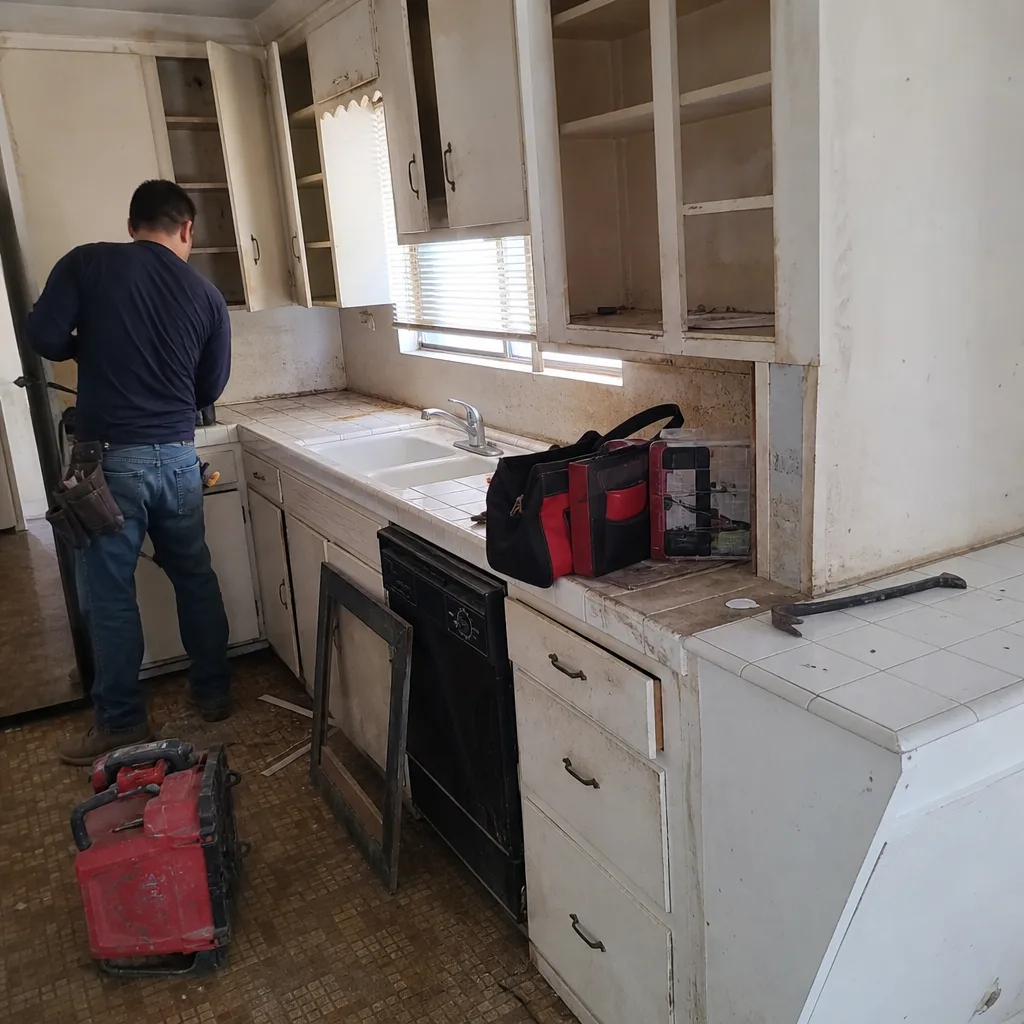 Before
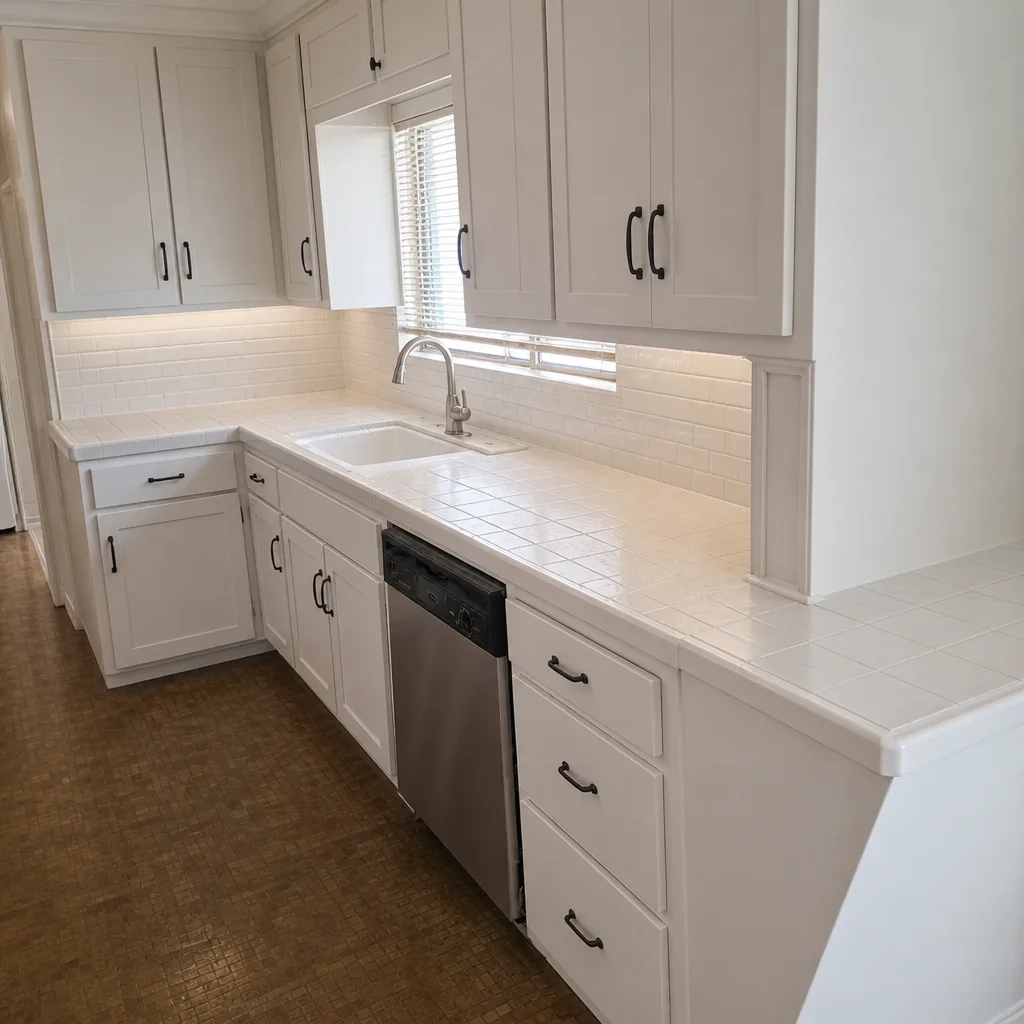 After
When to Call a Professional
Some repairs are homeowner-friendly: replacing a couple of pickets, re-hanging a hinge on a solid post, re-pointing a hairline mortar crack. Others we’d rather you didn’t attempt, because the failure modes are either dangerous or expensive in ways you can’t see from the ground.
Call for on-site help when:
- A block wall shows stair-step or horizontal cracking – it can fail suddenly and is heavy enough to cause serious injury.
- Two or more posts are loose on the same run – you’re looking at a systemic footing problem that individual post fixes won’t solve.
- A gate has failed and you can’t tell if it’s the hinge, post, or frame – misdiagnosis costs more than the first repair.
- A vinyl or wood fence is showing multiple failure points in a short run – the underlying install has a systemic flaw.
- Any fence work involves slope, retaining walls, or footings within 2 feet of a neighboring property line.
- You’re considering a replacement – the assessment should come before the quote.
Groundwork Construction Co. of West Covina offers free estimates in West Covina – call (844) 662-2335 to schedule yours. Live people answer around the clock. Our technicians have up to 12 years of experience, arrive background-checked and in uniform, and every job is backed by our 730-Day Done Right Promise.
If your fence work overlaps with a bigger exterior project, the crews that handle our Home Additions & ADU in West Covina work can walk the whole property at the same time and quote everything together.
Frequently Asked Questions
Post repair in West Covina typically runs $300 to $600 for a single post, including digging out the old footing, setting a new footing, and resetting the post in concrete. If the repair involves relocating a sprinkler line, replacing a section of fence, or working on a slope, cost goes up. Call (844) 662-2335 for an exact quote – estimates are free.
Sometimes. If the post itself is sound and the only problem is that the footing has lost grip, we can excavate, re-set the footing properly, and re-brace the post – that’s a repair, and it holds. If the post is soft at the base or the footing concrete is cracked and separated from the post, the leaning is coming from the post or the footing itself and replacement is the honest answer. We’ll tell you which one you’re dealing with on the estimate.
Hairline vertical cracks under 1/16 inch are usually cosmetic. Stair-step cracks wider than 1/8 inch and any horizontal crack running along a single block course are serious – they indicate footing or soil movement and a wall that could fail. If you’re seeing either, get an on-site assessment before using the area behind the wall.
Most vinyl cracking in West Covina comes from the panel being installed tight between posts with no expansion gap, combined with the high-UV sun load our area gets. Vinyl expands and contracts with temperature. Panels installed with no slack crack at the rail ends over the first 5 to 8 hot seasons. A second cause is cheap vinyl from out of state that wasn’t formulated for this much sun. Good vinyl with proper expansion gaps holds; cheap vinyl installed tight doesn’t.
Repairs to fence boards, re-hanging a gate, and re-pointing a block wall in kind usually don’t need a permit. Replacing a run of fence, installing a new post footing, or rebuilding a block wall (especially one above 6 feet) typically does. The rules vary by zoning, so confirm your case before the work starts. Our installers pull the permits they need and pass the inspections.
Most single post replacements, gate repairs, and short board replacements are completed in a single visit. Multi-post re-sets and vinyl panel sections usually run a half-day to a full day. Block wall section rebuilds are typically two to three days including cure time. If permits are needed, timeline depends on the city review – we’ll tell you the realistic window before we start, not after.
The Bottom Line
Fence problems in West Covina look like wood rot, gate sag, vinyl cracking, or block wall cracks. Underneath, they’re almost always the same four installation errors: shallow footings, narrow footings, posts in contact with soil, and drainage that was never accounted for. Diagnose the cause before you repair the symptom. Replace a rotted post, don’t seal it. Fix the footing instead of re-bracing the post. Rebuild a racked gate frame, don’t adjust the latch. And on a block wall with stair-step or horizontal cracking, call for a professional review before the wall becomes a safety issue. Built to last, backed in writing – that’s the standard every fence on your property should meet.
If you’re in West Covina and want a real diagnosis of what’s going on with your fence, we’re ready to help. Call Groundwork Construction Co. of West Covina at (844) 662-2335 to schedule your free estimate. Live people answer 24/7. We bring our technicians who have up to 12 years of experience to every job, back every repair with our 730-Day Done Right Promise, and quote the kind of upfront pricing you can actually plan around – the number you see is the number you pay.
Written by the team at Groundwork Construction Co. of West Covina.