Last updated November 18, 2026







Free written scope consultation - allowances, timeline, and change-order rules on paper before a single trade is scheduled
Home Additions & ADU Maintenance Schedule: What to Do and When
Here’s what surprises most people who finish a new addition or ADU: your workmanship warranty doesn’t cover neglect. When a defect claim comes in during year three or year four, the first thing anyone looks at is whether the owner kept up on caulking, drainage, and filter changes – and if the answer is no, that claim gets denied. New construction has its own maintenance clock, it starts ticking the day the final inspection passes, and it runs hardest in the first five years. We’ve watched West Covina homeowners lose valid claims simply because nobody took notes. This guide gives you the exact schedule – 30-60-90-day checks, annual exterior inspections, and the specific records that protect you when something fails in year five.
Quick Answer
A new home addition or ADU needs a 30-60-90-day settling inspection, then a full exterior walk-through every spring and fall that covers caulk joints, stucco cracks, flashing, roof penetrations, drainage, and HVAC filters. Reseal horizontal caulk lines and touch up stucco every two to three years, clean mini-split filters monthly during heavy use, and log every check with dated photos. That paper trail is what proves a defect was not caused by ignored maintenance – and it’s what makes a warranty claim stick.
Styles & brands we work with
- Kitchen remodeling
- Bathroom remodeling
- Home additions & ADU
- Roofing
- Windows & doors
- Driveway & pavers
- Fence
Table of Contents
- The First 90 Days: Your Post-Construction Checklist
- Annual Exterior Inspections in Southern California’s Climate
- Maintaining an ADU’s Mini-Split System Differently
- When to Reseal, Repaint, and Recaulk: The 2-to-3-Year Rule
- Roof, Flashing, and Foundation Drainage Checkpoints
- Documenting Maintenance for Warranty and Resale
- Your Year-by-Year Schedule at a Glance
- What Happens When Something Actually Fails
The First 90 Days: Your Post-Construction Checklist
New construction moves. Wood framing dries and shrinks, stucco cures, caulk skins over, and doors that closed perfectly in month one can drag by month three. None of that is a defect – it’s a structure finding its final shape. What matters is that you’re watching and documenting it, because the difference between a hairline crack and a warranty issue is often just whether the owner noticed it early.
We tell every West Covina client the same thing: the first 90 days are when you have the most leverage. Contractors are still accountable, subs are still reachable, and small issues are still cheap to fix.
The 30-Day Check
- Walk the full exterior perimeter and photograph any new hairline cracks in stucco. Small diagonal cracks at window corners are normal settling; cracks wider than a credit card are not.
- Open and close every window and door in the addition. Note any that stick, drag, or fail to latch cleanly.
- Check every caulk joint at tubs, showers, countertops, and exterior penetrations for gaps or separation.
- Run the HVAC or mini-split at full load and confirm it holds the set temperature through a warm afternoon.
- Look at the foundation line after rain – ponding or water pooling against the new slab means grading or drainage needs adjusting.
The 60-Day Check
- Re-inspect the same caulk joints. This is when curing shrinkage shows up.
- Check the attic or ceiling access for any signs of moisture or discoloration.
- Test every GFCI outlet and confirm the panel label still matches the circuits.
- Look inside the ADU’s exterior door thresholds for daylight or drafts.
The 90-Day Check
By day 90, the drywall should be fully settled and the paint should be dry. Walk the same list one more time, compare to your 30-day photos, and photograph anything new. Then call your contractor about the small list – the sticky door, the caulk separation, the hairline crack that widened. Most of these are covered, and raising them while the work is recent is far easier than raising them two years later.
Annual Exterior Inspections in Southern California’s Climate
Southern California is deceptive for new construction. The dry season is long enough that water intrusion problems hide for months, then appear all at once after the first real rain event in November or December. Add the heat, and stucco, sealant, and paint all age faster than they would in a cooler climate. A spring inspection catches wear before summer, and a fall inspection catches problems before rain. Skip either and you’ll spend the wet season finding out the hard way.
What to Look At Every Spring and Fall
- Stucco cracking: Look for cracks wider than a hairline, and any crack showing a rust stain or dark trail – that’s a sign water is getting behind the finish.
- Flashing movement: Check the flashing at roof-wall junctions, chimneys, and window heads. Flashing that has pulled up, loosened, or separated from the wall lets water migrate in behind the stucco.
- Soffit and fascia vents: Verify the vents are open and free of debris, especially after Santa Ana wind events that push fine dirt into soffits.
- Irrigation overspray: This is the one almost everyone misses. Sprinkler heads that overspray onto the new foundation, stem wall, or stucco are the top preventable cause of efflorescence, paint peeling, and mold growth in new California additions. Adjust or replace the heads, and consider switching to drip lines against any new wall – the cost is small and the calendar of damage it prevents is long.
- Drainage: Confirm all site water flows away from the structure. After the first rain, walk the perimeter with a flashlight and see where water actually goes.
- Painter’s caulk lines: Spot-check every horizontal joint on the addition. Caulk that has cracked from UV exposure needs to be cut and replaced, not smeared over.
If you’re in West Covina and you don’t know your sprinkler zones well, ask a plumber or landscaper to map them once. Then you know which ones touch the new structure. That single afternoon saves years of chasing moisture.
Maintaining an ADU’s Mini-Split System Differently
Most detached ADUs get a ductless mini-split, not a full central system. That changes the maintenance schedule, and a surprising number of owners treat their mini-split like a wall-mounted afterthought until it stops blowing cold air in August. Mini-splits are efficient and reliable, but they depend on clean filters, clean coils, and a sealed refrigerant circuit, and those three things need regular attention.
Filter Schedule
Wash the indoor unit’s washable filter every three to four weeks during heavy-use months (June through September in West Covina), and every six to eight weeks the rest of the year. In a unit with pets, double that frequency. A clogged filter doesn’t just reduce airflow – it makes the compressor work harder and shortens the system’s life.
Coil Cleaning
The outdoor condenser coil collects dust, pollen, and the fine grit that blows around the San Gabriel Valley, and a dirty coil cuts efficiency fast. Rinse it gently with a hose at the start of cooling season; schedule a professional coil cleaning once a year. Never use a pressure washer on the coil – bent fins and a torn coil are expensive to fix.
Refrigerant Checks
A mini-split’s refrigerant system is sealed, so a working unit should never need a top-up. If your system starts losing cooling capacity, that is a sign of a leak, not normal maintenance. Have it checked by a licensed HVAC technician, not topped off. A top-off without finding and fixing the leak just postpones a bigger bill.
Other ADU-Specific Items
- Clear leaves and debris from around the outdoor unit to keep airflow open.
- Check the condensate drain line every quarter; a clogged line drips inside the unit and can stain interior walls.
- Have the system serviced annually by a licensed HVAC technician, and keep the receipts.
- Note that if the ADU will ever be rented, a detailed HVAC log also helps with tenant disputes.
When to Reseal, Repaint, and Recaulk: The 2-to-3-Year Rule
Here’s the number that matters: horizontal exterior caulk joints on a new California addition need re-caulking every two to three years. Vertical joints and protected areas usually last longer, but any surface taking direct sun and rain has a shorter clock. Miss it and you’re not looking at a $200 caulking job anymore – you’re looking at a $2,000 or $3,000 water damage repair, and the warranty may not cover it because the neglect was the cause.
Reseal and Recaulk Schedule
- Year 1: Inspect at month 6 and month 12. Spot-touch any hairline separations, but don’t cut and replace good joints prematurely.
- Year 2: Full recaulk of all horizontal exterior joints. Also check window face seals and any head flashing sealant.
- Year 3: Full recaulk again, plus a paint color-match patch to any sun-faded exterior. Add a full recaulk if you live within a mile of a major road – traffic dust accelerates wear.
- Every 2-3 years after: Keep the recaulk rotation going. Never let a joint stay weathered for more than one season.
Repainting
In Southern California, expect to repaint stucco every 8 to 12 years, and trim paint every 5 to 7. If you notice chalking, peeling, or a chalky residue on your hand after touching the wall, the paint is on borrowed time. Repaint before bare stucco shows, not after – bare stucco absorbs moisture and turns a cosmetic job into a repair job.
Stucco Repair
Small hairline cracks (0.5mm or less) are cosmetic – leave them, or fill with an elastomeric patch. Cracks wider than 1mm, cracks following a straight line, or cracks that show displacement need a stucco contractor to look before you patch. In our experience, most West Covina stucco repairs we see escalate not because the crack is big but because the owner painted over it and hid the moisture problem for two more seasons.
Roof, Flashing, and Foundation Drainage Checkpoints
The roof, flashing, and drainage are the three components that decide whether everything else stays dry. On a new addition, they’re also the components most likely to move first, because new roof sections meet existing roof sections and the two settle at different rates.
Roof Checkpoints
- Walk (or have someone walk) the perimeter of the roof with binoculars from the ground if you don’t want to get up there. Look for lifted shingles, granule loss, and any roof-to-wall junction where flashing has moved.
- Check the valleys where the new roof meets the existing roofline once a year. That’s the highest-risk point on any addition roof.
- Clean gutters and downspouts twice a year – late spring and late fall. Full gutters back water up under the shingles and into the fascia.
- After any hail event or major wind, do a visual check. The same applies after the first winter storm of each year.
Foundation and Drainage Checkpoints
- Every spring, look at the new foundation line. Cracks that appear above grade in a slab-on-grade addition should be documented with a photo and a tape measure in frame.
- Confirm that positive drainage away from the structure is still in place after any landscaping change. Adding a raised planter bed against the new wall is one of the most common ways homeowners accidentally void foundation drainage.
- Check that any downspouts still discharge at least three feet from the foundation wall.
- If you have a raised foundation (crawlspace), confirm the vent screen is intact and there’s no visible standing water after rain.
Documenting Maintenance for Warranty and Resale
This is the part no one tells you: warranty claims are not won on the strength of the contractor’s goodwill. They’re won on records. If a defect shows up in year five and the claim examiner sees a documented maintenance log with dated photos going back to day one, your claim is in a completely different category than one where the owner can’t name the last time they looked at the flashing. In our work at Groundwork Construction Co. of West Covina, the maintenance records we get asked for most often are the ones that didn’t exist – and that’s a preventable heartbreak.
What to Record
- A dated photo log for every exterior inspection. Take one overview photo of each side of the addition and one close-up of any issue you spot. Name the files by date.
- Receipts for any professional service: HVAC servicing, roofing inspection, drainage work, painting, and caulk work.
- A simple maintenance log – a notebook or a spreadsheet is fine – noting what you did, when you did it, and who did it.
- Photo documentation of any issue you raised during your warranty period, plus the contractor’s response.
- Your original build documents: plans, permit closeout, and any warranty paperwork in one place (physical or digital folder).
Why It Also Protects Resale
Every buyer looks at maintenance records. A well-kept maintenance log for a two- or three-year-old addition tells future buyers the structure has been watched and cared for, and it supports a higher offer. It also protects you if an inspection finds something minor and the buyer tries to price it as major. The record shows exactly when it appeared and how it was handled.
Your Year-by-Year Schedule at a Glance
The full schedule, compressed. Print this and put it on the fridge – or your phone.
- Day 30: First settling inspection. Photograph hairline cracks, check windows, doors, caulk, HVAC.
- Day 60: Second settling inspection. Check caulk curing, threshold drafts, GFCI.
- Day 90: Third settling inspection. Raise issues with contractor. Keep all paperwork.
- Month 6 (Year 1): Full exterior walk-through. Photo-log everything.
- Month 12 (Year 1): One-year homeowner check. HVAC servicing. Roof and drainage review.
- Year 2: Full recaulk of horizontal exterior joints. Paint touch-ups. Second full exterior inspection.
- Year 3: Second full recaulk. Paint color-match. HVAC system service. Roof and flashing check.
- Years 4-5: Continue annual exterior inspections, spring and fall. Recaulk every 2-3 years. Annual HVAC service. Repaint trim by year 5-7.
- Year 7-10: Full exterior repaint window. Foundation drainage recheck after any landscape change. Full HVAC system review.
What Happens When Something Actually Fails
Most failures we see on new California additions are the ones that were preventable at year two. Water intrusion behind a stucco wall, rotted flashing at a roof junction, a mini-split that needs full replacement because filters were never cleaned – each of these starts as a small maintenance item and ends as a five-figure repair. The pattern is consistent enough that we can map it out.
The Two Failure Scenarios That Matter Most
- Water intrusion. Starts as a small crack, an old caulk line, or a slightly lifted flashing. Water migrates behind the finish, and by the time you see interior staining, the damage behind the wall is already extensive. Cost range: $2,000 to $8,000 depending on how much of the wall assembly has to be opened and rebuilt.
- HVAC system failure. Either the condenser coil has been fouled for years and the compressor burns out, or a slow refrigerant leak (missed for years) finally stops the system. Cost range: $1,500 to $6,000 for repair, and more if replacement is needed.
In both cases, what determines whether the workmanship warranty helps is the maintenance record. If you’ve kept it, you may not need the warranty at all – you’ll catch the problem early and fix it cheaply. If you haven’t kept it, a claim may still be denied, even for genuine defects.
Common Mistakes to Avoid
- Skipping the 90-day check entirely. The settling period is the single best window to raise issues while the contractor’s team is still engaged and the work is recent. Wait until year two and the conversation is much harder.
- Treating caulk as a one-time install. In Southern California, exterior caulk needs re-caulking every two to three years on horizontal joints, and completely replacing it on any joint that has visibly cracked. Smearing new caulk over old is a waste of a Saturday.
- Ignoring irrigation overspray. A sprinkler head pointed at a new stucco wall is a slow water torture – a couple of years of daily overspray produces efflorescence, paint failure, and eventually moisture intrusion. Walk your yard after every irrigation cycle for the first year.
- Cleaning mini-split filters once and forgetting. A clogged filter strains the blower and compressor, especially in West Covina summers when the system runs six hours a day. Set a reminder for every 30 days from June to September.
- No maintenance log. No photos. No receipts. A defect that’s actually covered by the workmanship warranty can be denied if the owner can’t prove the failure wasn’t caused by neglect. The paper trail is the whole game.
- Landscaping changes that break drainage. A new planter bed, a raised patio, or a replacement lawn can all redirect water toward the addition’s foundation. Recheck the grade and drainage after any landscaping change.
- Assuming the new addition won’t need repainting for 15 years. In our experience, West Covina homeowners usually must repaint the stucco on a new addition between year 8 and year 12. Stretch it out too long and the cracks and seal failure cost more than the paint job.
See the difference
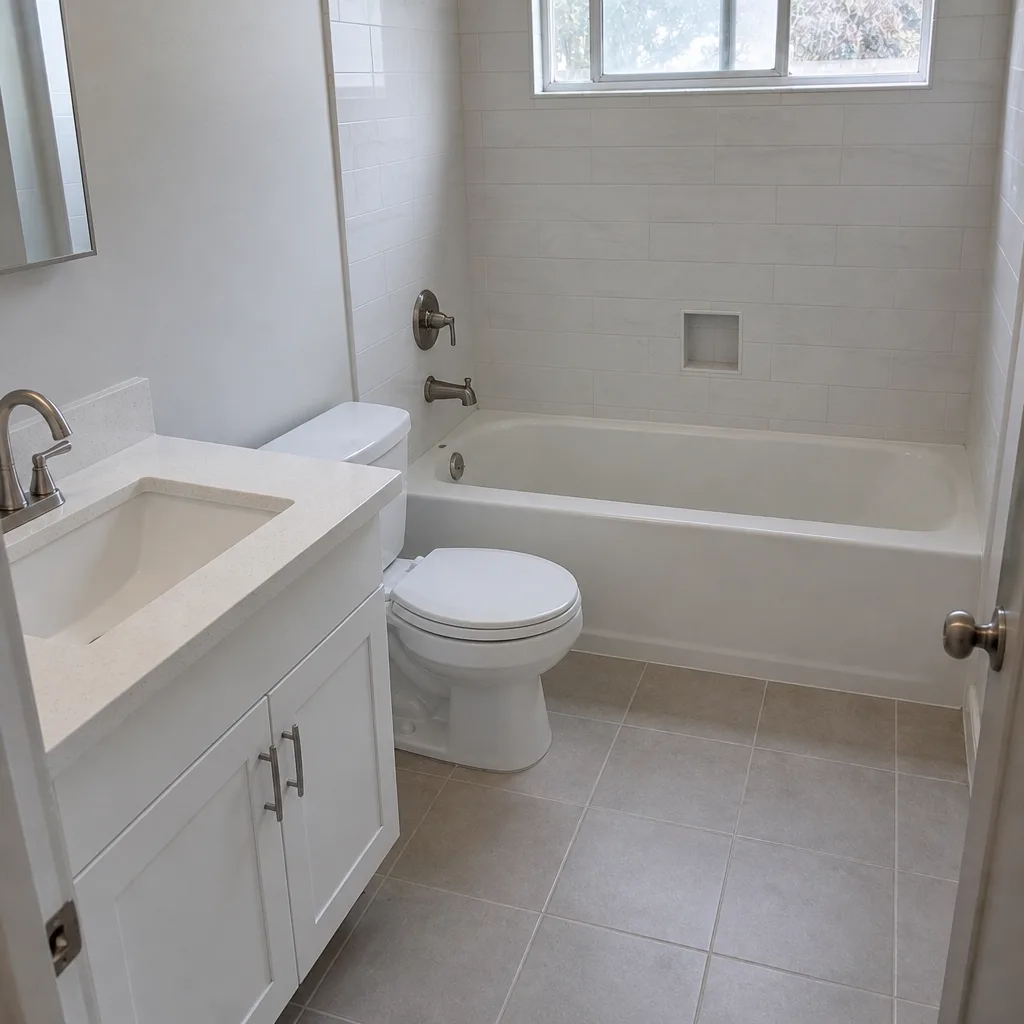
 Before
 After
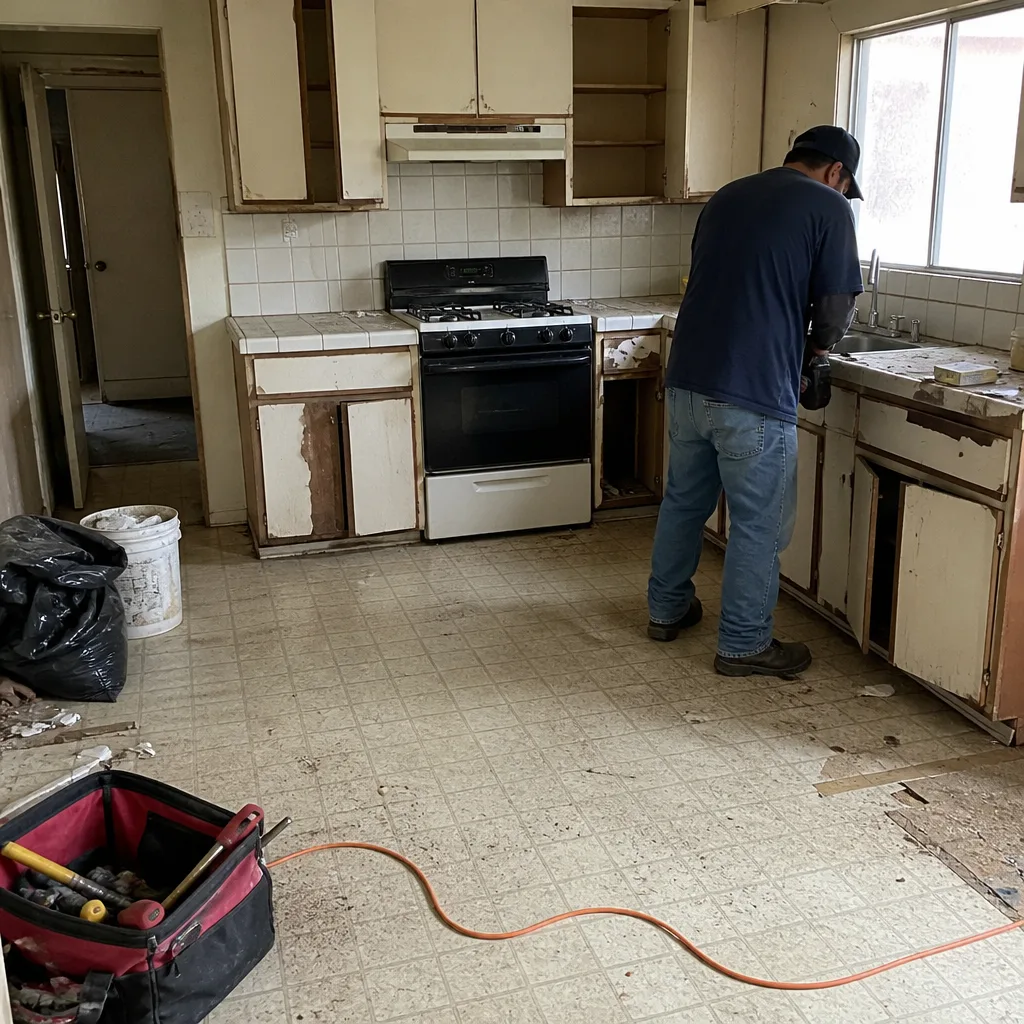 Before
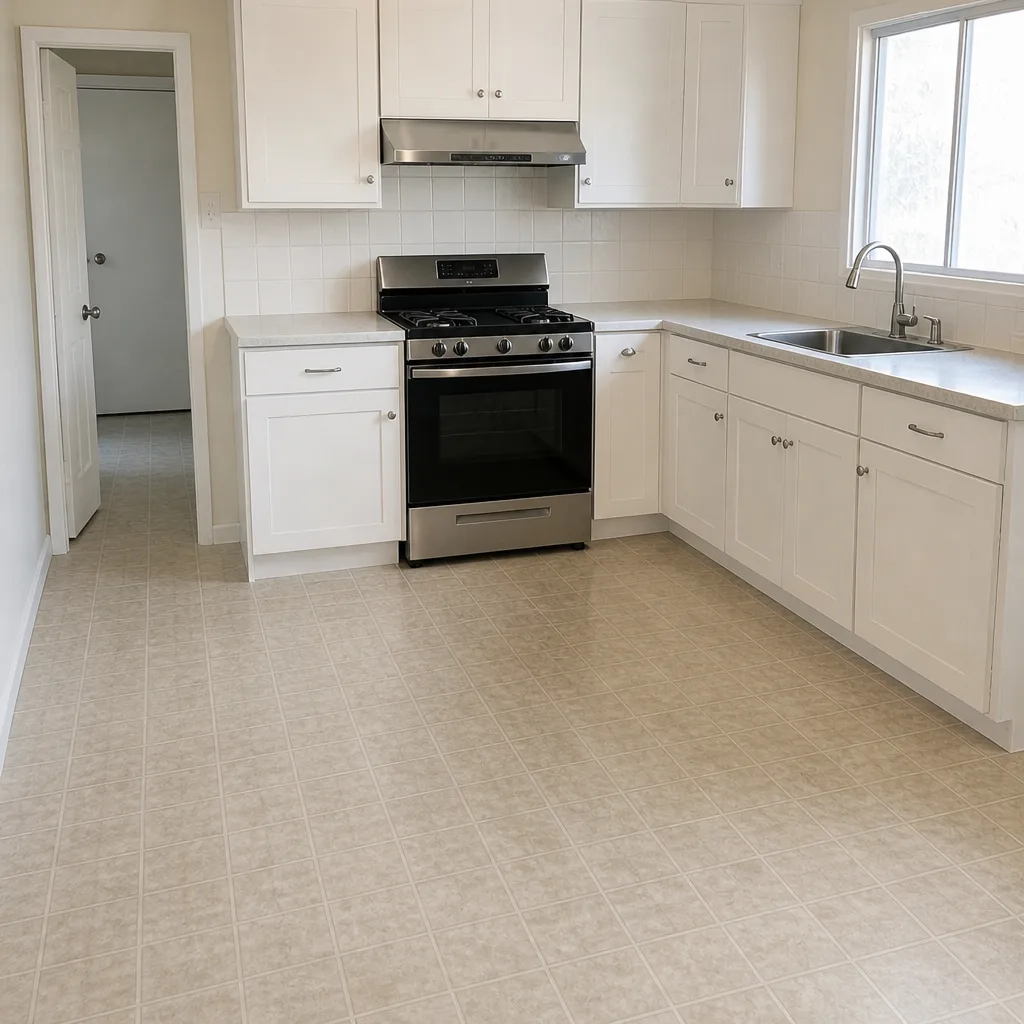 After
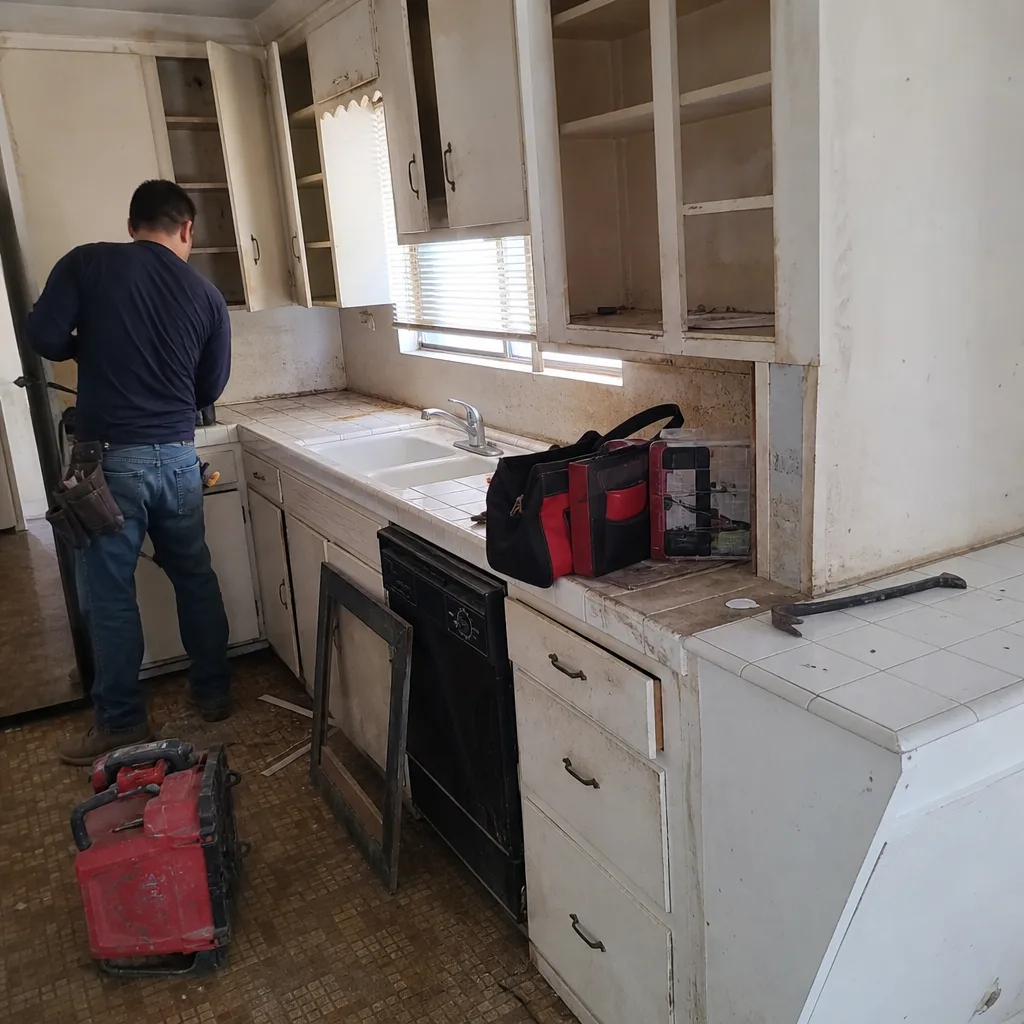 Before
 After
When to Call a Professional
Call a pro when you see cracks wider than a hairline in the new stucco, any roof-to-wall junction where flashing has visibly moved, standing water after rain, a mini-split that stops holding temperature, or any interior water staining that appears on a new wall. Also call if a mini-split is losing cooling capacity without a dirty filter – that’s a refrigerant issue, and topping up without finding the leak just postpones a replacement. Don’t climb on the addition roof yourself if it’s more than a single story or the pitch is steep – roof work at height is where homeowners get hurt. Groundwork Construction Co. of West Covina offers free estimates in West Covina – call (844) 662-2335. Our technicians have up to 12 years of experience, and all projects are covered by the 730-Day Done Right Promise. For the full picture of how we handle a West Covina addition project, see our Home Additions & ADU in West Covina page.
Frequently Asked Questions

Every 12 months, and cleaned more often. Wash the indoor filter every 3-4 weeks during heavy-use months, rinse the outdoor coil at the start of cooling season, and schedule a licensed HVAC technician for a full service once a year. A sealed mini-split system shouldn’t need refrigerant, so if you’re ever topping it up, it’s leaking. Call (844) 662-2335 for a free estimate on installation or repair.
Hairline cracks (0.5mm or less) are normal settling, yes – Southern California stucco moves in the heat. Cracks wider than a credit card, cracks following a straight line, or any crack with a rust stain behind it need professional inspection, because those indicate moisture getting behind the finish. In our experience, most “surprise” water damage we see in West Covina stucco started as a crack someone painted over. Call (844) 662-2335 – estimates are free.
It varies by contractor, and you should read your warranty the day you get it, not the day you need it. Groundwork Construction Co. of West Covina covers all projects with a 730-Day Done Right Promise – one of the longest residential workmanship guarantees in the field. But read yours carefully: covered defects are covered only if you can show the failure wasn’t caused by ignored maintenance, which is why the maintenance log matters so much. Call (844) 662-2335 to ask about our full coverage.
Dated photos of every inspection, receipts for professional services (HVAC, roofing, painting, caulking), a simple maintenance log listing what was done and when, plus your original build documents and warranty paperwork. These records do two things: they help you get a real defect covered, and they protect resale value when a buyer’s inspector finds something minor. Call (844) 662-2335 for a free estimate on any repair revealed by your documentation.
No – exterior horizontal caulk joints typically need full re-caulking every two to three years in Southern California, and vertical joints or protected areas last longer. Spot-check every spring and fall, and cut-and-replace any joint that has visibly cracked or separated. Recaulking is a small cost compared to water damage behind a stucco wall. Call (844) 662-2335 if you’re unsure whether your joints need full replacement or a touch-up.
Walk the perimeter and check for standing water against the foundation, water flowing toward (not away from) the structure, wet spots inside the addition near doors and windows, and any discoloration in the interior ceiling or walls. Photograph whatever you find and note the date. If anything looks wrong, don’t wait until the next storm – the defect is often easier and cheaper to fix in the dry season. Call (844) 662-2335 to schedule a free inspection and estimate.
The Bottom Line
A home addition or ADU isn’t a finished object – it’s a system that starts adjusting the day construction ends and needs a maintenance schedule from month one. The 30-60-90-day settling check catches the small issues while they’re still cheap. The annual exterior inspections, the 2-to-3-year recaulk rotation, and the mini-split filter-and-coil discipline are what prevent the year-seven repairs that come from year-two neglect. And the maintenance log – photos, receipts, notes – is what keeps your workmanship warranty usable and your resale value intact. If you want a partner who answers the phone, keeps their warranty in writing, and can quote you upfront with no surprises, call Groundwork Construction Co. of West Covina at (844) 662-2335. Start with a free estimate and design consult – 0% financing for 18 months is available, and projects over $10,000 qualify for $1,000 off. From foundation to finish line, built to last and backed in writing. You can also explore our Groundwork Construction Co. of West Covina home page, our Driveway & Pavers in West Covina services, and Fence Installation in West Covina for the exterior work that keeps your property solid around the addition.
Written by the team at Groundwork Construction Co. of West Covina.