Last updated November 18, 2026


Free written scope consultation - allowances, timeline, and change-order rules on paper before a single trade is scheduled
Fence Installation Maintenance Schedule: What to Do and When
The most expensive fence mistake we see in West Covina usually happens in the opposite direction of what you’d expect: a homeowner slaps a fresh coat of stain on a brand-new wood fence within a week of installation, proud of getting ahead of maintenance. That coat of stain seals in the mill moisture still trapped inside the boards, and the finish starts flaking off within a year. The protective coating caused the damage it was supposed to prevent. Fence maintenance isn’t about doing every task the internet tells you to do. It’s about knowing which tasks your specific material actually needs, and timing them around West Covina’s dry summers and wet winters. This guide gives you material-by-material schedules, the post-base inspection method most homeowners skip, and the maintenance line between preserving your warranty and quietly voiding it.
Quick Answer
Wood fences in West Covina need inspection every spring, cleaning and re-sealing every 2 to 3 years in October before the winter rains, and a probe test at every post base every 2 years. Vinyl needs a wash twice a year to prevent UV oxidation. Aluminum needs fastener inspection annually for galvanic corrosion. Block walls need sealing every 3 to 5 years. Doing these tasks on schedule costs far less than premature replacement, and it’s what keeps material warranties valid.
Styles & brands we work with
- Kitchen remodeling
- Bathroom remodeling
- Home additions & ADU
- Roofing
- Windows & doors
- Driveway & pavers
- Fence
Table of Contents
- Why Every Fence Material Has a Different Maintenance Clock
- Wood Fence Maintenance Schedule
- Vinyl Fence Maintenance Schedule
- Aluminum and Metal Fence Maintenance Schedule
- Block Wall and Masonry Maintenance Schedule
- West Covina Timing: Why October Is the Month That Matters
- The Post-Base Probe Test: What to Check Every Two Years
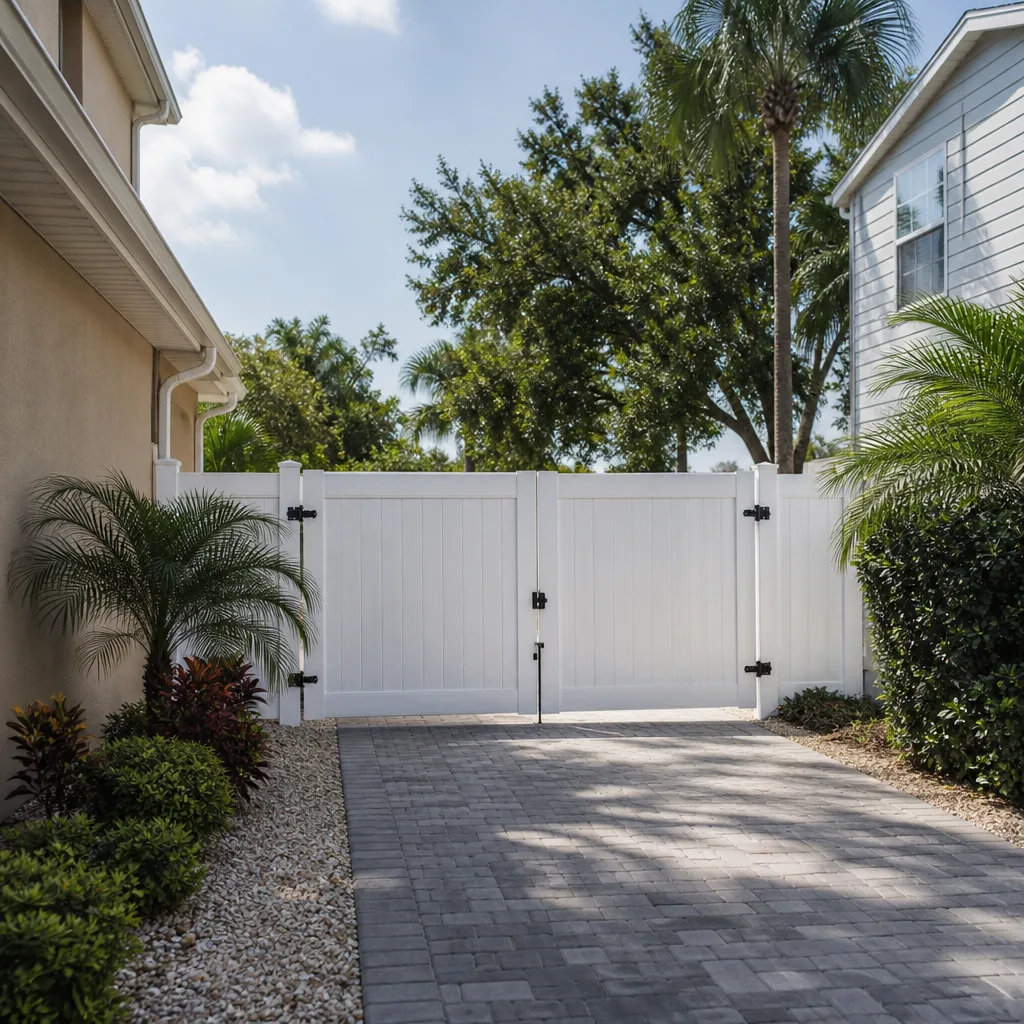
- Gate Hardware Maintenance: The Inspection Points That Predict Failure
- What Maintenance Preserves Your Warranty and What Voids It
Why Every Fence Material Has a Different Maintenance Clock
A wood fence, a vinyl fence, an aluminum fence, and a block wall are not maintained on the same schedule. Not even close. The schedule for each material is driven by how it fails. Wood fails through moisture intrusion and rot, so its maintenance is about stopping water and letting wood breathe. Vinyl fails through UV oxidation and dirt buildup, so its maintenance is about cleaning before the surface degrades. Aluminum fails at the fasteners, so its maintenance is about inspecting joints where dissimilar metals meet. Block walls fail at the mortar joints and surface, so their maintenance is about sealing to stop water penetration.
We’ve watched homeowners in West Covina waste money power-washing a fence that didn’t need it while ignoring the post base that was already soft. We’ve also seen the opposite: a vinyl fence stained green from sprinkler overspray because nobody touched it for three years. Over-maintenance costs money. Under-maintenance costs more, usually in premature replacement.
Material Maintenance Intervals at a Glance
- Wood: full inspection annually, stain/seal every 2 to 3 years, post-base probe every 2 years, hardware check twice a year
- Vinyl: wash twice a year, deeper clean annually, hardware check annually
- Aluminum: fastener inspection annually, touchup paint on scratches as noticed, hardware check annually
- Block wall: seal every 3 to 5 years, mortar joint inspection every 2 years
The timelines shift based on sun exposure, irrigation proximity, and how the fence was installed in the first place. A wood fence in full afternoon sun along a sprinkler line in West Covina needs more attention than one in shade. That’s why a material-specific schedule, not a generic checklist, is the only version that actually protects your investment.
Wood Fence Maintenance Schedule
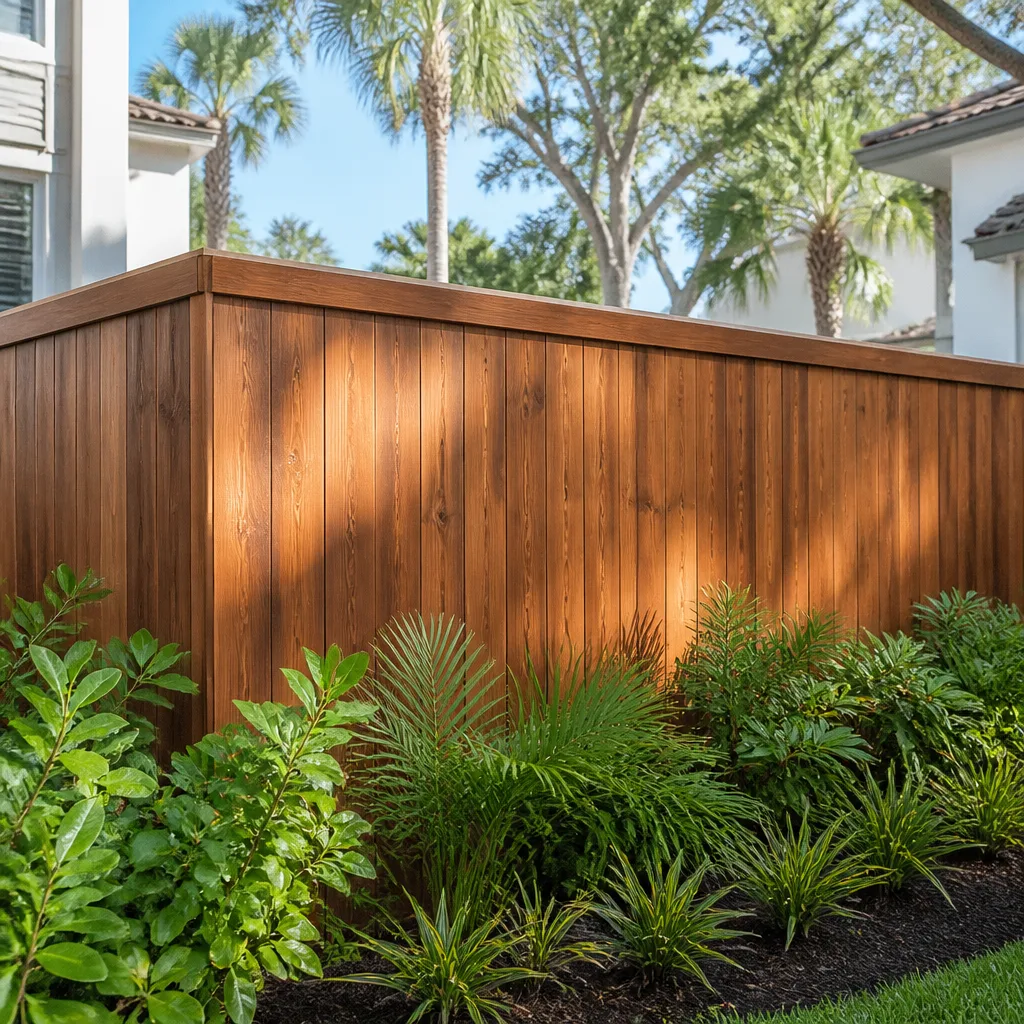
Wood is the material that most rewards a consistent schedule and most punishes a sloppy one. When we handle a Fence Installation in West Covina, we tell homeowners the same thing every time: wait for the wood to fully dry and cure before you apply any finish. That’s typically 4 to 6 weeks for new pressure-treated wood in dry weather, sometimes longer.
The Wood Fence Timeline
- Years 1 to 2: Inspect the fence twice a year. Look for cracked boards, popped nails, and loose fasteners. Do not apply finish on new wood until it fully dries.
- Every 2 to 3 years: Clean with a low-pressure wash and a mild cleaner. Apply penetrating stain or sealant during a dry stretch. Oil-based penetrating stains let wood breathe; film-forming surface coatings trap moisture.
- Every 2 years: Probe test the base of each post (details in the section below).
- Every 6 months: Check hardware, gates, and rail connections for movement.
Skip the sanding unless you’re dealing with rough patches or a failed film coating that’s peeling. A quick wash and a fresh penetrating coat is usually the whole job. Use a penetrating oil stain rather than a solid-color film finish that can trap moisture, and avoid the “one thick coat is better than two thin coats” instinct. Thin coats over dry wood last longer; thick coats fail first.
When inspecting, look for separations between rails and posts, dark staining near fasteners (a sign of rust weep), and boards that flex under pressure. Boards that flex at mid-span usually mean the fasteners behind them have worked loose, or the wood itself is softening. Both are cheaper to catch in year one than year four.
Vinyl Fence Maintenance Schedule
Vinyl fence marketing gives many homeowners the wrong idea. No-maintenance doesn’t mean no-anything. It means no staining, no sealing, and no painting. But vinyl will still oxidize, chalk, and stain from environmental buildup, especially in a climate like West Covina’s, with long dry stretches followed by wet ones.
The Vinyl Fence Timeline
- Twice a year (spring and fall): Wash panels with a garden hose, a soft brush, and a mild detergent solution. Focus on the bottom rail and the panel-locking connections.
- Annually: Inspect the bottom of each panel for soil buildup, and clear any dirt so the fence can drain and dry between rains.
- Annually: Check gate hardware, caps, and post inserts. Replace any cracked caps.
- As needed: Address green algae or rust stain immediately rather than waiting for the annual wash. Once algae roots in, it’s much harder to remove cleanly.
Skip the pressure washer. High pressure drives water into panel seams and can force it into the post footing. Skip chlorine bleach, too. It strips the surface layer that resists UV, and that damage shows up as chalky whiteness that only gets worse. If you’re seeing chalky dusty residue when you run a hand along the panel, that’s oxidation, and it means the fence is asking for a clean before it progresses to permanent yellowing.
If a panel does crack, replace it rather than trying to patch it. Vinyl doesn’t bond reliably to patch material, and any joint becomes a stress point the wind will find.
Aluminum and Metal Fence Maintenance Schedule
An aluminum or steel fence will outlive most wood or vinyl installs, but its failure mode is sneaky: galvanic corrosion at the fasteners. When aluminum rails meet steel fasteners, moisture drives a small electrical reaction that quietly eats both metals. In dry climates like West Covina’s the process is slow, but it doesn’t stop.
The Aluminum Fence Timeline
- Annually: Inspect every fastener and joint. Look for white powder around threads, rust-colored staining, or loosened fasteners. That powder is a galvanic reaction in progress.
- Annually: Touch up any scratched paint with the manufacturer’s matching touchup. Once the surface coating fails, corrosion accelerates.
- Twice a year: Lubricate gate hinges and check gate closure and latch engagement.
- Every 2 years: Check post footing integrity, especially posts exposed to lawn irrigation.
When you find corrosion at a fastener, replace the fastener rather than tightening it. Tightening a corroded fastener damages the surrounding metal as the corroded fastener struggles to hold. If you notice white powder around multiple fasteners, that usually means the original installer used the wrong fastener metal or skipped a protective isolator. That’s worth a professional inspection.
Block Wall and Masonry Maintenance Schedule
A block wall can stand for decades, but water is the enemy long-term. Without a proper seal, moisture penetrates the block and works on the mortar joints from the inside out. In West Covina’s seasonal rains, a block wall without a sealer will absorb the winter moisture, slowly expand and contract through the dry summer, and start showing hairline cracks within a few years.
The Block Wall Timeline
- Every 3 to 5 years: Apply a penetrating masonry sealer made for the specific block or stucco surface. Reapply on the timeline the manufacturer specifies, not when the wall “looks fine.”
- Every 2 years: Walk the wall and inspect mortar joints for cracks, missing material, or efflorescence (the white powdery salts you see on block walls).
- Annually: Check the top cap and any cap-rail joints for separation or loose material. That’s where water gets in first.
- As needed: Repair cracks when they appear. Small cracks are cheap to seal; large cracks are expensive to repair because the water damage is already done.
Products from Oldcastle and Quikrete are what we typically point to for block wall repair and sealer work because they’re made for the materials. If the wall was installed with Sakrete material originally, we still match the repair mortar to the existing wall composition rather than just grabbing whatever bag is closest. That’s what keeps patches from telegraphing through the finish.
West Covina Timing: Why October Is the Month That Matters
Timing matters as much as which tasks you do. Our West Covina climate has a long dry season from roughly May through October and a wetter season from November through March. That transition is the highest-risk period for wood fences because wood that has spent all summer drying out and pulling away from itself is at its most vulnerable just as the first rains hit.
Pre-rain prep in October does more to extend wood fence life than any other single act of maintenance all year. The goal is simple: make sure the wood is sealed, the fasteners are tight, and no water is pooling anywhere it shouldn’t.
The October Pre-Rain Checklist
- Walk the full fence line. Probe every post base for softness (see the next section).
- Check every rail-to-post connection for looseness. Re-tighten or replace fasteners now, not after the rains.
- Clean the fence of any debris, spider webs, or leaf buildup. Debris holds moisture against the wood.
- Apply or refresh penetrating stain or sealer if the fence is due. Do it in a dry 3-day window.
- Clear the base of the fence of soil, mulch, and vegetation. Wood-to-soil contact is the beginning of rot.
- Inspect the gate hardware, hinges, and latch for adjustment needs.
The dry-to-wet transition also affects block walls. If you have a block wall that hasn’t been sealed in 5 years, October is the month to seal it before it absorbs a whole winter’s moisture. Same logic: get ahead of the water.
In the spring, the post-rain inspection catches anything the winter exposed: shifted posts, loose boards, popped fasteners, and the wood deformation that shows up after a wet season. Do the heavy lifting in October, do the catch in March, and the fence stays ahead of failure.
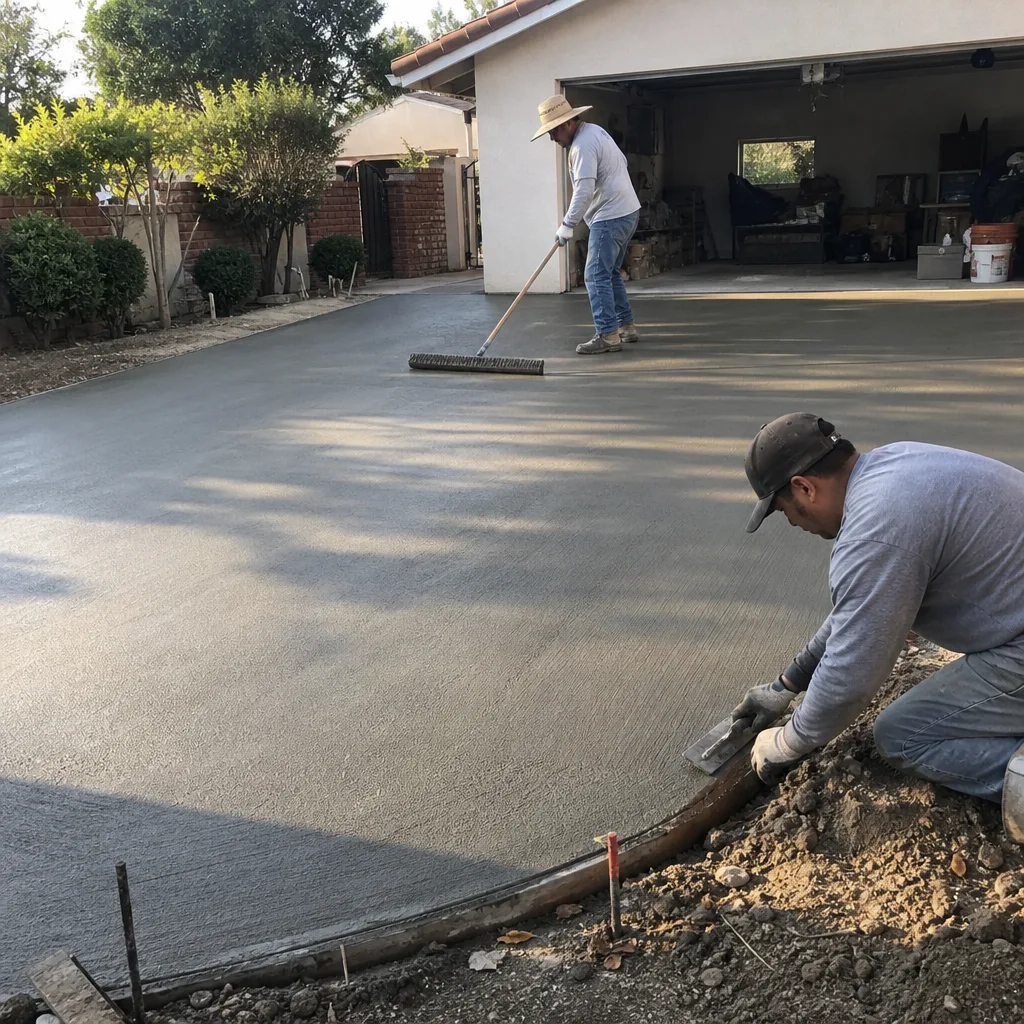
If you’re planning other exterior upgrades this season, coordinate the timing with your fence work. Driveway & Pavers in West Covina projects, for example, should be coordinated so the fence line isn’t disturbed once the pavers are in.
The Post-Base Probe Test: What to Check Every Two Years
The single most important inspection on any wood fence takes 20 minutes and requires one tool. This is where fences fail first and where homeowners don’t think to look. A post can look perfect above ground and be half-rotted below the surface line. When the wind finally takes it, the failure happens suddenly and expensively.
How the Probe Test Works
- Walk the fence and identify every post. Count them so you don’t skip any.
- At each post, use a screwdriver or a thin probe (like a flathead or a stiff awl) and press firmly into the wood about 1 to 2 inches above the soil line.
- Press into the post from at least two sides. You’re looking for wood that yields easily, crumbles, or feels spongy compared to the rest.
- If the probe sinks in with light pressure, that post is compromised. Mark it with a piece of tape or chalk.
- Repeat at the base of the rails or wherever wood meets soil.
What you’re looking for is a firm refusal. Healthy wood fights back against the probe. Compromised wood gives way, sometimes surprisingly easily. If you find one post with soft wood, check adjacent posts immediately; rot at one post almost always means the moisture path extends to the ones next to it.
We’ve seen the result of skipped probe tests in West Covina more than once, usually after the first big winter storm. The post fails and the homeowner is looking at partial fence rebuild instead of a post replacement. The cost difference is significant. A probe test every two years catches the issue in time to replace the post alone.
If you find soft posts, schedule that replacement before October, not after. Post replacement in February during rain is harder, slower, and often longer wait than post replacement in September.
Gate Hardware Maintenance: The Inspection Points That Predict Failure
The gate is the highest-wear component of any fence. It operates thousands of times more than any panel, and every swing stresses the hinges, latch, and post the gate hangs from. If any one of those pieces gets neglected, the gate starts to sag, drag, or fail to latch. And a gate that doesn’t latch is a security risk that becomes a liability before it becomes a failure.
The Gate Hardware Checklist (Twice a Year)
- Lubricate the hinges with a silicone-based lubricant or a specified hinge grease. Avoid a heavy grease that traps dirt.
- Check the latch engagement. The latch should catch firmly with no wiggle. If the gate sags or the latch catches only by a corner, it needs adjustment before it fails entirely.
- Check the hinge post footing. Gate posts carry more load than fence posts and are prone to leaning when the footing is compromised. Push gently on the top of the post; any movement is a problem.
- Check the gate for level. Open the gate halfway and let it go. A gate that swings out of its own accord indicates the post or hinge alignment has shifted.
- Adjust the top hinge or the gate strut as needed to bring the gate back to level engagement.
- Look for rust or corrosion at every fastener and hinge, especially on metal gates.
If your gate gets direct afternoon sun and the hinges run dry, that lubricant schedule doubles to every 3 months during summer. Same for any gate near a pool, where chlorine and moisture eat through lubricant. If your gate shows consistent alignment problems, it usually means the hinge post needs resetting. That’s not a hardware job at the hinge; it’s a footing project, and it’s worth a professional look.
What Maintenance Preserves Your Warranty and What Voids It
Every reputable fence manufacturer and installer writes a warranty, and every warranty has maintenance conditions attached. Here’s what most homeowners don’t read closely: manufacturer warranties for wood, vinyl, aluminum, and block almost always include the phrase “regular maintenance required.” If you skipped the maintenance, they can decline the claim, and this is one of the most common reasons a fence warranty claim is denied.
Tasks That Preserve Your Warranty
- Following the manufacturer’s recommended cleaning and sealing intervals, on the timeline they specify
- Documenting maintenance dates with a photo of the fence at each cleaning or sealing
- Using the recommended sealing or coating product (not a generic substitute)
- Promptly repairing small damage (cracks, loose fasteners, popped boards) rather than waiting
- Hiring a professional for footing or post replacement that affects the structural warranty
Actions That Commonly Void a Warranty
- Power washing wood fence at high pressure, which drives water into the wood and damages the surface fibers
- Applying a film-forming solid stain or paint to pressure-treated wood before it has fully dried
- Applying an incompatible coating over a previously stained surface, causing the finish to fail
- Using chlorine bleach or harsh chemicals on vinyl, which damages the UV-resistant surface
- DIY post replacement where the footer depth or concrete mix doesn’t meet the original spec
- Attaching anything to the fence (planters, patio lights, climbing plants) outside the manufacturer’s approved use
If you’re not sure whether a specific action affects your warranty, ask before you do it. A 20-minute phone call to a professional is cheaper than a denied claim.
Common Mistakes to Avoid
- Applying stain on new wood before it’s dry. This is the single most expensive homeowner mistake we see, and it’s the whole reason we walk through the drying timeline on every installation. The finish traps mill moisture and peels within a year.
- Power-washing wood fence at high pressure. It grooves the surface, drives water into joint gaps, and damages the surface layer that resists sun in West Covina. Use low pressure and a gentle nozzle.
- Using chlorine bleach on vinyl. It damages the UV-resistant coating and causes the yellowing and chalking homeowners are trying to prevent.
- Skipping the post-base probe test. Fence posts fail from the ground up. If you’re only looking above the soil line, you’re missing the first sign of the problem.
- Ignoring minor gate alignment issues. A gate that drags or latches loosely has a cause, and the cause gets worse when left alone. Routine adjustment now beats hinge post replacement later.
- Re-staining on the wrong interval. Staining a fence every year because you’re “staying ahead” wastes money and can cause buildup problems. Follow the actual 2- to 3-year wood timeline unless inspection says otherwise.
- Not documenting maintenance. A denied warranty claim often comes down to a homeowner who did the work but can’t prove the date or the product used. Keep a maintenance log and photos.
See the difference
 Before
 After
 Before
 After
 Before
 After
When to Call a Professional
Most fence maintenance is doable on your own if you have the tools and the time. But some jobs are not homeowner jobs, and knowing the difference saves money and prevents frustration.
Call a professional when: the probe test reveals soft or crumbling wood at post bases (this is footing and post replacement work, and the footer depth matters); a gate post is leaning or the hinges have pulled out; aluminum fasteners show corrosion across multiple joints; block wall cracks are wider than hairline or mortar is missing; a section of the fence has failed from wind or storm damage; or the structural warranty is on the line and you need the work done to spec.
Groundwork Construction Co. of West Covina offers free estimates in West Covina for fence repairs, post replacement, gate hardware installation, and full fence installation. Call (844) 662-2335 and a live person answers, day or night.
The 730-Day Done Right Promise stands behind every project we complete: if it isn’t done right, we make it right. That’s one of the longest workmanship guarantees in the residential construction space, and it’s what makes the free estimate worth calling for even before you’re ready to book.
Frequently Asked Questions
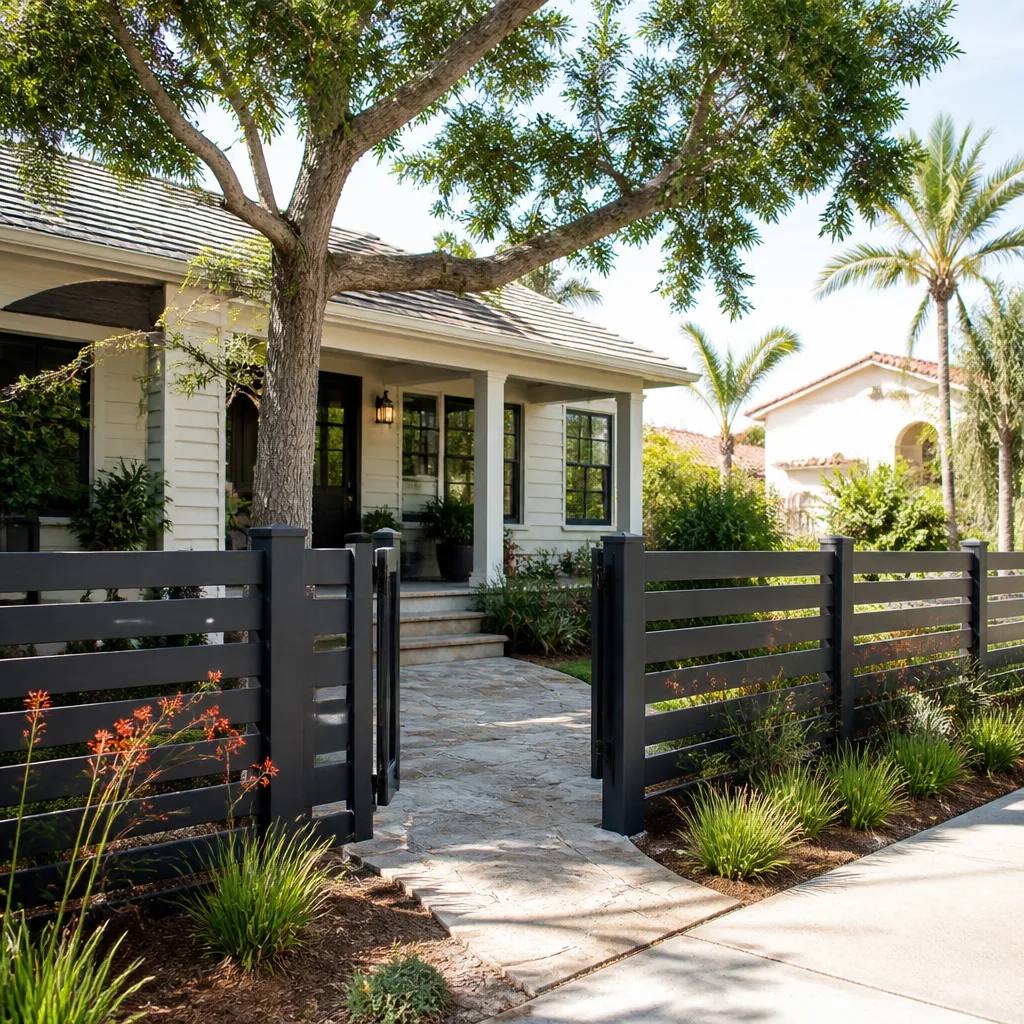
Wood fences in West Covina need a fresh coat of penetrating stain or sealer every 2 to 3 years, applied in October before the winter rains. Skip the annual instinct; re-staining every year on dry wood wastes money and can cause buildup. If your fence was installed in spring, wait 4 to 6 weeks for the wood to dry first. A low-pressure wash and a penetrating oil stain are the whole job in most years. If a fence is already showing failed film coatings, stripped finish, cracked boards, or soft post bases, call (844) 662-2335 for an evaluation.
The transition from the dry summer into the wet winter, roughly October into November, is the most vulnerable stretch for a wood fence. Wood that has dried out all summer is at its most stressed right as the first rains arrive. Doing an October pre-rain inspection (fasteners, sealant, post bases, gate) catches problems before the moisture reaches them. The second risk period is the spring inspection, right after the rains, when fasteners can loosen and posts can shift.
High-pressure power washing on wood can void a manufacturer or contractor warranty because it damages the wood surface fibers and drives water into joints where it can’t dry. It can also strip the surface layer of vinyl and aluminum coatings. Always use low pressure (a regular garden hose or a low-pressure nozzle) for cleaning. Any product-specific coatings apply to wood, vinyl, and aluminum fences. When in doubt, use a soft brush and a mild detergent solution. For product and warranty questions on a specific fence, call (844) 662-2335 and we can help identify the right care.
Use the probe test: push a screwdriver into the base of each post about 1 to 2 inches above the soil line and press firmly from at least two sides. Healthy wood resists the probe. Soft, spongy, or crumbling wood means the post is compromised. Do this every two years, and always in October before the wet season. A post that looks perfect above the ground can be half-rotted below. If you find soft posts, get a professional quote for post replacement before the rainy season. Call (844) 662-2335 for a free estimate on that work.
Vinyl fences need washing twice a year (spring and fall) with a garden hose and mild detergent, an annual inspection of hardware and caps, and immediate attention to algae or rust stains. Do not use chlorine bleach or a high-pressure washer; both damage the UV-resistant surface. The main failure mode is UV oxidation, which shows up as a chalky residue and yellowing. If you see that, a clean and a manufacturer-approved vinyl protectant will help. Vinyl doesn’t need staining, sealing, or painting, but it does need those biannual washes.
With proper maintenance on the right schedule, a wood fence in West Covina lasts 15 to 20 years, vinyl lasts 20 to 30 years, and aluminum can last 30 or more. Block walls can last decades with proper sealing. The common thread: the schedule, not the material, is the biggest factor in lifespan. Most fence replacements we see in West Covina are the result of skipped post-base inspections, ignored winter prep, or staining on the wrong timeline. If you’re not sure when your fence was last serviced, a professional inspection is the right starting point.
The Bottom Line
Fence maintenance is simple if you match the task to the material and the season. Wood gets a spring inspection, an October pre-rain prep, a stain every 2 to 3 years, and a probe test at post bases every 2 years. Vinyl gets washed twice a year and no bleach. Aluminum gets an annual fastener inspection and prompt touchup on scratches. Block walls get sealed every 3 to 5 years and mortar joints checked every 2. Do the October prep consistently and the March catch deliberately, keep a maintenance log with photos for warranty purposes, and know the difference between DIY maintenance and structural repair work that belongs with a professional.
If your fence needs an inspection, a repair, post replacement, or a full installation, we’re ready to look at it. Groundwork Construction Co. of West Covina offers free estimates in West Covina for fence work, plus our full range of exterior and interior construction services, from driveway pavers to ADU additions.
From foundation to finish line, our technicians arrive background-checked and in uniform, our materials come from vetted partners like Oldcastle and Quikrete for masonry work, and every project carries the 730-Day Done Right Promise. Upfront pricing, no surprises: the number on the estimate is the number you pay. We also offer 0% financing for 18 months plus $1,000 off projects over $10,000, and a free design consult on every quote. Call (844) 662-2335 to schedule your free estimate. A live person answers, day or night.
Start at our Groundwork Construction Co. of West Covina home page to see the full range of services we handle.
Written by the team at Groundwork Construction Co. of West Covina.