Last updated November 18, 2026





Free written scope consultation - allowances, timeline, and change-order rules on paper before a single trade is scheduled
Driveway & Pavers Troubleshooting: Common Problems and How to Fix Them
A sunken paver isn’t a paver problem. It’s a base problem wearing a paver’s face. That one distinction saves West Covina homeowners thousands of dollars a year in repeat repairs, because swapping the stone without fixing the cause just resets the clock until the next rainy season. Most driveway failures we diagnose started as a base or drainage issue six months before the first stone moved. This guide covers the five failure patterns every interlocking paver driveway eventually shows, what each one actually tells you about what’s happening underneath, how to know whether a fix is DIY-shaped or structural, and the documentation you’ll want if the problem shows up during a contractor’s warranty window.
Styles & brands we work with
- Kitchen remodeling
- Bathroom remodeling
- Home additions & ADU
- Roofing
- Windows & doors
- Driveway & pavers
- Fence
Quick Answer
Most driveway paver problems fall into five patterns – sinking, shifting, cracking, efflorescence, and edge rollout – and each points to a different root cause in the base, drainage, or edge restraint, not the surface stone itself. Small cosmetic issues like efflorescence or a single loose paver can be handled as targeted repairs. Widespread sinking, lateral spreading, or cracking that reappears after patching is a sign of systemic base failure and needs full-section reconstruction, not a cosmetic patch.
Table of Contents
- The Five Failure Patterns (and What Each One Actually Means)
- Sinking and Settling: Why Pavers Drop and How to Tell If It’s Structural
- Shifting and Spreading: When Lateral Movement Points to Edge Restraint
- Cracking Pavers: Stone Failure vs. Base Movement
- Efflorescence: The White Haze That Looks Worse Than It Is
- Edge Rollout: West Covina’s Most Underdiagnosed Failure
- DIY Repair or Full-Section Reconstruction? A Decision Framework
- Documentation Checklist for Warranty Claims
- Common Mistakes to Avoid
- When to Call a Professional
- Frequently Asked Questions
- The Bottom Line
The Five Failure Patterns (and What Each One Actually Means)
Every paver driveway problem we’ve diagnosed on a West Covina property maps to one of five visible patterns. The pattern you see is the symptom. The root cause almost always lives in one of three places: the aggregate base, the drainage plane, or the edge restraint.
Here’s how to read what you’re seeing.
- Sinking – pavers dip below grade in a bowl or channel shape. Root cause is almost always base compaction failure or a washout beneath the surface, not the stone.
- Shifting – pavers rotate, spread, or open joints along a run. Root cause is edge restraint failure, insufficient joint sand, or water pressure escaping the wrong direction.
- Cracking – individual pavers fracture. Root cause is one of three things: point-loading on a hollow void beneath the stone, freeze/thaw cycling (rare in West Covina), or stone quality.
- Efflorescence – white, chalky deposits bloom on the surface. Root cause is soluble salts migrating to the surface as moisture evaporates. Usually cosmetic.
- Edge rollout – the outer row of pavers tilts, spreads, or sinks past the driveway boundary. Root cause is edge restraint failure, the single most underdiagnosed issue we see on West Covina driveways.
The reason this matters: a homeowner who sees sinking pavers and calls for “paver replacement” pays for new stone over a failed base. Six to eighteen months later, the new pavers sink too. The correct diagnosis starts with the base, not the surface. If you can name which of the five patterns your driveway is showing, you’re already ahead of most of the estimates you’ll receive. If you’re not sure what you’re looking at, the driveway and pavers service pages for your area are the next place to start.
Sinking and Settling: Why Pavers Drop and How to Tell If It’s Structural
A paver sinks when the material underneath it moves. That’s the whole story. The stone doesn’t shrink, and the joint sand doesn’t pull the stone down. Either the aggregate base wasn’t compacted to spec at install, a plumbing leak or irrigation line is washing fines out from below, or the soil under the base is expansive clay that swells and shrinks with West Covina’s wet-dry cycles and hasn’t been prepped properly.
West Covina sits on a mix of alluvial soils on the valley floor and clay-heavy soils up toward the hills, and both behave differently under load. A driveway base that would perform fine on one side of town may sink on the other within two rainy seasons. That’s not a paver quality problem, and no amount of premium stone solves it.
How to tell if it’s structural
- Map the sink’s footprint. A single paver or a small cluster (roughly 3 to 6 stones) that dips is usually localized. A bowl shape covering a 4 by 4 foot area or larger is almost always base failure.
- Test with a straightedge. Lay a 4-foot level or straightedge across the sink. If the dip is more than about 1/4 inch across that span, the base is already compromised.
- Check for water. After rain, does water pool in the dip and sit for hours? Standing water in a depression accelerates the next failure because it drives into the base rather than sheeting off.
- Look for the source. Is there a downspout, irrigation head, or hose bib within 6 feet? A constant moisture source under a driveway base is a diagnosis on its own.
If a sink is localized and you can identify and stop the water source, a targeted lift-and-replace of that section is a legitimate repair. If the sink is broad or keeps coming back, the base needs to be rebuilt. Patching pavers on top of a compromised base is the most common costly mistake we see. For a broader look at how this fits into the full driveway scope, the Driveway & Pavers in West Covina page walks through what a correct installation looks like from the ground up.
Shifting and Spreading: When Lateral Movement Points to Edge Restraint
Shifting pavers are almost never a stone problem. They’re a restraint problem or a joint-sand problem, and the two look similar until you know what to check.
Interlocking pavers work because they’re held in compression against their neighbors, and the outer boundary of the driveway is held in place by a rigid edge restraint – typically a concrete curb, an aluminum or plastic edge, or a spiked edge with concrete adhesion. When that restraint lets go, the whole run spreads outward like a deck of cards pushed from the back. Joint gaps open. Pavers rotate. And the failure migrates inward, one row at a time, until it reaches the middle of the driveway.
How to tell edge restraint failure from joint sand loss
- Shifting starts at the perimeter and works inward – that’s edge restraint. The outer row tilts or spreads first.
- Wide, uniform joint gaps across the whole field – that’s likely joint sand loss from rain washout or insufficient initial filling.
- Pavers rotate around a point – that’s usually a specific paver loosening due to a localized base void under that stone.
- Driveway creeps along a slope or toward the street – classic sign the downhill edge restraint isn’t holding pressure.
Joint sand re-sanding is a legitimately DIY-able task, and using a quality polymeric sand such as Sakrete or Quikrete makes a real difference in how long the repair lasts. Edge restraint replacement is a different matter – it requires removing the outer row, exposing and rebuilding the edge on a compacted footing, and re-establishing the interlock. It’s not a hard job for a trained crew, but it’s not a weekend job with a bag of sand either. In our experience, edge restraint failure is the most underdiagnosed paver problem across West Covina, especially on driveways that open right at the street with no apron transition.
Cracking Pavers: Stone Failure vs. Base Movement
A cracked paver is a diagnostic question. The crack itself tells you very little. What you need to know is whether the crack is happening from the inside out (base movement pushing up or settling down) or from the outside in (load concentrated on one stone over a hollow void, or simply a paver that should never have been placed there).
Here’s the useful split.
- One or two cracked pavers with no pattern – usually a hollow void beneath the stones or a stone with a defect. Replace those specific pavers, check for a void during removal, and you’re done.
- Cracks in a straight line following a joint or a change in base material – the base is moving differentially. This is structural. Expect the cracking to continue as more pavers get re-loaded.
- Cracks radiating from a specific loading point – often a heavy vehicle parked in the same spot repeatedly, or a paver that’s been pressed down onto a raised utility cover or root system.
- Cracks near the street apron – very common where the driveway transitions from private base to public pavement, and where the base thickness under the first two rows is often thinner.
Trade-grade pavers from manufacturers such as Cambridge Pavers or Oldcastle are engineered to resist typical residential loads, but no paver survives being repeatedly flexed over a hollow void. If cracks keep appearing despite replacement, moving up the diagnosis to the base is the next step. It’s also the point where a professional assessment saves the most money – swapping stone without checking base is a chore you don’t want to repeat every eighteen months. If your driveway is also bringing down your curb appeal, coordinating the paver repair with a fence installation in West Covina can consolidate the traffic and the scope.
Efflorescence: The White Haze That Looks Worse Than It Is
Efflorescence is a white, chalky deposit that blooms on the surface of concrete pavers when soluble salts migrate up through the stone with water and crystallize as the water evaporates. It looks alarming – sometimes like a rash across the entire driveway – and it’s usually cosmetic. In West Covina, we see efflorescence most often during the wet season following a fresh installation, when base moisture is still working its way out.
Here’s the frustrating part: cleaning without addressing the moisture source is a loop. You clean, the deposit goes away for a few months, it comes back. The permanent fix is removal of the moisture source – fixing that downspout, correcting drainage slope, or letting a new install cure fully through one dry cycle – combined with the right cleaning product.
What works without etching pavers
- Start with a dry brush and water. Many light blooms come off with a stiff-bristle brush and a garden hose. Try this first.
- Use a dedicated efflorescence cleaner if light brushing doesn’t work. These are formulated with mild acids buffered specifically for paver surfaces – not generic muriatic acid. Muriatic acid etches pavers and can permanently dull the finish or open the surface to more moisture.
- Vinegar solutions (roughly 1 part white vinegar to 3 parts water) work on light cases. Apply, wait, scrub, rinse thoroughly. Don’t leave it sitting.
- Rinse hard and let it dry completely. A wet driveway keeps re-blooming. Give it 48 hours before judging whether the fix worked.
- Do not seal over efflorescence. A sealer over an active bloom traps the problem under a film. The efflorescence will push through and look worse than if you’d left it.
If a white haze keeps coming back after repeated cleanings, particularly in one specific area of the driveway, that’s not a cleaner problem – it’s moisture, and moisture is a base and drainage problem. That’s when we recommend having someone look at the underlying cause rather than buying another bottle of cleaner.
Edge Rollout: West Covina’s Most Underdiagnosed Failure
Edge rollout is what we call it when the outer row of pavers begins to tilt, spread beyond the driveway boundary, or sink into the landscaping alongside it. On the surface it looks like a couple of pavers have come loose. What’s almost always happening is that the edge restraint has lost its hold and the whole outer row is now spreading into the yard.
The reason West Covina sees so much of this: heat. Long stretches of triple-digit temperatures in late summer and early fall expand the paver field. As the driveway heats up, the pavers push outward with real force, and if the edge restraint isn’t anchored deep enough – typically on a proper concrete footing, not just spiked into soil – the restraint yields over time. Once it yields, the pavers behind it relax, joints open, and the failure cascades inward.
The warning signs are specific:
- Outer pavers tilted at an angle that increases toward the yard
- Joint gaps widest along the outer row and narrowing toward the middle
- The paver edge pushing past the concrete or plastic restraint line
- Grass or mulch creeping between the outer pavers
- Soil visible below the outer row, or a visible gap between pavers and edge
Repair involves removing the affected rows, exposing and rebuilding the edge restraint on a properly anchored footing, re-establishing the interlock, and re-sanding joints. Doing it well in West Covina often means the restraint is set on a concrete curb rather than a spiked plastic edge – it’s the difference between a fix that handles twenty summers and one that handles two. It’s also one of those fixes where the material underneath – Quikrete or Sakrete concrete for the new footing – genuinely affects how long the repair lasts.
DIY Repair or Full-Section Reconstruction? A Decision Framework
The question is not “can I fix this myself?” – most homeowners can do some paver repair. The question is “does fixing the symptom without fixing the cause save me money or cost me money?”
Here’s how we frame it, and it’s the same framework we use when we do a site visit.
Handle these as DIY (or a single-visit repair)
- Light efflorescence – cleaning, as above
- Two or three loose pavers with no base void underneath
- Joint sand refill after a dry season
- Replacing a single cracked paver where the base under it feels solid
Call a professional for these
- Sinking that covers more than a few pavers, or comes back after one repair
- Any edge rollout or edge restraint failure
- Shifting along a run that continues after re-sanding
- Cracks that repeat in a straight line or follow a joint
- Standing water that persists after rain
- Any driveway where the base was suspect at install
The rule of thumb: if you can repair the visible symptom with hand tools and no base excavation, DIY is reasonable. If the repair requires lifting more than a small section of pavers, or if you can’t identify the water source, you’re into base work territory. Getting it wrong twice is the single most expensive outcome, and it’s the reason we always start with a base assessment rather than a paver quote.
Documentation Checklist for Warranty Claims
If paver problems appear during a contractor’s workmanship warranty – and they can, even on a competent installation – documentation decides how quickly the fix happens. Owners who show up with clear photos, dates, and a defined problem description get resolved faster than owners who describe a “weird issue.” Here’s what to keep.
- Photos with a scale reference. Place a ruler across the sink or gap. One wide photo for context and one close-up with the ruler is the standard pair.
- Dated notes. When did you first notice it? When did it start getting worse? A three-line log is enough.
- Water test documentation. After a rain, photo where the water pools and for how long. This is often the piece that decides whether the failure is being treated as a base issue or a drainage issue.
- The original contract and any change orders. Base depth specification, edge restraint type, and joint sand product should be on the original documents.
- The installation date. Yours is on the invoice. Any warranty window – ours is the 730-Day Done Right Promise – starts there.
- Any prior repair record. If someone already patched the same spot, that fact changes the diagnosis.
Send the package in writing – email is fine – rather than describing the problem on a phone call. Written documentation creates a clear scope of work. This is also why we deliver written line-item quotes at the start of every job: when the record is clear at day one, it’s clear at year two.
Common Mistakes to Avoid
- Replacing sinking pavers without checking the base. This is the single most expensive paver mistake homeowners make, and it guarantees a repeat repair because the new pavers will sink exactly where the old ones did.
- Sealing a driveway with active efflorescence. A sealer traps the moisture and the salts, and the bloom comes back worse. Seal only after the efflorescence has stopped recurring for at least one dry season.
- Using muriatic acid to clean pavers. It etches the surface, opens the stone, and makes future efflorescence more likely. Buy the dedicated paver cleaner – it costs a few dollars more and saves the finish.
- Ignoring edge rollout because it “looks minor.” A tilted outer row in West Covina is spreading inward every hot season. What starts as two pavers becomes a five-foot section within two years.
- Re-sanding joints without a polymeric sand. Builder sand washes out with the first hard rain and the whole cycle repeats. Quikrete and Sakrete both make polymeric products that hold up.
- Repairing pavers before fixing the water source. If there’s a downspout, hose bib, or irrigation head saturating the base, no surface repair holds. Redirect the water first.
- Accepting a verbal repair agreement during a warranty claim. Get the correct scope in writing with a date. Verbal agreements during the pressure of a live problem disappear fast.
When to Call a Professional
Call a professional when the problem meets three conditions: it covers more than a small footprint, it has come back after a repair, or you can’t identify the water source. Those three signs mean base work, and base work isn’t a home-project task regardless of how handy you are at spreading sand.
Specific scenarios where we see homeowners get real value from a professional assessment: any edge rollout on a driveway that touches the street, sinking that persists after a single targeted lift, cracking that appears in a line, and any driveway over ten years old where nothing has been serviced since install. A proper site visit determines whether you’re looking at a targeted repair or a full-section rebuild, and it’s what turns a vague worry into a line-item quote.
Groundwork Construction Co. of West Covina offers free estimates in West Covina – call (844) 662-2335. Our technicians have up to 12 years of experience, all work is covered by the 730-Day Done Right Promise, and you’ll get a written line-item quote with no change orders. Calls are answered by a live person, 24/7. We build this work from foundation to finish line so the base is engineered, not assumed.
Frequently Asked Questions
Sinking after several stable years almost always means the base underneath has started to fail, usually because water has been reaching it through a downspout, irrigation line, or joint sand washout. The pavers are the messenger, not the problem. Call (844) 662-2335 to have a technician assess the base before replacing any stone.
Efflorescence is cosmetic in most cases – it’s salt migrating to the surface with moisture and drying as a white haze. Clean it with a dedicated paver cleaner (not muriatic acid) and address any persistent moisture source. If it keeps coming back in the same spot after three or more cleanings, have the drainage assessed. Call (844) 662-2335 for a free estimate.
Edge rollout is not a reasonable DIY repair because it requires removing the outer row, rebuilding the edge restraint on a compacted footing, and re-establishing the paver interlock. In West Covina’s heat, a plastic edge restraint spiked into soil rarely holds for more than two summers. A concrete curb-restrained edge is the durable fix. Call (844) 662-2335 for a free estimate.
Targeted repairs (a small section of sinking pavers, edge restraint replacement on a short run, joint sand refill) are a modest cost, while full-section base reconstruction runs significantly higher because of the excavation, aggregate base, and re-installation. We give written line-item quotes with no change orders – the number you see is the number you pay – and $1,000 off projects over $10,000, plus 0% financing for 18 months. Call (844) 662-2335 for an exact quote.
No. We give a written line-item quote after a site visit, and that’s the number you pay. The only exception is if the scope changes because you ask for something additional – then we quote the change before doing the work. Upfront pricing, no surprises. Call (844) 662-2335 for a free estimate.
Permit requirements for driveway and paver work vary by scope and by what interfaces with the public right-of-way – any driveway apron touching the street typically requires a permit from the local jurisdiction. We handle permit pulling for permitted work as part of the project. Call (844) 662-2335 to confirm the permit scope for your specific project.
The Bottom Line
The five paver failure patterns – sinking, shifting, cracking, efflorescence, and edge rollout – all have one thing in common: the visible symptom is almost never the root cause. Diagnosing the base, the drainage, and the edge restraint before touching the stone is what separates a one-time repair from a cycle of repeat fixes. If a sink is small and you’ve identified and stopped the water source, a targeted repair is fair. If it’s broad, in a line, or has come back after a prior patch, the base needs to be rebuilt. That’s a professional call, and getting there faster is what we do.
When you’re ready to get eyes on it, Groundwork Construction Co. of West Covina offers a free estimate and design consult. Call (844) 662-2335 to schedule yours. We’ll walk the driveway, tell you what’s actually failing, and put the fix in writing.
For broader home construction work coordinated with a driveway project – from additions and ADUs to windows and roofing – start with the Groundwork Construction Co. of West Covina home page, or explore the full-scope Home Additions & ADU in West Covina work. Every project comes backed by the 730-Day Done Right Promise, upfront pricing, and 0% financing for 18 months.
Written by the team at Groundwork Construction Co. of West Covina.
See the difference
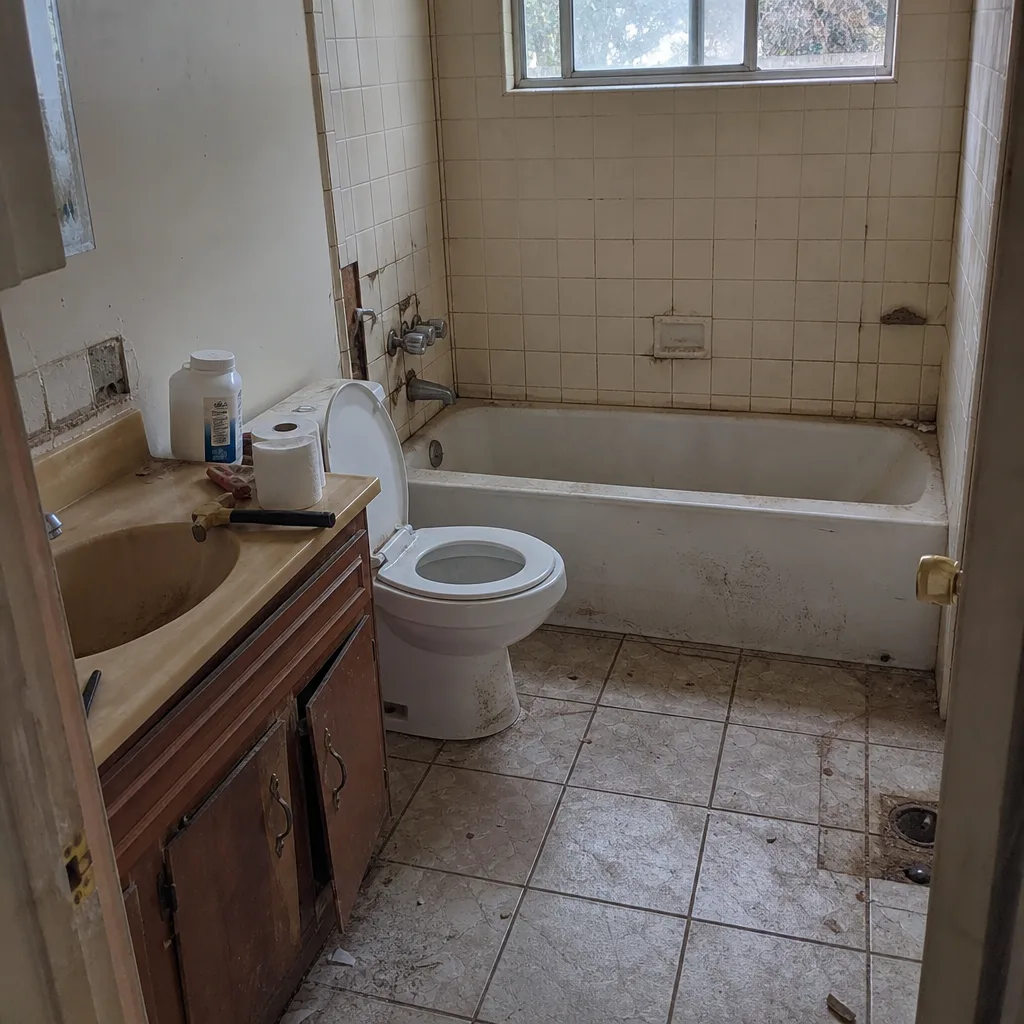 Before
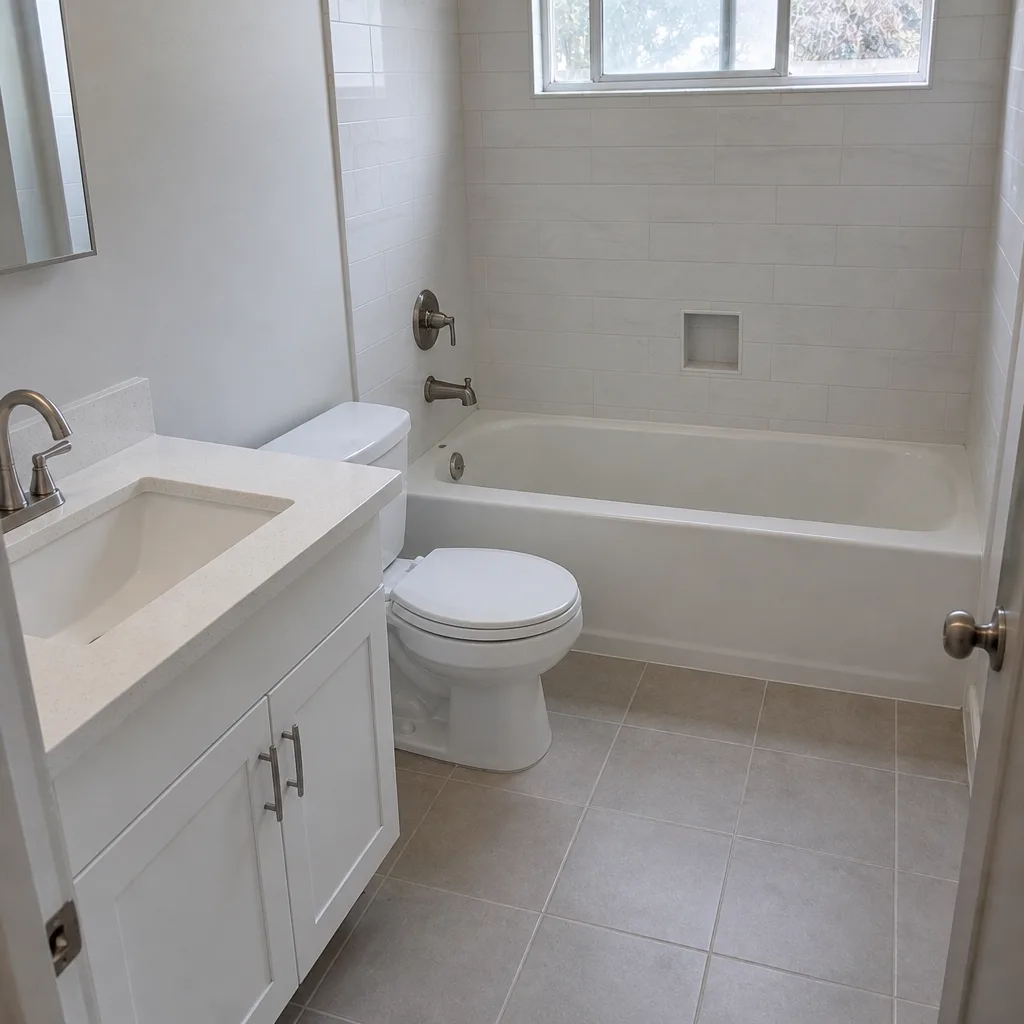 After
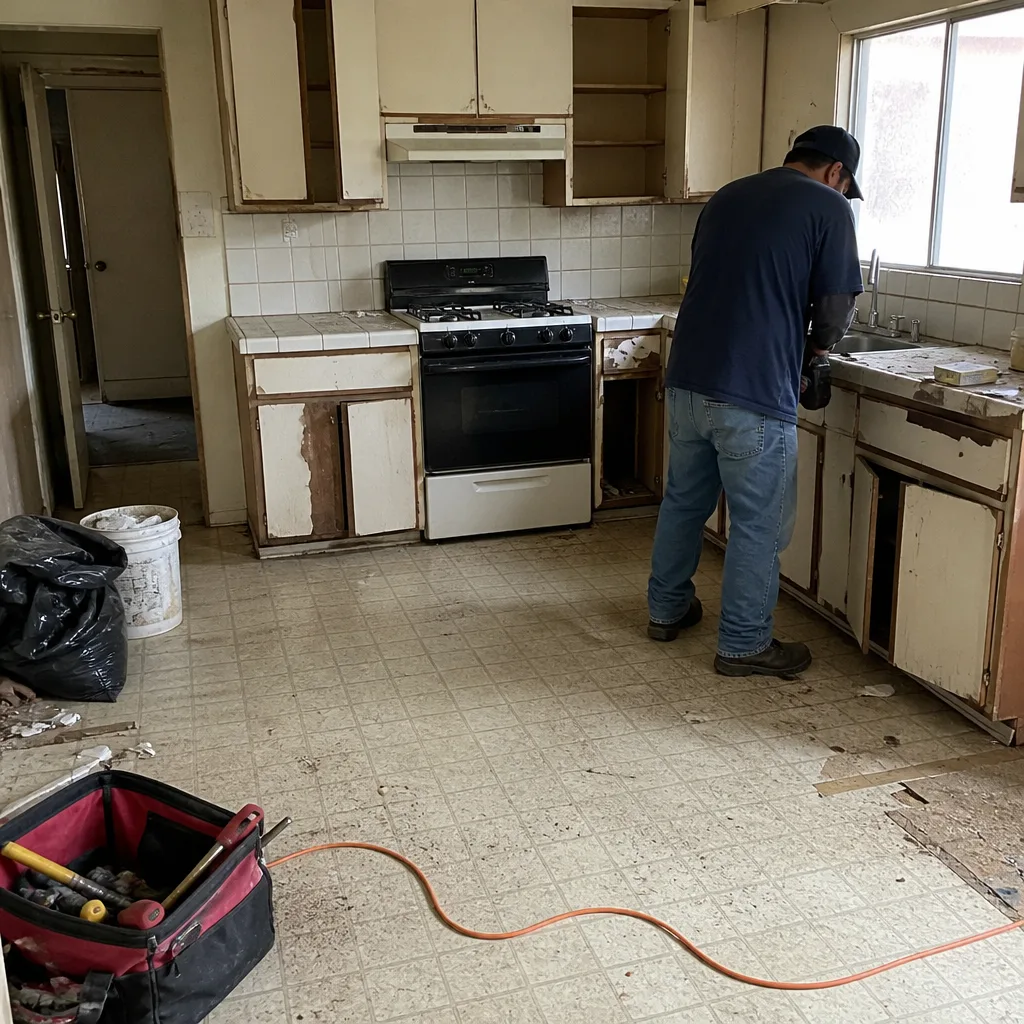 Before
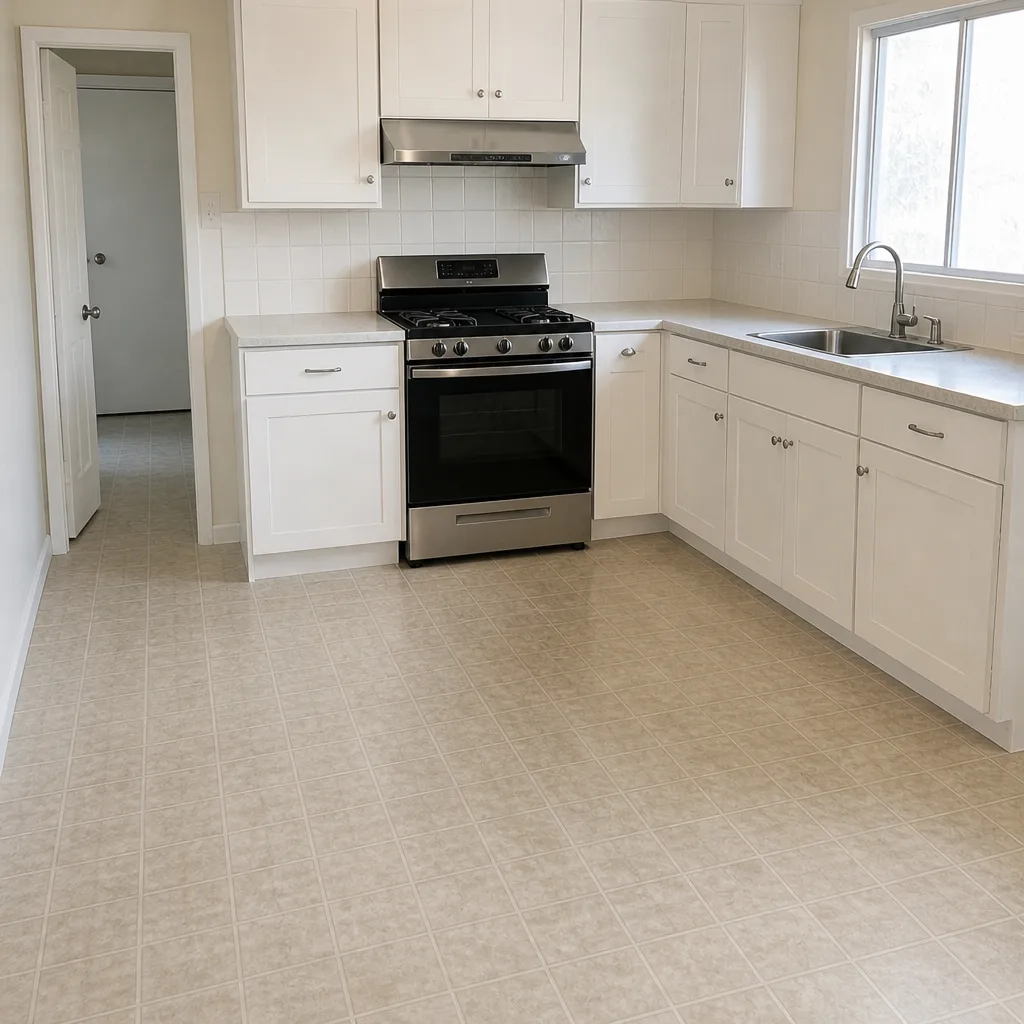 After
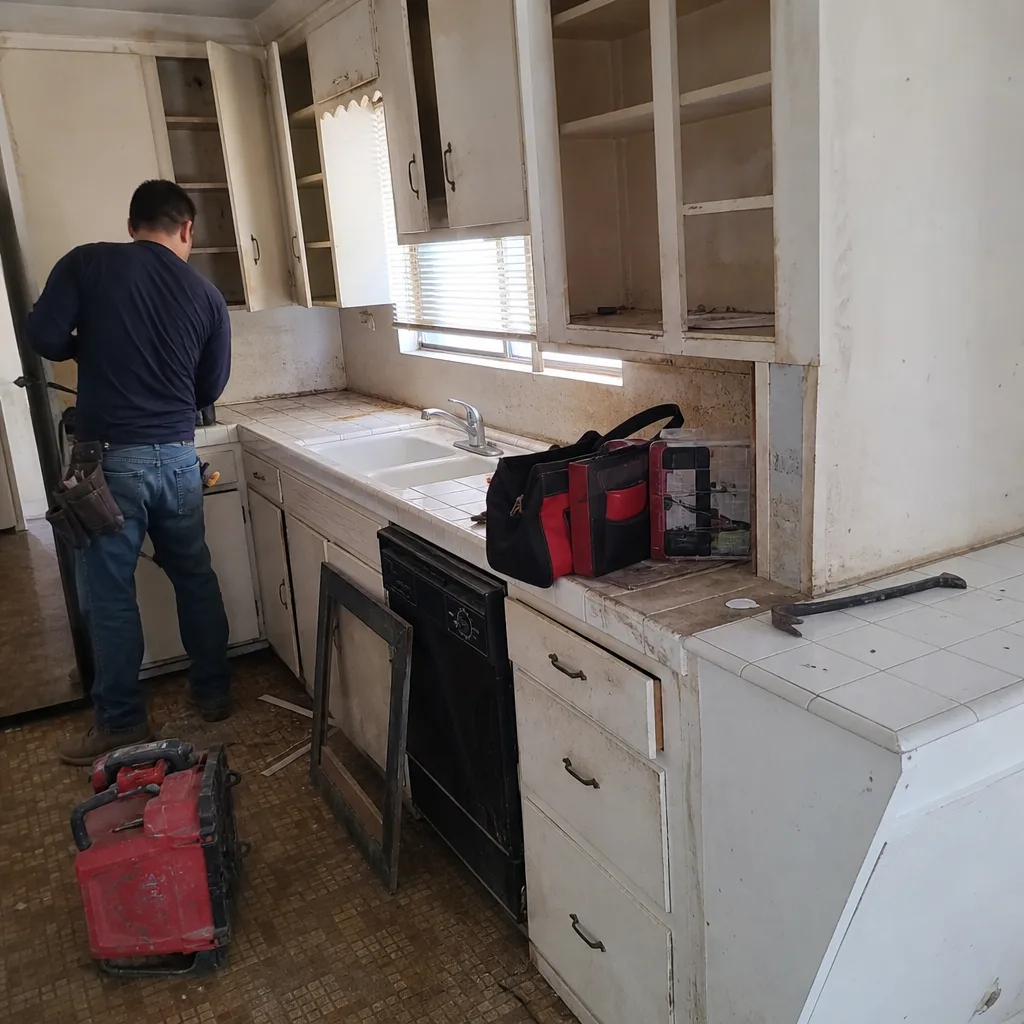 Before
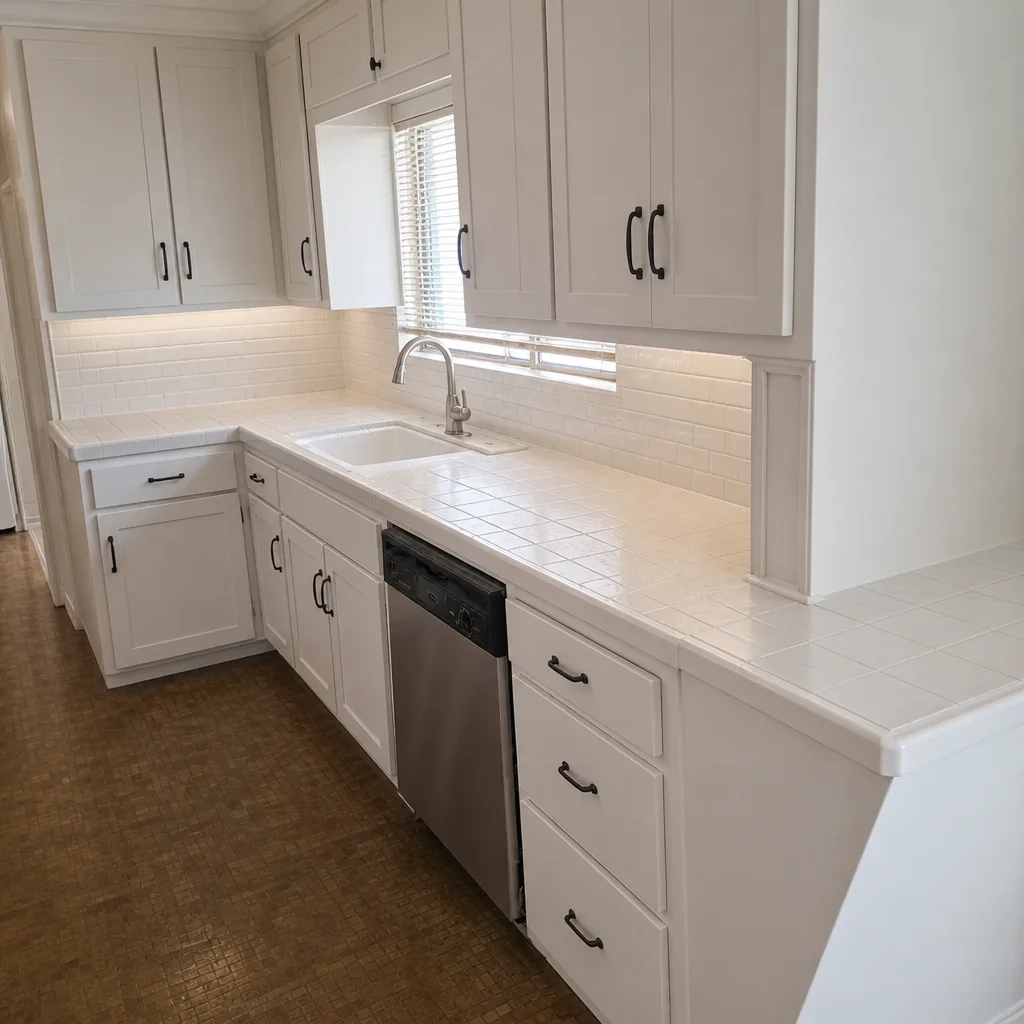 After