Last updated November 18, 2026

Free written scope consultation - allowances, timeline, and change-order rules on paper before a single trade is scheduled
Driveway & Pavers Maintenance Checklist for West Covina Homeowners
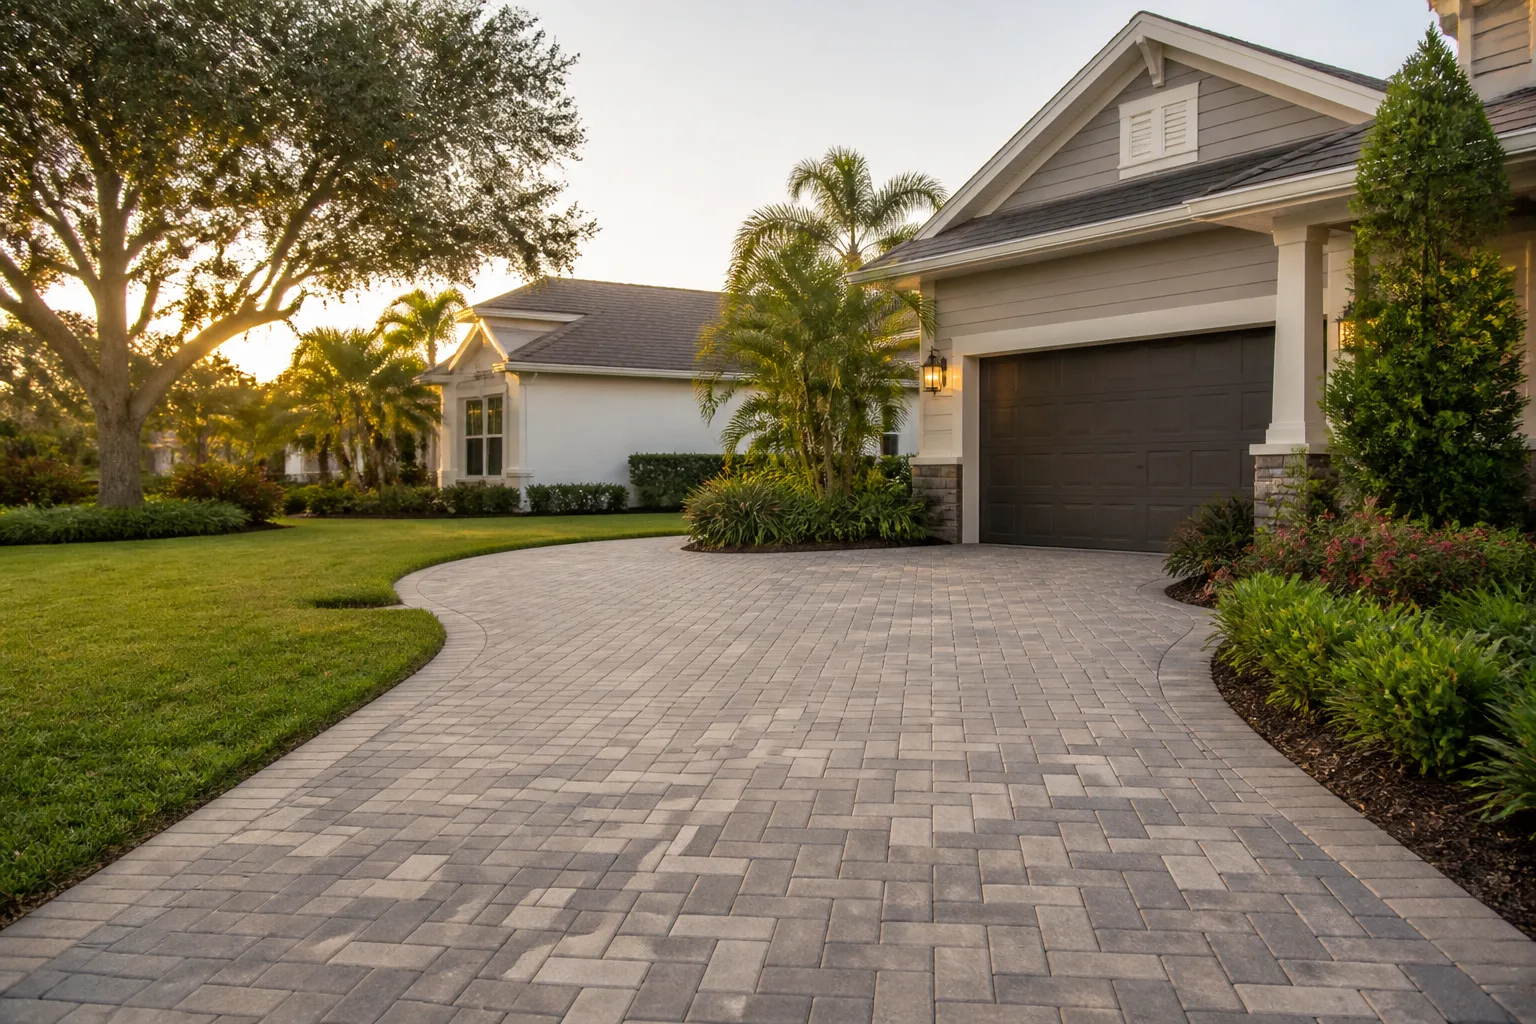
A paver driveway that looks perfect in March can be shifting and cracking by October in West Covina, and the cause is almost never a bad installation. It’s usually the sealer. Homeowners here reach for the same heavy film-forming product a cousin in Ohio swears by, apply it in July, and trap the one thing inland Southern California pavers can’t handle: trapped moisture under a hard shell that the sun bakes from above. This guide is built around what actually destroys driveways in the San Gabriel Valley, not the freeze-thaw advice you’ll find on most national sites. You’ll learn how to read UV breakdown versus base failure, which street trees to worry about, and the real re-sand and re-seal intervals for our heat zone.
Quick Answer
The core of paver and driveway maintenance in West Covina is a two-season inspection cycle (once at the end of the dry season in September or October, and once after the first real winter rains), re-sanding joints every 2 to 3 years, and re-sealing with a breathable, UV-stable product every 3 to 4 years rather than the 5 to 7 years recommended for cooler climates. Most failures we see in West Covina trace back to water getting under the surface, not to the pavers themselves.
Styles & brands we work with
- Kitchen remodeling
- Bathroom remodeling
- Home additions & ADU
- Roofing
- Windows & doors
- Driveway & pavers
- Fence
Table of Contents
- Why West Covina’s Climate Breaks the Standard Advice
- The Two-Season Inspection Calendar
- UV Breakdown vs. Base Failure: How to Tell Them Apart
- Root Intrusion: Which Street Trees Are the Real Threat
- Re-Sanding and Re-Sealing Intervals for Inland Heat
- A Real Repair vs. a Cosmetic Patch
- Pavers vs. Concrete Driveways: Which Needs More Attention Here
- Common Mistakes to Avoid
Why West Covina’s Climate Breaks the Standard Advice
Most driveway maintenance content online is written for regions with four hard seasons. The advice assumes that water is the enemy, that a freeze will crack anything holding moisture, and that the annual cycle is dominated by thaw and refreeze. West Covina doesn’t play that game. Our problem is the opposite: long stretches with almost no rain, surface temperatures on exposed pavers that push well past 140°F on a July afternoon, and months of dry air that pull moisture out of everything, including the joint sand.
What that means in practice is that three failure modes dominate here and almost nowhere else:
- UV degradation of sealers. A film-forming acrylic sealer that would last five years in a milder climate can chalk and break down in two or three under direct San Gabriel Valley sun. Once it crazes, it starts to trap moisture beneath the film instead of protecting the pavers.
- Oil and stain saturation from dry-season drips. Our driveways stay dry for months at a time. A single oil drip in June sits on hot, dry concrete or pavers and gets pulled deep into the surface before rain ever hits it. By the time the first winter storm arrives, the stain is set.
- Root intrusion from mature street trees. West Covina has a lot of aging ficus, sycamore, and eucalyptus along residential streets. Their roots are shallow, aggressive, and happy to lift a paver base from underneath.
None of those three problems respond to the same fix. A homeowner who treats a UV sealer failure as if it were a base failure will re-level and re-sand a driveway that was structurally fine, then watch it degrade again in a year. Reading the failure correctly is the entire game here. We see that pattern constantly in West Covina, and it’s the fastest way to waste money on a repair you didn’t need.
The Two-Season Inspection Calendar
You don’t need to be on your hands and knees every month. Two properly timed inspections per year catch almost everything a West Covina driveway is going to throw at you. Time them to the climate, not to the calendar year.
Inspection 1: End of the Dry Season (September to October)
This is the most important check of the year in West Covina. Your driveway has just survived five months of heat, UV, and dry air. Before the rains start, you want to know exactly what the summer did.
- Walk the full driveway in the late afternoon when the sun is low. Shadows reveal heave, settling, and joint sand loss you’d miss at noon.
- Look for individual pavers sitting proud of the field or sunken below it. Isolated single-paver movement is usually base-related. A whole field shifting together suggests a drainage problem.
- Probe the joint sand with a screwdriver handle. It should be firm and level. If it’s soft, hollow, or washing out, the joints need re-sanding before winter.
- Check the sealer. Run a hand over the surface. Chalky dust, a matte and cloudy finish, or visible crazing (fine cracks in the film) all mean UV breakdown is underway.
- Look at the oil drip zones under your parking spot. Treat stains now while they’re still near the surface.
- Clear leaf litter and dirt from the lowest edge of the driveway and any drainage swales. Blocked drainage in a dry spell is a hidden problem waiting to show up in the first storm.
Inspection 2: After the First Winter Rains (November to December)
That first real storm after a long dry spell tells you more about your driveway than any other day of the year. Watch where water pools and how long it takes to drain.
- Water should sheet off within an hour after the rain stops. Standing water in any low spot for more than a day is a warning sign of grade loss or a blocked under-drain.
- Walk the driveway after the storm and feel for soft, spongy joints. Water working into a failed base joint will soak the sand and let pavers rock underfoot.
- Check the transition zone where the driveway meets the garage slab and where it meets the sidewalk. Two separate slabs settle in different places, and that’s where the first cracks and chips tend to show up.
If you can only do one inspection, do the fall one. But the winter read catches anything the dry season hid. When it comes down to it, a driveway that fails in West Covina is nearly always one that went into the rainy season with soft joints or a compromised sealer.
UV Breakdown vs. Base Failure: How to Tell Them Apart
This is where most homeowners misdiagnose their own driveway, and it costs them real money. UV sealer failure and base failure look eerily similar from standing height: the surface looks worn, joints look rough, and the whole thing seems “wrong.” Underneath, they’re two completely different problems with two completely different fixes.
Signs of UV Sealer Breakdown
- A whitish, chalky haze on the surface that wipes off with a finger
- A sealer film that’s gone cloudy or has fine hairline cracks in a web pattern
- Color fading faster in the sun-exposed middle of the driveway than in the shaded edges
- Paver surfaces that feel slightly rough or sandpaper-like where the film has worn through
- No individual pavers sitting proud or sunken; the field itself is level
UV breakdown is cosmetic at its core. The pavers and base are fine. It needs a proper strip and re-seal with a breathable, UV-stable product, and that’s it. Doing a base repair on a UV-failed driveway is money thrown away.
Signs of Base Failure
- Individual pavers that rock, wobble, or sound hollow underfoot
- Visible vertical steps between pavers, or dip in one area that fills with water
- Joint sand that won’t stay put no matter how many times you top it off
- Low spots that develop within weeks of each other, particularly along a wheel path
Base failure is structural. The pavers themselves are fine. The compacted gravel and bedding sand under them have lost grade, usually through water intrusion or drainage that isn’t moving water where it should. Fixing the surface alone (re-sand and re-seal) is a cosmetic patch that hides the problem for a season or two. The fix has to get underneath. We see this constantly on driveways ordered online and installed on a quick base. The pavers look great the first year and start to read the sun after two. A properly built base, laid by an independent professional who knows to run drainage correctly here, is what makes the difference.
For a broader look at how a proper paver driveway gets built and what should be underneath yours, our team’s guide to Driveway & Pavers in West Covina walks through base prep and drainage from the ground up.
Root Intrusion: Which Street Trees Are the Real Threat
West Covina’s tree canopy is one of the best things about the city, and one of the most expensive things about a driveway. When we walk a driveway that’s heaved in one corner, the tree is almost always the reason. The catch is that not all trees are equally aggressive, and root intrusion risk depends much more on species and proximity than on tree size.
The Aggressive Species to Watch
- Ficus. Shallow, aggressive, and notorious for lifting hardscape. Ficus is the single most common culprit we see in West Covina. Any ficus within 15 feet of a driveway edge should be considered a long-term risk.
- Eucalyptus. Deep-rooted but sprawling, with a root system that will find the loosest soil it can and take it. Treat any eucalyptus within 20 feet of a paver install as a real threat.
- Sycamore. Large surface roots spread wide and can lift a paver field from underneath if given half a chance. Anything within 15 feet of a driveway corner should get close attention.
How Close Is Too Close?
As a rough rule for a West Covina paver install: a ficus or sycamore within 15 feet of the driveway edge is a high-risk root zone. A eucalyptus within 20 feet is a similar risk. Smaller ornamental street trees (crape myrtle, ornamental pear, and similar) are generally fine within 10 feet. When a tree is already within that root zone, that doesn’t mean you can’t have a paver driveway. It means the base needs a root barrier, and the pavers need to be laid to allow for future movement. We’ve built plenty of driveways next to mature trees in West Covina by planning for roots from the start instead of cleaning up after them.
If your driveway runs alongside a cracked or leaning fence that’s also being pushed by roots, that fence is a separate problem worth checking. Our page on Fence Installation in West Covina covers the root and grade issues that often hit driveways and fences together.
Re-Sanding and Re-Sealing Intervals for Inland Heat
The intervals you’ll read on most national sites are too long for West Covina. Those numbers are built around milder climates where the sealer isn’t sitting in direct inland sun all summer. Here’s what we actually see hold up in our heat zone.
- Re-sanding: every 2 to 3 years. The dry season pulls moisture out of joint sand, and wind and foot traffic strip it from the highest points of the pavers. Once joints are more than about a quarter-inch below the paver surface, the sand has to be topped off. Leaving joints low accelerates every other failure.
- Re-sealing: every 3 to 4 years. A quality breathable, UV-stable sealer will hold up longer on a shaded driveway and shorter on a fully sun-exposed one. If the driveway faces west or south, plan on the shorter end. If it’s shaded most of the day, you can push to the longer end.
- Stain treatment: same season as the drip. An oil stain that’s allowed to sit through a dry summer is much harder to lift than one treated within a few days. Hit drips fast; that alone saves the cost of a re-seal down the line.
How to Re-Seal Correctly
- Clean thoroughly. Sweep and, if there’s organic growth or set-in stains, pressure wash at low pressure. Give the driveway at least two dry days before sealing.
- Re-sand the joints first. Fill every joint to just below the paver surface with fresh joint sand and compact it. Sealing over low joints locks in the low joints and does nothing for them.
- Choose a breathable, UV-stable sealer. A “breathable” sealer lets moisture escape. The wrong product here is the #1 cause of a re-seal going wrong in West Covina. A water-based, UV-stable sealer is the right tool for our conditions.
- Apply in the cool part of the day. Early morning, never at midday in the summer. Sealer applied to a hot paver surface flashes off too fast and leaves a haze you can’t get out.
- Test a hidden area first. A small test patch on a shaded corner tells you whether the sealer will look right before you commit the whole driveway.
Re-sanding and re-sealing done at the right intervals is the single best thing you can do for a West Covina paver driveway. It’s cheap compared to a rebuild, and it’s the difference between a driveway that looks new at year 10 and one that’s cracking at year 5.
A Real Repair vs. a Cosmetic Patch
Not every fix is a real fix, and the difference matters most in West Covina, where a cosmetic patch can look great right up until the first winter storm. Here’s how to tell whether the repair you’ve been quoted is legitimate or just hiding a drainage or base problem underneath.
Signs of a Legitimate Repair
- The contractor lifts and inspects the pavers and the base underneath before quoting a repair.
- Drainage is addressed. A real repair on a driveway that holds water involves slope correction, a swale, or an under-drain, not just re-sanding.
- Root intrusion is dealt with. A repair that lifts pavers damaged by roots without a root barrier is a repair that’s coming back in a few years.
- The sealer is matched to the conditions. A breathable, UV-stable product that’s right for inland Southern California, not whatever the installer stocks.
Signs of a Cosmetic Patch
- Re-sanding and re-sealing quoted on a driveway where pavers are already rocking. That hides base failure for one season at best.
- Any quote that doesn’t address a water problem the driveway is visibly suffering from.
- Pavers lifted for repair and laid back without checking the bedding sand for soft or washed-out areas.
- A sealer with no UV rating applied in July, in full sun, in a single coat.
The tell is always the same: a real repair quotes the base and drainage issues, not just the surface. If a quote is all re-sand and re-seal on a driveway with a known drainage problem, that quote is a patch. It’s the kind of thing that makes a homeowner want to see a printed line-item bid before anything starts.
Pavers vs. Concrete Driveways: Which Needs More Attention Here
Both are common in West Covina, and they need different care. It’s worth knowing which you have before you read a maintenance guide built for the other one.
- Concrete driveways are more vulnerable to heat cracking and oil staining. A long expanse of poured concrete in our inland heat takes on expansion and contraction cycles that crack it, and a dry-season oil drip will stain concrete that hasn’t been sealed. Sealing a concrete driveway every few years pays for itself here.
- Paver driveways are more vulnerable to joint sand loss and root movement. Because the joints are the weak point, water intrusion and tree roots do more damage to pavers than to a monolithic slab, which is why the two-season inspection habit matters more for pavers.
- Both respond to the same drainage fixes. In West Covina, water is still the biggest cause of failure under either surface. Getting the slope and drainage right protects a concrete or a paver driveway equally.
The reason we lean toward pavers for most West Covina homes is that a paver driveway can be repaired one section at a time. A cracked concrete driveway is usually a replacement or a patch that never matches. Pavers, laid properly with Belgard, Unilock, or Tremron products and a real base under them, can be lifted and reset without replacing the whole surface. That’s a long-horizon value argument more than a short-term price argument. A properly built paver driveway backed by a real workmanship guarantee is a different purchase than the cheapest per-square-foot quote.
Common Mistakes to Avoid
- Sealing a driveway with a heavy film-forming acrylic. It’s fine in cooler climates and a disaster in West Covina. The sun bakes the film, it crazes, and it starts trapping moisture against the pavers. Choose a breathable, UV-stable sealer and you’ll sidestep the single most common failure here.
- Ignoring joint sand because it “still looks fine.” Jointsand loss is invisible from standing height. Probe with a screwdriver and fill to just below the paver surface; if you’re topping off the same joints every season, your base may already be moving.
- Treating a rocking paver as a cosmetic issue. A rocking paver is a base problem, every time. Re-sanding over it is a patch that hides the failure until the first decent rain. Lift, check the bedding, fix the base, and re-lay.
- Planting or keeping a ficus within 15 feet of a paver edge. Ficus in West Covina will find the loose base and lift it. Plan for roots at install or plan for a repair, no third option.
- Pressure washing at full pressure. A heavy pressure wash strips joint sand and can gouge a sealer film. Wash at low pressure and re-sand the joints afterward. The number of driveways we’ve seen ruined by a too-aggressive weekend wash is sobering.
- Sealing in the middle of the day in the summer. A hot paver surface makes sealer flash before it can level, leaving a cloudy haze. Apply in the cool morning and plan for it to look right when it dries, not when it’s laid.
- Forgetting the drainage check after the dry season. Standing water after the first winter rain means the driveway isn’t moving water off. Fix it before the next storm, not after.
See the difference
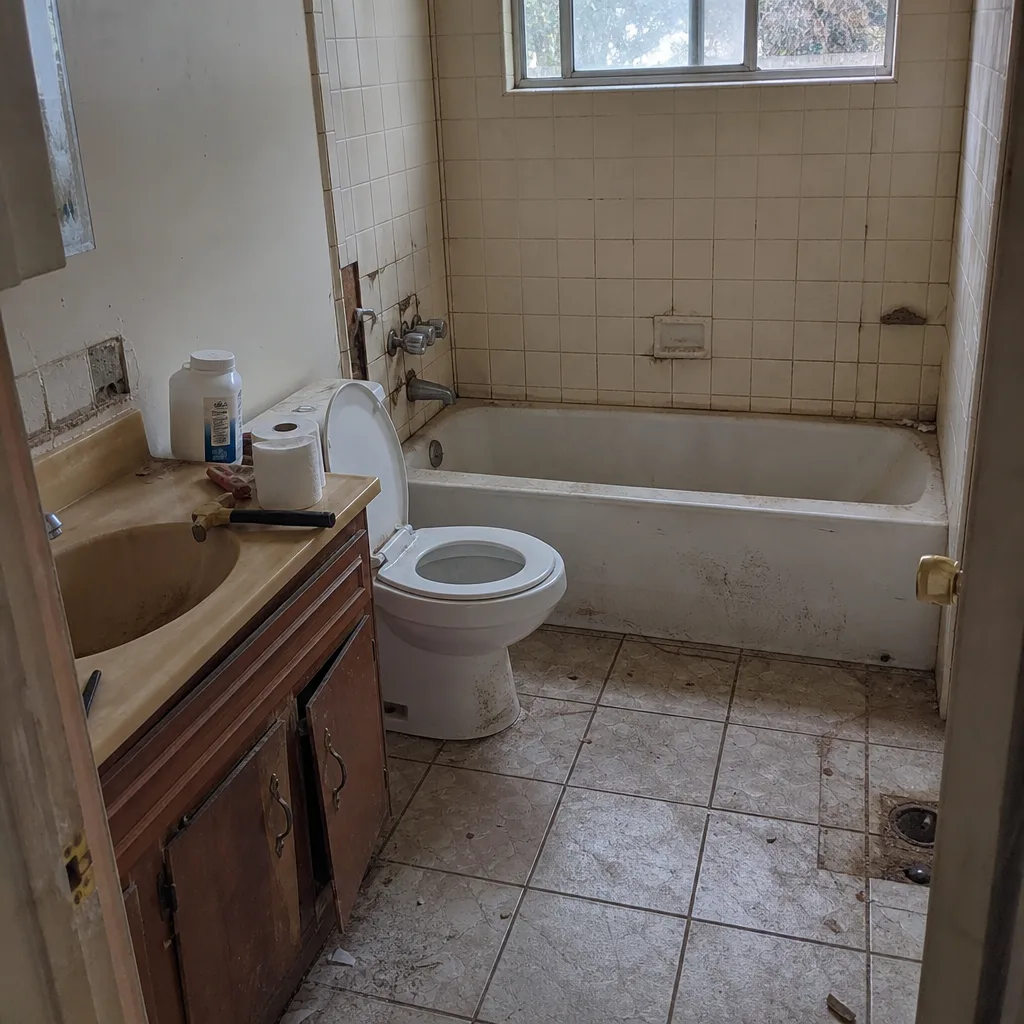 Before
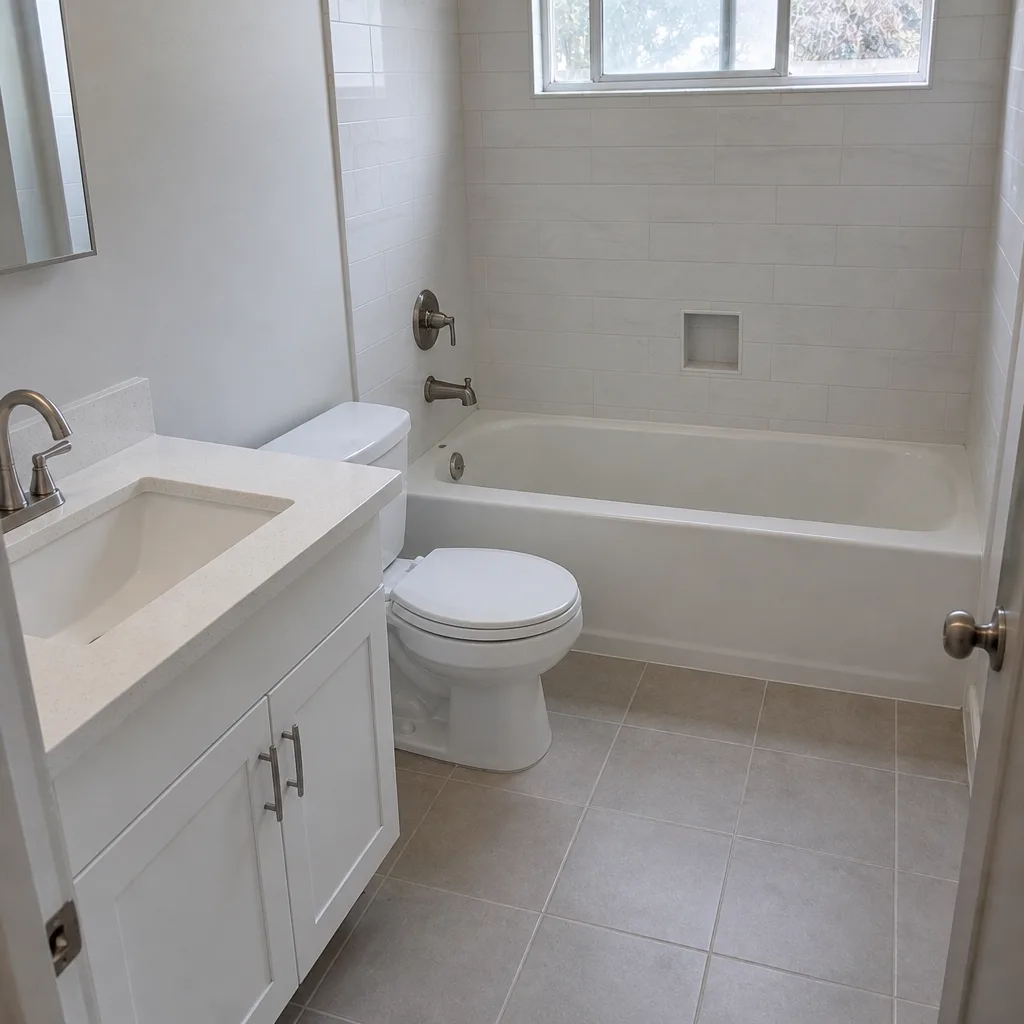 After
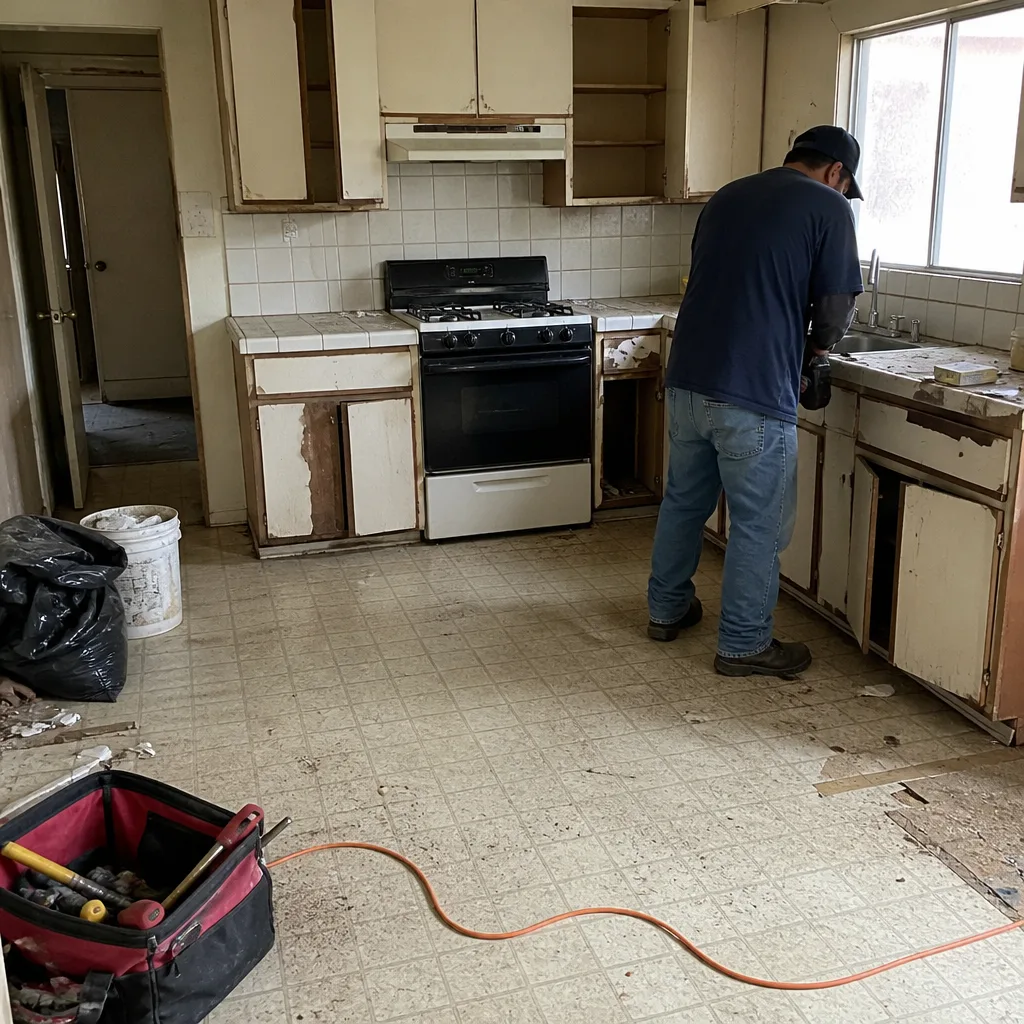 Before
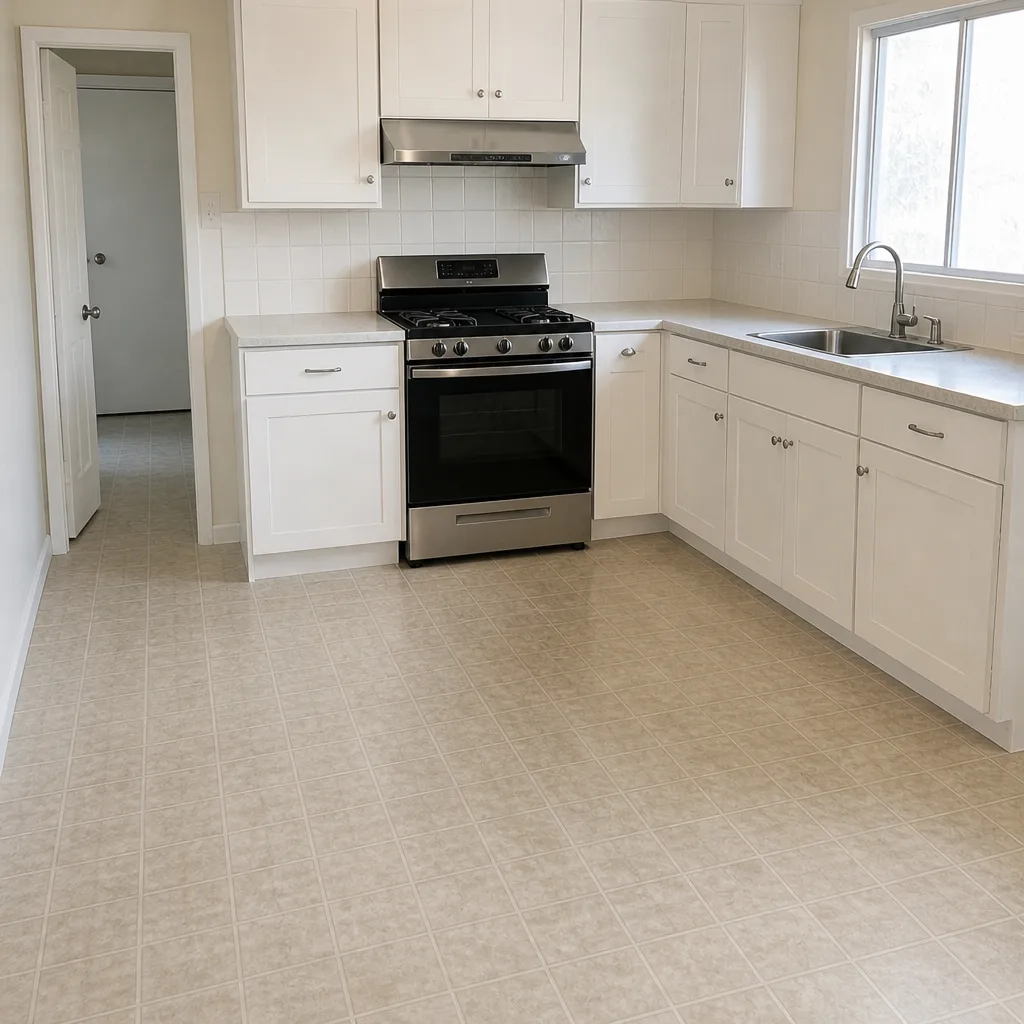 After
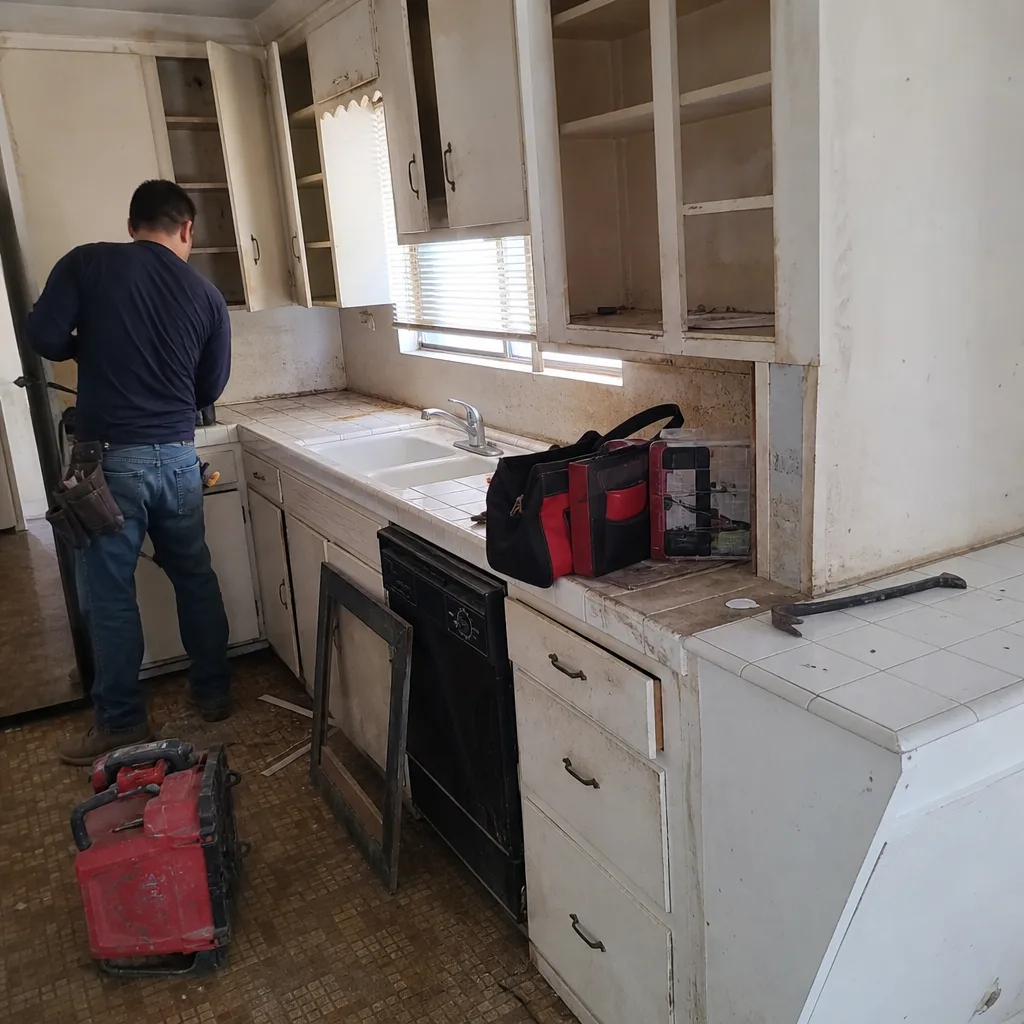 Before
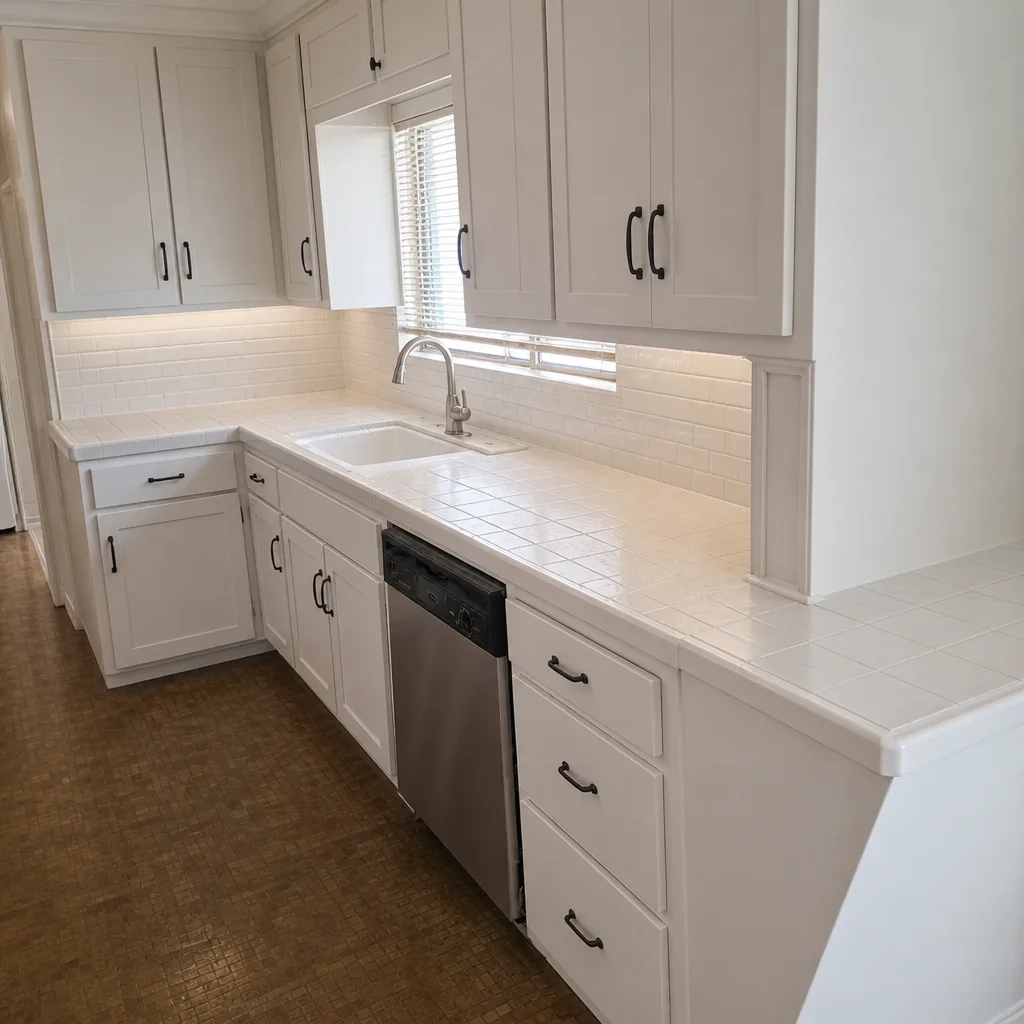 After
When to Call a Professional
Most of this checklist is DIY-friendly. Two things aren’t. If your pavers are rocking, individual pavers have settled, or joint sand won’t stay put, the base is failing, and the fix has to get underneath. That’s a lift-and-rebuild job, not a re-sand. Similarly, if a mature ficus, sycamore, or eucalyptus is within its root zone and the driveway is showing movement, the fix involves root barrier or base reconstruction that’s beyond a weekend project. And if the driveway holds water after every winter rain, drainage correction is a slope-and-swale job that’s much cheaper done right than chased after. Groundwork Construction Co. of West Covina offers free estimates in West Covina: call (844) 662-2335.
Frequently Asked Questions
Every 3 to 4 years in West Covina, not the 5 to 7 years that national guides recommend for cooler climates. A west- or south-facing driveway can degrade faster and may need it closer to every 3 years. The tradeoff is worth it; the right re-seal interval is the cheapest long-term protection a paver driveway has. Call (844) 662-2335 for a free estimate on a strip and re-seal, and we’ll tell you what interval makes sense for your driveway.
Probe a joint with a screwdriver. If the sand sits more than a quarter-inch below the paver surface, the joints have lost enough sand to need re-sanding. Joints that keep washing out no matter how many times you top them off are a sign of water moving through the base. Call (844) 662-2335 for a free inspection; we’ll tell you whether it’s a sanding job or a base problem before you pay for a repair.
Yes. Ficus is the most aggressive street tree for lifting a paver base in West Covina, and any ficus within 15 feet of a driveway edge should be treated as a long-term risk. Eucalyptus and sycamore are close behind at 15 to 20 feet. If you have a mature ficus near your driveway, plan a root barrier at install time. Call (844) 662-2335 for a free estimate on a driveway that plans for roots from the start.
A breathable, water-based, UV-stable sealer. That’s the correct product for inland Southern California’s high-UV, low-moisture conditions. A film-forming acrylic, which is what many homeowners reach for, is wrong for this climate and tends to craze in the sun. Call (844) 662-2335 for a free estimate and a straight answer on what your driveway needs.
It’s usually a drainage or grade problem, and it’s the single most common cause of paver base failure we see in West Covina. Water pooling for more than a day after a storm is the warning sign. The fix is slope correction, a swale, or an under-drain; re-sanding alone won’t solve it. Call (844) 662-2335 for a free estimate and a written plan for correcting the drainage.
Yes, at low pressure, and never at full blast. High pressure strips joint sand and can gouge a sealer film; a light wash followed by a re-sand is the right approach. It’s also a good time to spot-treat oil stains while they’re still near the surface. Call (844) 662-2335 for a free estimate if your driveway needs a re-sand and re-seal done properly.
The Bottom Line
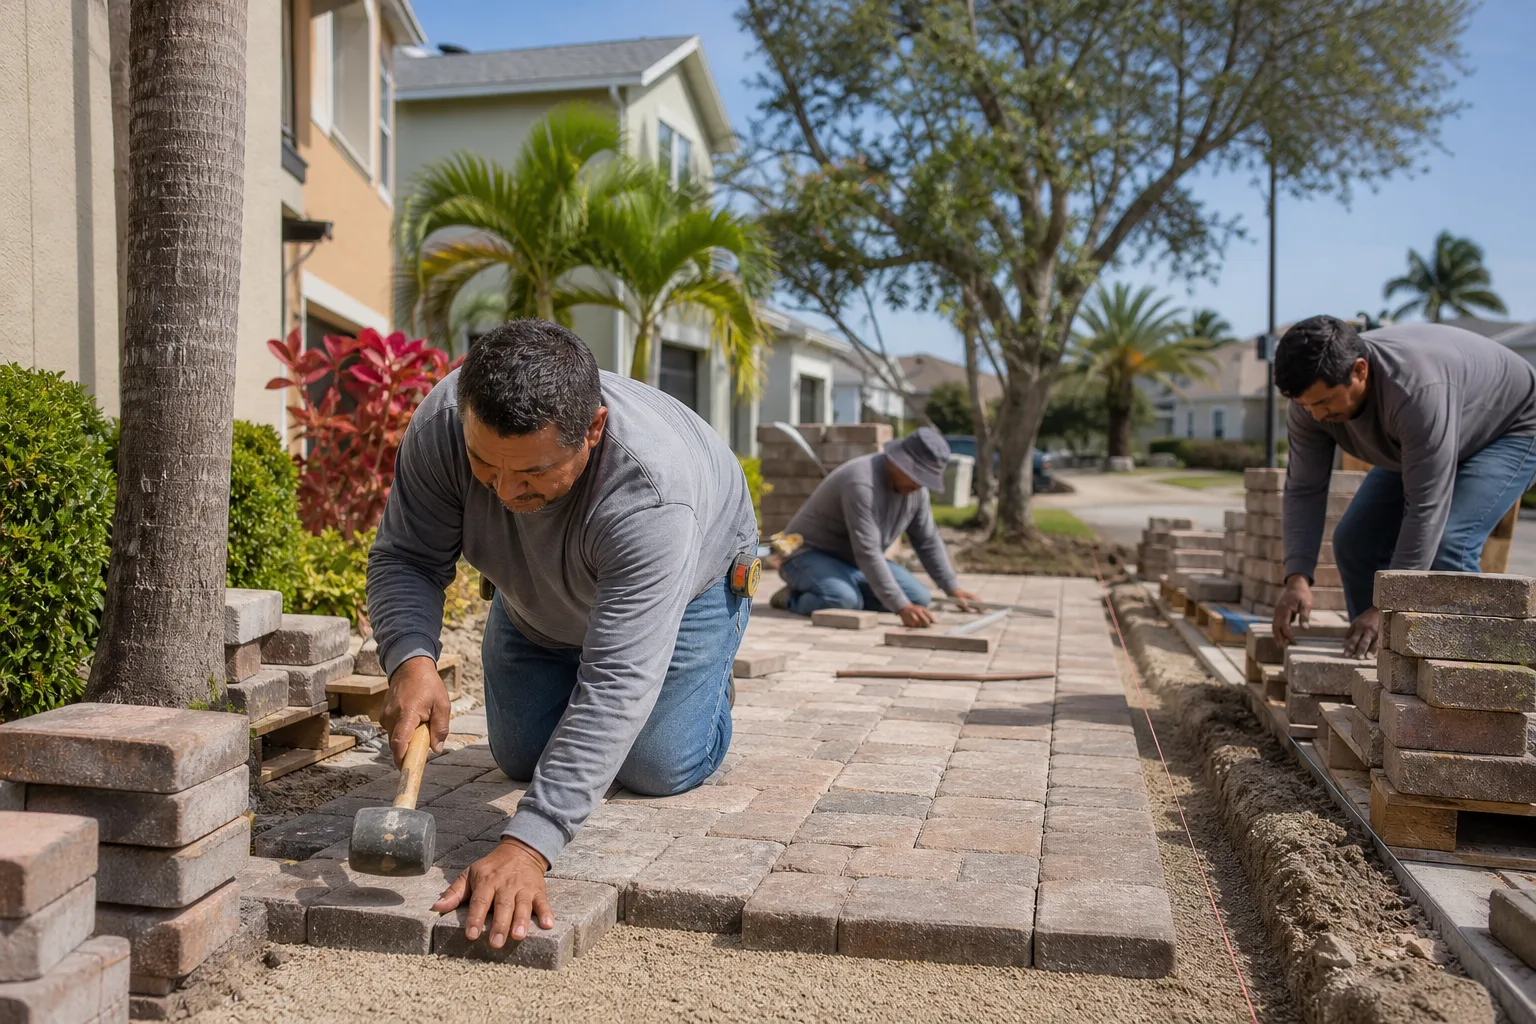
Driveway maintenance in West Covina is climate-specific work, and the national advice gets it close to backwards. The threats here are UV sealer degradation, dry-season oil saturation, and root intrusion from mature street trees, and each one needs a different fix. The two things that carry most of the weight: the two-season inspection (fall and after the first winter rains), and keeping joints sanded and the sealer breathable and current at the 3-to-4-year interval. Do those, and your pavers will look new for a long time. Skip them, and the fix gets a lot more expensive. When in doubt, get a professional read on whether you’re looking at a UV issue or a base issue, and let that decision drive the repair.
If you’d like a straight answer on your own driveway, Groundwork Construction Co. of West Covina is here. Our technicians have up to 12 years of experience, every project is covered by our 730-Day Done Right Promise, and upfront pricing means the number you see is the number you pay. We answer the phone live, 24 hours a day, and we’ll walk your driveway with you at no cost. For the full picture of what we build and what we stand behind, see our Groundwork Construction Co. of West Covina home page, our Driveway & Pavers in West Covina service page, our Fence Installation in West Covina service, and our Home Additions & ADU in West Covina offering. Call (844) 662-2335 to schedule your free estimate today.
Written by the team at Groundwork Construction Co. of West Covina.