Last updated November 18, 2026
Free written scope consultation - allowances, timeline, and change-order rules on paper before a single trade is scheduled
DIY vs Professional Windows & Doors: What’s Safe to Do Yourself
A window rough opening that’s a half-inch out of plumb won’t show up until the first hard rain finds the gap in your flashing, typically 8 to 14 months after installation, long after a DIYer has moved on to the next project. By then the drywall’s stained, the sill’s soft, and the “weekend job” has become a repair bill. In West Covina, where we get our rain in concentrated bursts between December and March, that failure window is compressed and unforgiving. This guide separates what a capable homeowner can genuinely handle from what only a trained crew should touch, so you know exactly where your DIY line sits before you buy a single tool.
Quick Answer
Replacing window and door hardware, weatherstripping, and installing a storm door are safe DIY projects for most homeowners. Replacing an entire window or exterior door, whether an insert replacement or a full-frame job, is professional work because it involves waterproofing, structural framing, and California permit requirements that a mistake-prone installation will hide until water damage surfaces months later. If the job requires cutting into the wall, removing a frame, or touching a load-bearing header, call a licensed crew.
Styles & brands we work with
- Kitchen remodeling
- Bathroom remodeling
- Home additions & ADU
- Roofing
- Windows & doors
- Driveway & pavers
- Fence
Table of Contents
- Insert Replacement vs. Full-Frame: Two Very Different Jobs
- The Flashing and Sill Pan System DIY Videos Skip
- California Permits: What Triggers Inspection in West Covina
- The Structural Reality of Door Openings
- What a Skilled DIYer Can Confidently Handle
- What Professional Installation Actually Costs
- Common Mistakes to Avoid
- When to Call a Professional
Insert Replacement vs. Full-Frame: Two Very Different Jobs
“Window replacement” gets used as one phrase, but it describes two jobs that share almost nothing. Understanding the difference is the first real decision point in the DIY vs professional window and door installation question.
Insert replacement means the old sash and glass come out and a new pre-hung window unit slides into the existing frame. The original frame, sill, and surrounding drywall stay put. It’s faster, cheaper, and genuinely accessible to a careful homeowner, though it still requires correct shimming, insulating, and interior trim work. Insert replacement is common in West Covina’s mid-century tract homes where the original wood frames are still structurally sound.
Full-frame replacement means the entire window comes out down to the rough opening: frame, sill, flashing, and often some siding and drywall. You’re now responsible for waterproofing the opening, reinstalling the sill pan, re-flashing against the weather barrier, and matching interior and exterior finishes. This is not a homeowner job. The margin for error is measured in millimeters, and the failure mode is water intrusion you won’t see for a year.
How to Tell Which One You Need
- Inspect the frame for rot, soft wood, or visible water staining. Soft wood means full-frame.
- Check whether the existing frame is square and plumb. If it’s out by more than a quarter inch, insert replacement won’t seal correctly.
- Look at the siding around the window for gaps or prior patching. If the weather barrier is compromised, you’re into a full-frame scope.
- Consider age. Frames past roughly 30 years old often can’t accept an insert cleanly.
In our experience across West Covina, roughly half the windows homeowners assume are “just inserts” turn out to need full-frame work once the old frame comes out. That surprise is exactly why a professional assessment matters before you commit.
The Flashing and Sill Pan System DIY Videos Skip
Here’s the part every window installation tutorial skips: the flashing and sill pan. A window is not watertight because the unit is sealed to the frame. It’s watertight because of a layered system behind and below it that routes water away from the opening, and if that system is wrong, the window will leak no matter how well it’s caulked.
A proper installation includes three layers:
- Sill pan: a sloped, watertight pan under the window that catches any water reaching the sill and directs it out through weep holes.
- Flashing tape: applied in a specific order (sill first, then jambs, then head) so each layer sheds water over the one below, like shingles.
- Weather barrier integration: the flashing must lap correctly over the house wrap or building paper, or water gets behind the siding.
Why This Is the Failure Point
Flashing done wrong doesn’t fail immediately. It fails after 8 to 14 months of rain cycles, when the slow leak has saturated the sheathing and worked into the wall cavity. In West Covina’s climate, with our dry summers and concentrated winter storms, that timeline can stretch to two seasons. By the time the stain shows on your interior drywall, the repair is no longer a window job. It’s drywall, insulation, framing, and sometimes mold remediation.
This is the single best argument for professional installation on any job that opens the wall. The cost gap between a proper crew and a shortcut is a fraction of the cost of water damage. For a broader picture of how installations fit into a full exterior upgrade, see our Groundwork Construction Co. of West Covina home page.
California Permits: What Triggers Inspection in West Covina
California building code treats window and door replacement as a permit-triggering project in more cases than most homeowners expect. If the work changes the size of the opening, changes the egress path, or affects structural framing, you need a permit and an inspection.
When You Need a Permit
- Changing the size of any window or door opening.
- Replacing a window in a bedroom where egress (escape) dimensions must be verified.
- Full-frame replacement that touches framing or the weather barrier.
- Converting a window to a door, or a door to a window.
- New openings in any exterior wall.
Straightforward insert replacements that keep the same opening size often don’t require a permit in West Covina, but the specific rules depend on the scope and the inspector’s read of the plans. Getting a straight answer before you start is worth the phone call.
Why Skipping the Permit Creates Real Problems
- Title and resale trouble. An unpermitted alteration can surface during a title search or buyer inspection and stall or kill a sale.
- Failed inspection later. If you sell and the buyer’s inspector flags work, you may be required to open walls to prove code compliance.
- Insurance complications. If water damage traces to unpermitted work, a claim can be contested.
- Egress safety. A bedroom window that doesn’t meet egress size is a genuine life-safety issue in a fire.
West Covina’s older housing stock makes this especially relevant. Many homes were built before current egress and energy code standards, so a “simple” window swap in a 1960s bedroom can trigger a compliance check you didn’t expect. A licensed contractor pulls the permit and manages the inspection, and that record protects you at resale.
The Structural Reality of Door Openings
A window sits in a framed opening with a header above it. A door does the same, but a door opening is larger, and that means the header above it is carrying more load. Remove or alter that header without proper support and you’re not just risking a sagging door; you’re risking the wall above it.
What a Load-Bearing Header Looks Like
A load-bearing header is typically a substantial beam, often doubled or built-up lumber, or in older West Covina homes, sometimes a steel beam or a heavy solid member. It spans the opening and carries the weight of everything above down to the jack studs on either side. You can sometimes see it in the attic or by looking at how the framing runs, but confirming it requires opening the wall or reading the structural plans. Guessing is not an option.
What Happens When You Remove One
- The opening racks out of square, and the door stops closing cleanly.
- Drywall cracks above the opening as the wall sags.
- In severe cases, the floor above deflects and finish materials crack.
- Over time, the structure loses integrity in ways that are expensive and occasionally unsafe to correct.
This is where the DIY line for doors is firmer than for windows. Widening a door or converting a window to a door means a structural change, a permit, and an engineer or experienced framer. In our experience, this is the single most common place a confident homeowner gets in over their head.
What a Skilled DIYer Can Confidently Handle
Not every window and door task is a professional job, and we’d rather you know what’s genuinely within reach than tell you everything needs a crew. Here’s an honest breakdown.
Safe for a Capable Homeowner
- Replacing door hardware. Handles, locksets, deadbolts, and hinges are straightforward swaps with basic tools. Match the backset and bore size and you’re done.
- Weatherstripping. Worn weatherstrip on doors and operable windows is a low-cost, high-impact fix. It’s a cut-and-fit job with adhesive or channel-mounted strips.
- Storm door installation. A storm door mounts to the existing exterior door frame and doesn’t alter the wall opening. It’s a two-person, half-day job for a careful homeowner.
- Threshold and sweep replacement. Door sweeps and thresholds wear out and are simple to replace, and they cut drafts noticeably.
- Window screen replacement. Re-screening a frame is a basic skill with a spline tool and screening material.
Where DIY Stops
Anything that opens the wall, changes an opening size, touches a header, or requires re-flashing crosses the line. That includes full-frame window replacement, exterior door replacement, and any job where the existing frame is soft, out of square, or compromised. Also, if a West Covina home is older and you don’t know what’s behind the drywall, opening it up is a discovery process a professional is better equipped to manage. Windows and doors are a core part of our Home Additions & ADU in West Covina work, where opening walls is routine and framing surprises get solved correctly the first time.
What Professional Installation Actually Costs
Cost is where honesty matters most. These are typical Southern California ranges for professional window and door installation; your exact number depends on size, material, and scope. A written, itemized quote should always come before any work starts.
Typical Cost Ranges
- Insert window replacement: $450 to $850 per window installed.
- Full-frame window replacement: $750 to $1,400 per window, more if siding or framing repair is needed.
- Exterior door replacement (standard): $900 to $1,800 installed.
- Exterior door with framing change or new opening: $2,500 and up, plus permit and structural work.
- Permit and inspection: varies by scope, typically a few hundred dollars where required.
What separates a professional quote from a DIY estimate isn’t just labor. It’s the flashing system, the permit, the warranty, and the accountability if something leaks. On a full exterior door or a full-frame window, the material savings of DIY rarely outweigh the water-damage exposure. Premium units from partners like Andersen and Marvin are built to last when installed correctly, and a proper installation is what lets that longevity actually mean something. For exterior projects that pair with window work, our Fence Installation in West Covina and Driveway & Pavers in West Covina pages show how we handle the full exterior envelope.
Common Mistakes to Avoid
- Skipping the sill pan. A window that sits directly on the rough sill with no sloped pan will collect water and rot the sill within a few rainy seasons. In West Covina, the concentrated winter storms find every gap.
- Flashing tape applied in the wrong order. Flashing must lap like shingles, sill first, then jambs, then head. Reversed, it channels water into the wall instead of out.
- Assuming an insert fits without checking square. An out-of-plumb opening leaves a gap no amount of caulk will fix, and it’ll leak after the first storm.
- Not pulling a permit when the scope requires it. In West Covina and across Los Angeles County, an unpermitted window or door change can stall a future sale and complicate insurance claims.
- Removing a header without confirming it isn’t load-bearing. Widening a door to make a room feel bigger is a common DIY goal and a common structural mistake.
- Caulking over an existing leak instead of fixing the flashing. Caulk is a temporary seal, not a repair. The leak traces back to the flashing system, and hiding it only delays the damage.
- Buying a premium window and installing it poorly. The best unit on the market fails if the opening it sits in isn’t waterproofed correctly.
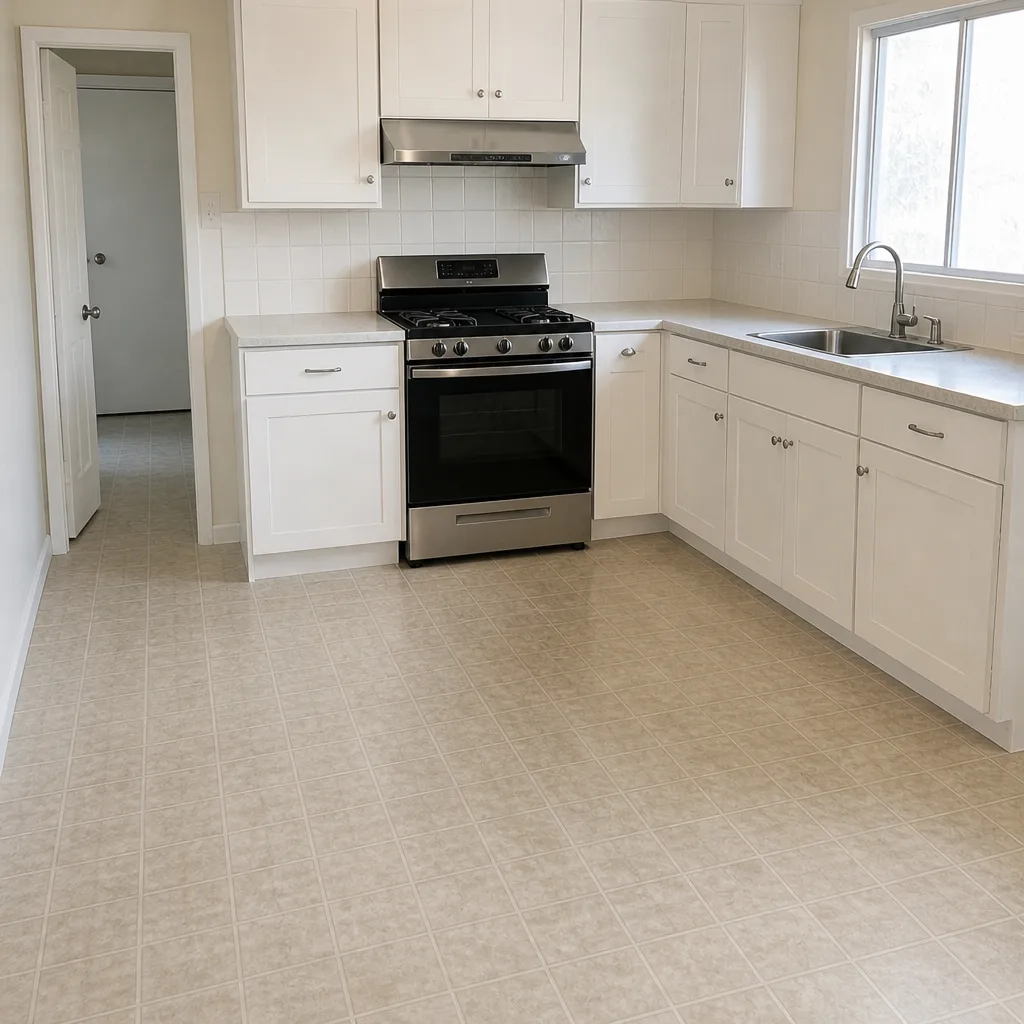
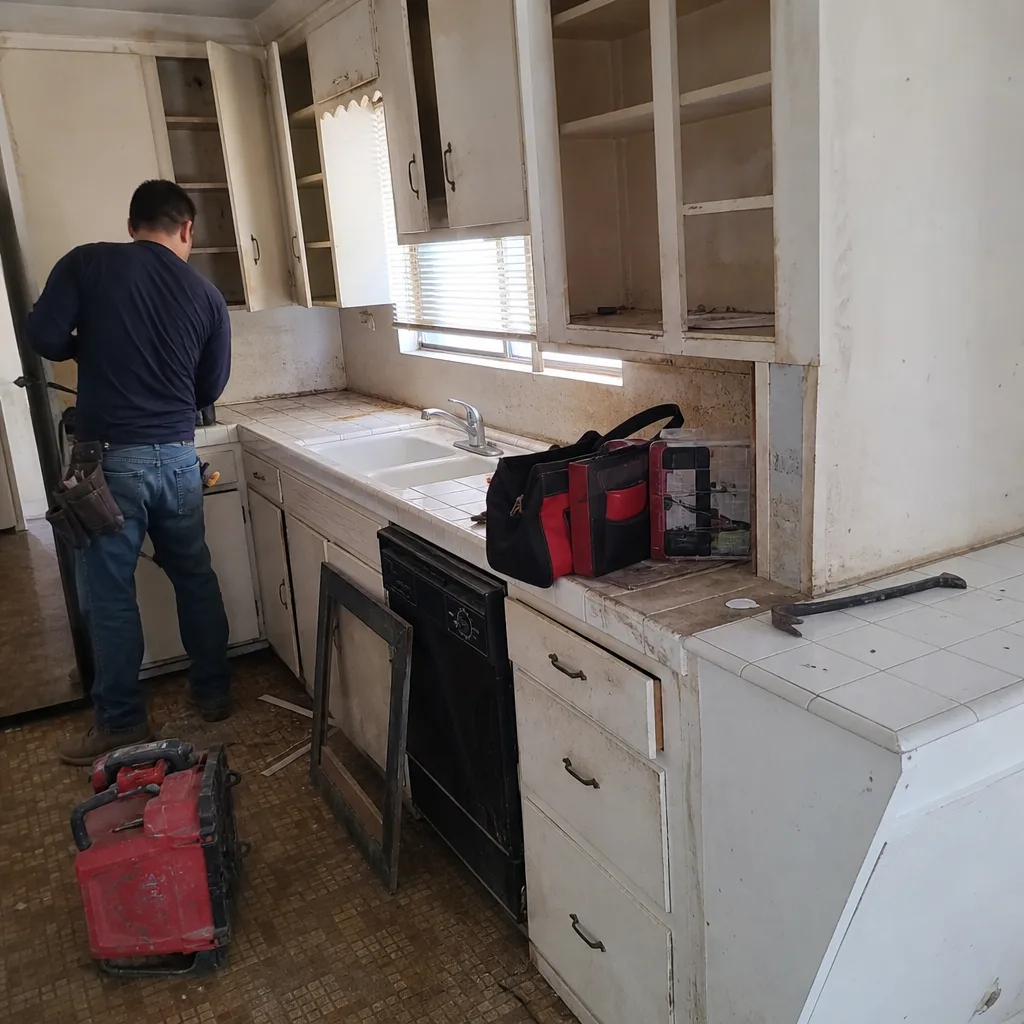
See the difference
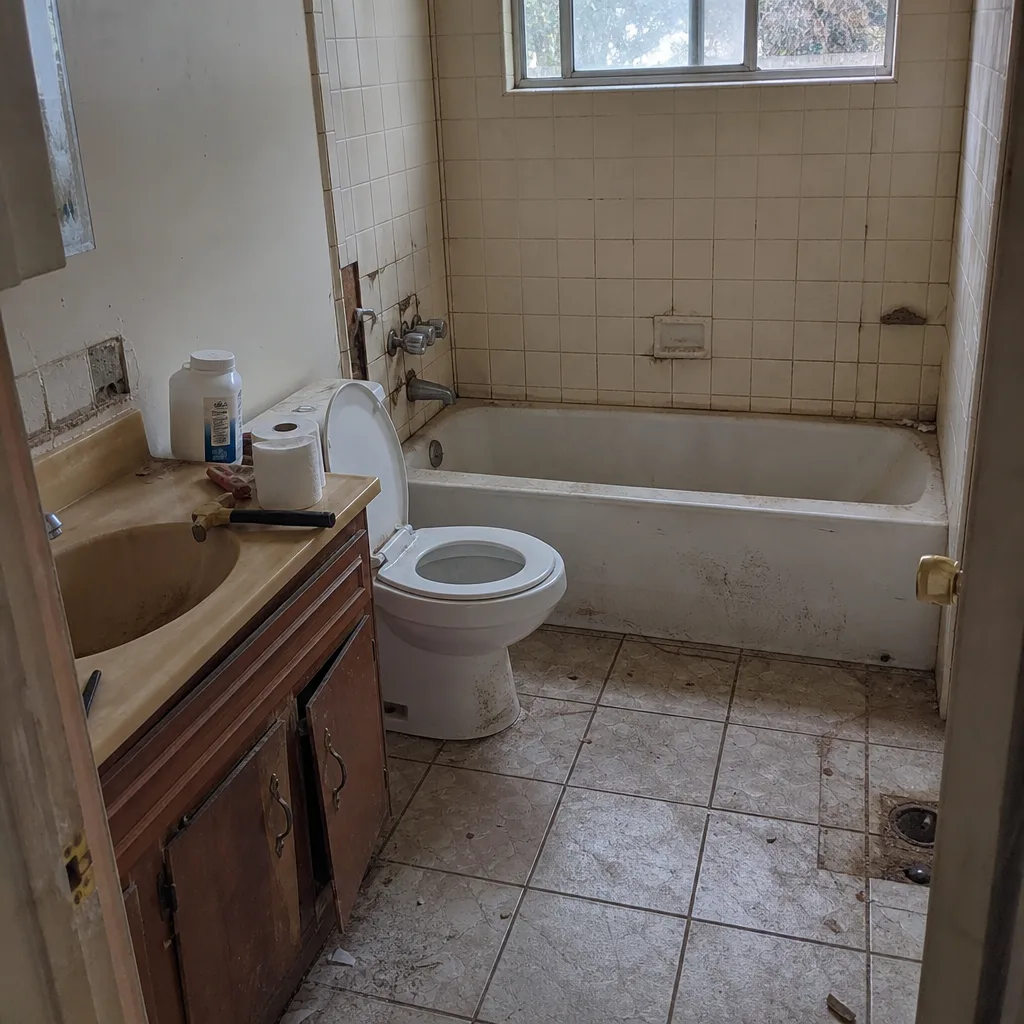 Before
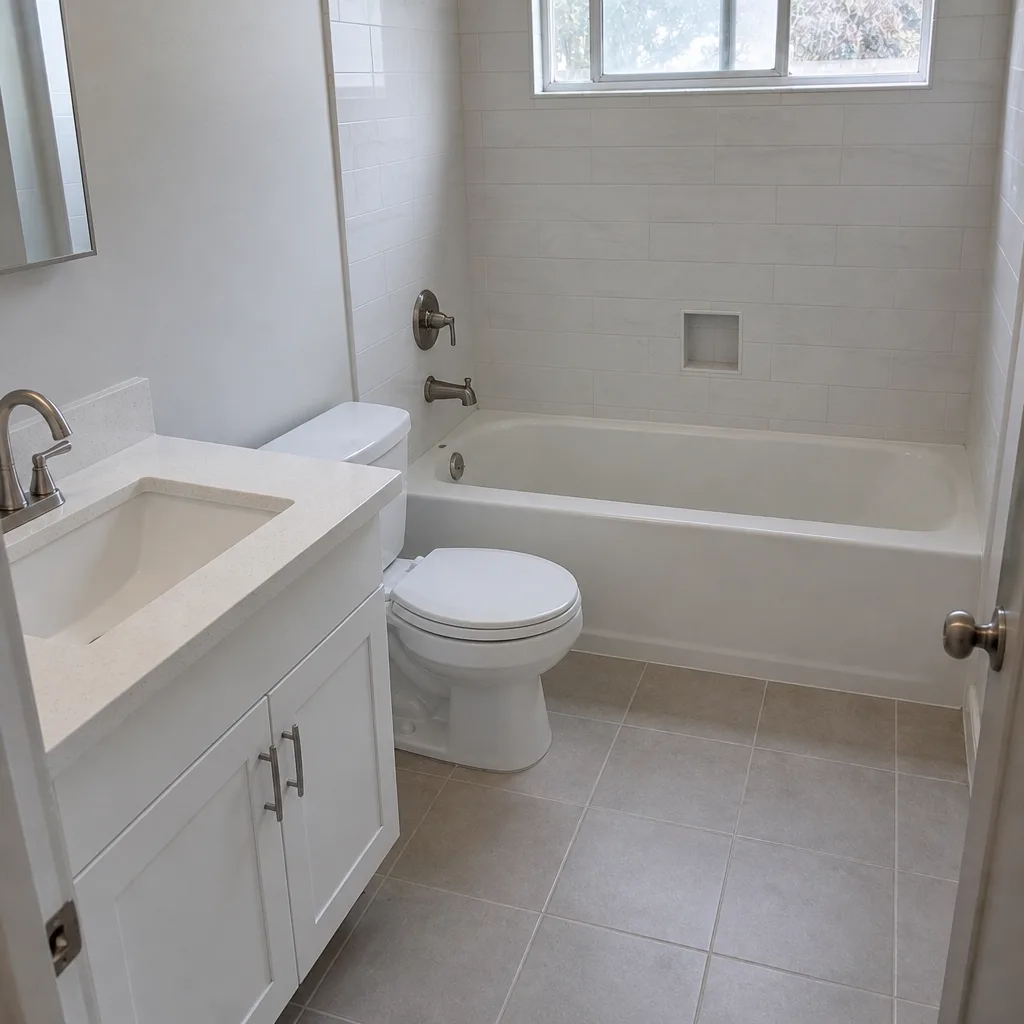 After
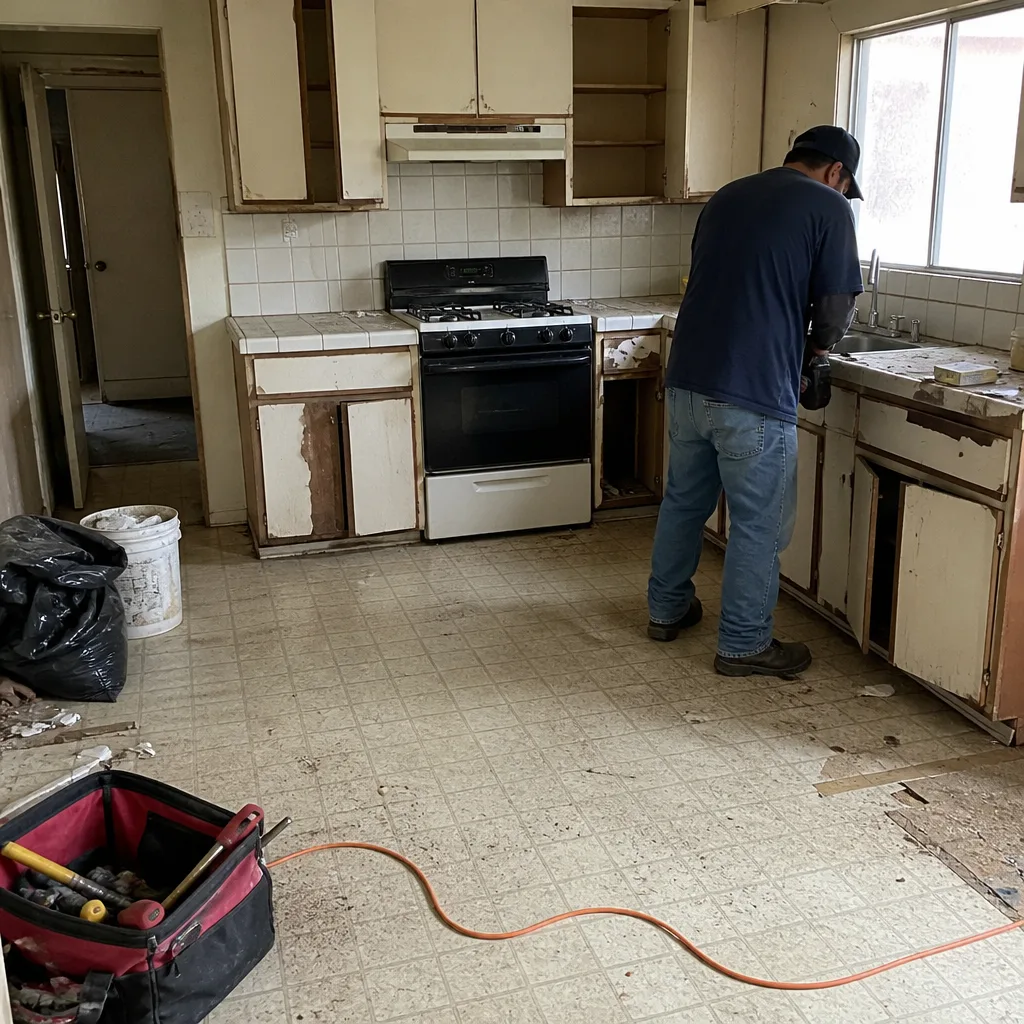 Before
 After
 Before
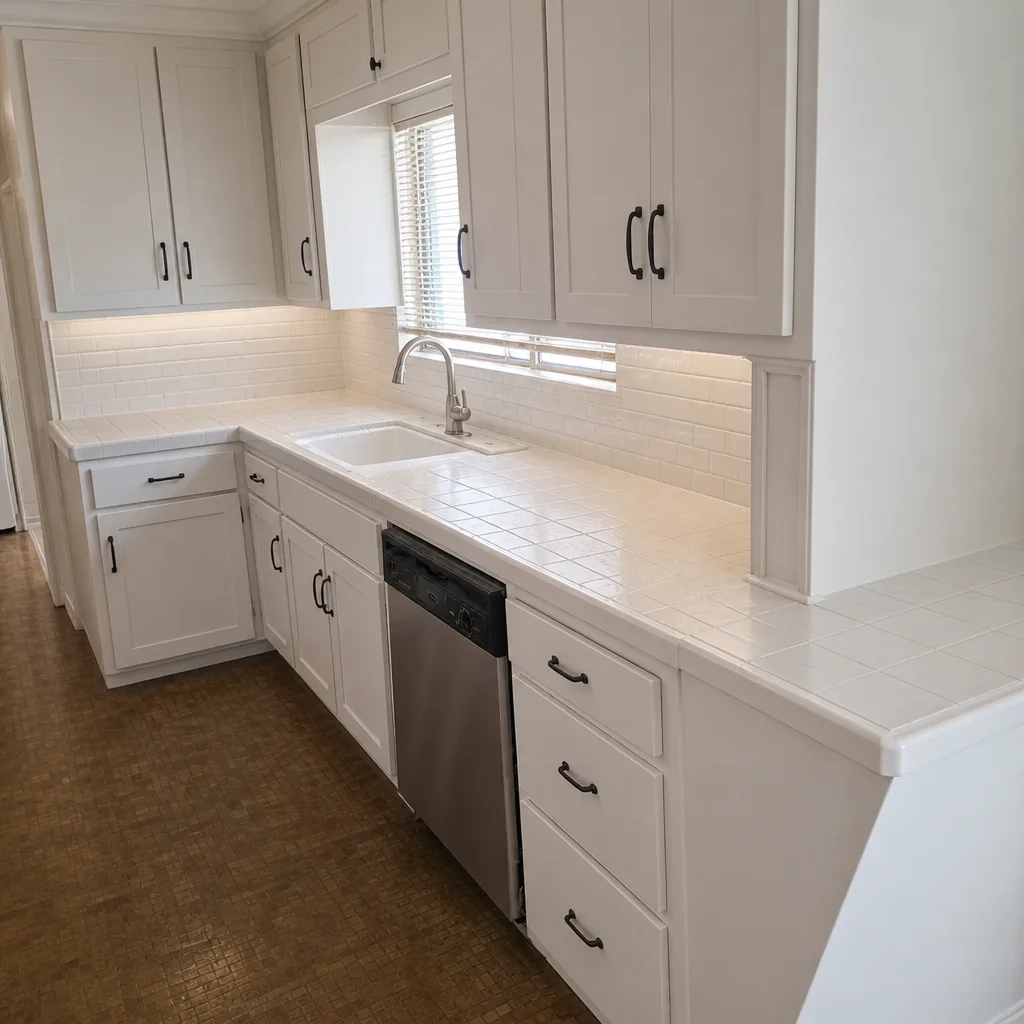 After
When to Call a Professional

Call a professional when the job opens the wall, changes an opening size, or touches framing. Call when the existing frame shows rot, soft wood, or prior water staining. Call when you’re replacing an exterior door, converting a window to a door, or working in a bedroom where egress matters. Call when the home is old enough that what’s behind the drywall is a genuine unknown. And call when the scope requires a permit and inspection, because a licensed contractor pulls the permit and manages the inspection so the record protects you later.
Groundwork Construction Co. of West Covina offers free estimates in West Covina. Call (844) 662-2335 to schedule yours.
Frequently Asked Questions
You can legally do insert replacement on your own home without a permit in many cases, but the work still requires correct waterproofing, shimming, and flashing to avoid leaks. Full-frame replacement and any job that changes an opening size should be done by a licensed contractor. The frame condition and permit scope decide which category your project falls into.
You need a permit when the work changes the size or location of an opening, touches structural framing, or affects egress. Straight insert replacements that keep the same opening size often don’t require one. West Covina follows California building code, so confirm the scope with the local building department before starting, and a licensed contractor will handle the permit and inspection on your behalf.
A window without proper flashing and a sill pan will eventually leak, typically 8 to 14 months after installation when rain cycles expose the gap. The water travels into the wall cavity, rots the sheathing, and shows up as interior stains long after the installer is gone. The repair then becomes drywall and framing work, not a window job.
It’s safe only if a professional confirms the wall isn’t load-bearing or installs a proper header beam. Removing a load-bearing header without support causes the opening to rack, the wall above to sag, and can compromise the structure. This is a permit and engineering question, never a guess. Always have a contractor assess the framing before cutting.
Professional window installation in West Covina runs roughly $450 to $850 per insert replacement window and $750 to $1,400 per full-frame window, depending on size, material, and repair scope. Exterior doors typically run $900 to $1,800 installed. Call (844) 662-2335 for an exact quote, estimates are free.
Replacing a standard exterior door in the same opening is possible for a very careful homeowner, but it requires correct flashing, threshold sealing, and shimming to prevent leaks and drafts. A new opening, a size change, or any structural work should be done by a professional with a permit. In our experience, the doorway is where water intrusion most often starts when a job is rushed.
The Bottom Line
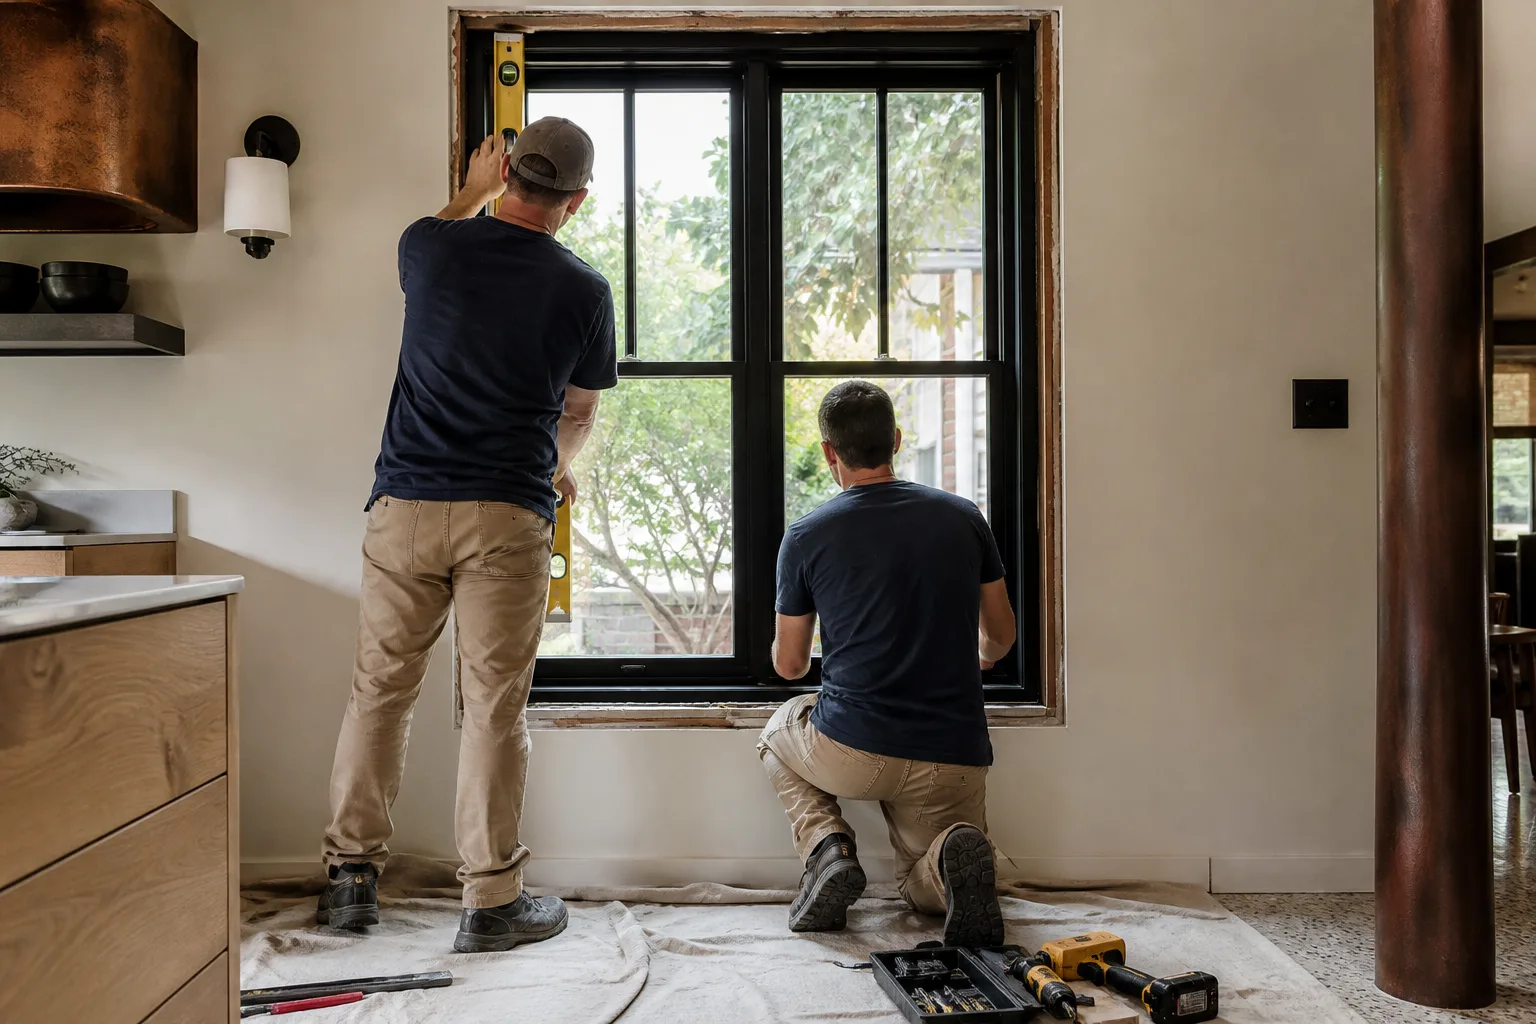
The DIY line on windows and doors isn’t about how hard the job looks. It’s about what’s behind the wall and whether you’re prepared for what you find. Hardware, weatherstripping, and storm doors are genuinely within reach for a careful homeowner. Insert windows and exterior doors are a judgment call that turns on frame condition and permit scope. Full-frame replacement, structural changes, and anything that opens the wall belong with a licensed professional, because the cost of a water-intrusion mistake dwarfs the labor savings. In West Covina, our concentrated winter rains make that timeline short. If your project crosses the line, get an expert assessment before the first storm finds the gap.
Groundwork Construction Co. of West Covina is here to help you decide what’s safe to handle and what needs a crew. Our projects come with the 730-Day Done Right Promise: if it’s not done right, we make it right. Calls are answered by a live person 24/7, technicians are background-checked and arrive in uniform, and you get upfront pricing with no surprises. We partner with trusted manufacturers like Andersen, Marvin, GAF, and James Hardie so your installation is built to last and backed in writing. Call (844) 662-2335 for your free project estimate and design consult, and we’ll walk your West Covina home together.
Written by the team at Groundwork Construction Co. of West Covina.