Last updated November 18, 2026








Free written scope consultation - allowances, timeline, and change-order rules on paper before a single trade is scheduled
Bathroom Remodeling Troubleshooting: Common Problems and How to Fix Them
Grout cracking in a newly tiled shower within six months isn’t a grout problem. It’s almost always a substrate deflection problem that the tile setter either ignored or inherited from the framer. We’ve seen this exact failure play out in West Covina bathrooms more times than we can count, and the homeowner is usually the last person to learn the truth. In this guide, we’ll walk through the ten most common bathroom remodel problems, from foggy exhaust fans to phantom musty smells, and show you where each failure actually starts. You’ll learn how to trace the root cause, who owns each link in the chain, and how to get it fixed right the first time.
Quick Answer
Most bathroom remodel problems trace back to one of three root causes: substrate movement behind tile, improperly sized or terminated ventilation, or plumbing components that were never fully commissioned after install. Grout cracks, foggy mirrors, and low water pressure are symptoms, not the problem itself. Diagnosing the actual failure chain before calling anyone back is how you avoid paying twice for the same fix.
Styles & brands we work with
- Kitchen remodeling
- Bathroom remodeling
- Home additions & ADU
- Roofing
- Windows & doors
- Driveway & pavers
- Fence
Table of Contents
- Why shower tile fails: the deflection chain explained
- Foggy bathroom despite a running exhaust fan
- Low water pressure in a remodeled bathroom
- Persistent musty smell after a remodel
- When your contractor disagrees with the inspector
- Waterproofing failures and how to spot them early
- Shower drain and slope problems
- How the CSLB complaint process actually works
Why Shower Tile Fails: The Deflection Chain Explained
When you press on a shower floor tile and feel it flex, the tile isn’t moving because the thinset is bad. It’s moving because the floor structure underneath is deflecting more than tile can tolerate. Ceramic and porcelain tile fail in shear, not in compression. That means even a fraction of an inch of movement at the subfloor translates directly into a cracked grout line, a popped tile, or in bad cases, a hairline fracture you don’t see until water finds it.
Here’s the deflection chain, in order from root to surface:
- Subfloor movement. Joist spacing, span length, and subfloor thickness all determine how much the floor deflects under load. A floor that deflects more than L/360 (the standard for tile) will fail, period.
- Backer board flexion. Cement board can’t fix a bad subfloor. If it’s screwed to a moving surface, it moves with it. Any movement at the seams transfers to the tile.
- Adhesive bond failure. Modified thinset loses bond when it’s repeatedly stressed by movement. The tile pops or the grout cracks from the tension.
- Grout crack. This is the visible symptom. It’s the last link, not the first.
Each of these links has an owner. The framer owns the joist structure. The subfloor installer owns the panel attachment. The tile setter owns the backer board fastening and the thinset application. When a homeowner calls back the tile setter about cracked grout, the honest answer should be: “We need to check the subfloor.” In West Covina homes built in the 1950s and 1960s, the original joists were often sized for carpet and vinyl, not tile. That’s why West Covina remodels frequently require sister joists or an added layer of plywood. Skipping that step is the most common shortcut we see.
Foggy Bathroom Despite a Running Exhaust Fan
If your mirror fogs up within three minutes of a hot shower and the fan is on, the fan isn’t moving enough air. It’s that simple. A fan that’s running but not evacuating moisture is almost always undersized for the room, ducted too far, or terminated incorrectly. The fan doesn’t care that it spins; it only cares about cubic feet per minute (CFM) and static pressure.
Diagnose it in this order:
- CFM undersizing. The rule of thumb is one CFM per square foot of bathroom floor area, with a minimum of 50 CFM for any bathroom. A 100-square-foot bathroom needs 100 CFM. Most builder-grade fans install at 50 or 70 CFM regardless of room size.
- Duct length and elbows. Every foot of flex duct and every 90-degree elbow adds static pressure. A fan rated at 110 CFM in a lab might deliver 70 CFM through 15 feet of insulated flex with two elbows. Rigid duct is always better than flex.
- Exterior termination detail. The duct has to exit the building. If it dumps into the attic, it’s just moving moisture from the bathroom into the attic space, and the bathroom stays foggy. If it terminates at a louvered wall cap that’s clogged with lint, the air has nowhere to go. Check the exterior cap from the outside; many West Covina homes we’ve inspected have caps that were painted shut or covered by stucco patching.
If all three check out and the bathroom still fogs, look at whether the fan is actually running on the same switch as the light. Sometimes the fan was wired to a separate switch and never engaged. It sounds obvious, but we’ve diagnosed this exact scenario in West Covina more than once. The fix is a higher-CFM fan with rigid ducting, short run, and a properly shimmed exterior termination cap. A dehumidistat switch that runs the fan for 20 minutes after the shower is also worth the investment.
Low Water Pressure in a Remodeled Bathroom
Low water pressure after a remodel almost never means the water main is the problem. It means something between the main and the fixture is restricting flow. Before you call the city, check these in order:
- Shutoff valve not fully open. New angle stops under the sink or at the toilet are often only cracked open during install. Turn them fully counterclockwise. If the valve is a quarter-turn ball valve, the handle should be parallel to the pipe.
- Flow restrictor. A new showerhead or faucet aerator with a 1.5 GPM restrictor will feel dramatically different from the old 2.5 GPM head. Pull the restrictor screen (it’s usually a small plastic disc inside the aerator or head) and check whether the pressure issue is actually a flow issue. If it feels low at one fixture only, the restrictor is your answer.
- Supply line diameter. If a remodeler roughed in with 3/8-inch supply lines to a fixture that wants 1/2-inch, you’ll never get full flow. This shows up most often at freestanding tub fillers and at shower valves that were added to a wall that previously had none.
Tub fillers are the most common low-pressure complaint we hear in West Covina because a freestanding tub filler is often tapped off an existing 1/2-inch branch that already serves the shower and sink. If the tub fill spits and sputters while the shower is running, the supply line is undersized for simultaneous use, and no amount of valve adjustment fixes it. The fix is a dedicated 1/2-inch line or a larger branch, and that’s a plumbing fix, not a fixture fix.
Persistent Musty Smell After a Remodel
A musty smell in a newly remodeled bathroom is either active moisture intrusion or pre-existing mold that wasn’t fully remediated before the tile went in. The two are very different problems with very different fixes, and the location of the smell usually tells you which one you have.
- Active moisture intrusion means water is currently getting somewhere it shouldn’t. The smell is typically strongest right after a shower, fades when the bathroom is dry, and grows worse over weeks. Look for a shower pan that wasn’t pre-sloped, a liner that was punctured during install, or a curb that’s wicking water into the wall. You may also see efflorescence on the grout or a dark line at the caulk joint.
- Pre-existing mold means the substrate was damp or contaminated before the new tile went in. The smell is constant and often worse in humid weather. If the old bathroom had a leak or the drywall was pulled out and reinstalled over framing that was never dried out and treated, the mold spore load was never reduced. New tile doesn’t clean the air.
The way to tell the difference is with a moisture meter. Our technicians use one on every remediation call. A pin-style meter on the grout line, on the baseboard on the adjacent wall, and around the toilet flange tells you within minutes whether the substrate is actively wet. If the readings are elevated, it’s a moisture problem. If they’re dry and the smell persists, it’s a pre-existing condition. This matters for accountability: an active leak is on the contractor who built the shower, while a pre-existing mold requires an entirely different conversation. In West Covina’s older housing stock, we often find that a previous owner caulked over a slow leak for years. That history has to be remediated, not tiled over.
When Your Contractor Disagrees With the Inspector
Your contractor says the shower pan passed. The inspector says it didn’t. This is not a negotiable situation – the inspector has the authority. The contractor’s job is to fix it, not to argue. But the reason they disagree matters, because some inspection failures are quick and some are the tip of a much bigger problem.
In California, every permitted bathroom remodel goes through the local building department. In West Covina, that means the West Covina Building and Safety Division. The most common bathroom inspection failures we see are:
- Shower pan flood test not witnessed. The pan has to hold water for a minimum of 24 hours before tile. If the inspector wasn’t present for the test, they may fail the inspection on procedure alone.
- No vapor barrier or wrong barrier placement. Vapor retarder goes on the warm side of the wall. Placed incorrectly, it traps moisture in the wrong assembly.
- Insufficient nailing on backer board. Fastener spacing per the manufacturer. Inspectors who know tile will spot this.
- Ventilation sizing. Some jurisdictions check the CFM rating on the installed fan against the room size.
Your leverage here is the permit. A permit means an inspector is a second set of eyes. If your contractor is pushing back on an inspector’s correction, ask for the correction in writing and ask the contractor to fix it in writing. Anything verbal is a future dispute. We pull permits and pass inspections on every remodeled bathroom, and a permit with the inspection record is one of the strongest documents a homeowner can hold. A 730-Day Done Right Promise only carries real weight when the work was inspected and documented.
Waterproofing Failures and How to Spot Them Early
Waterproofing is the single most important part of a tile shower, and it’s also the part you can’t see once the tile is up. The most common failure is one we see in West Covina on quick flips and short-cut installs: no pre-slope under the shower pan liner. A flat subfloor under the liner means water pools on the liner instead of draining, and the weep holes in the drain get clogged with debris within a year.
Spot the failure before it becomes a tearout:
- Check the caulk line at the shower floor. If it’s turning black or peeling within the first year, the pan is holding water.
- Press down on the shower floor tiles. Any flex or movement means the bed is compromised.
- Look at the curb. Water staining on the outside face of the curb means moisture is wicking through.
- Smell the drain area. If the shower smells musty but the walls feel dry, the pan is the culprit.
Another failure point is the transition between a shower wall and a drywall wall. Cement board has to extend past the wet zone, and the joint has to be sealed with a waterproof membrane that laps correctly. If the tile guy set tile directly against drywall at the edge of the shower, moisture will wick into the paper facing of the drywall, and the wall will bubble within two years.
Shower Drain and Slope Problems
A shower that puddles is a slope problem, not a drain problem. If water sits in a corner and evaporates slowly, the subfloor wasn’t sloped correctly. The pan has to slope at a minimum of 1/4-inch per foot to the drain, and the pre-slope has to be built before the liner goes on. A liner installed flat on a level subfloor is a guaranteed puddle and a guaranteed future leak.
If you notice a puddle, test it with a level. Place a 2-foot level in the shower floor, pointing toward the drain. The bubble should show water sloping toward the drain. If it’s level or sloping away, you’ve got a slope problem, and it’s a tearout and rebuild, not a fix. A slow-draining shower with correct slope is usually a clogged drain line or a hair trap, which is much simpler. Pour a half gallon of water down the drain and time it. If it drains in under 30 seconds, the line is clear and the problem is slope. If it drains slow, snake the drain first before assuming the pan is bad.
The last thing to check is the weep holes at the drain. Most lever-style drains have four small weep holes in the clamping ring. Those are what let water that gets to the liner drain out. If they weren’t protected during the tile set, they’re filled with thinset and the pan can’t drain. The fix is to clear the weep holes with a small pick. If the pan holds water anyway, the liner is suspect.
How the CSLB Complaint Process Actually Works
California’s Contractors State License Board (CSLB) is the state agency that licenses contractors, and it accepts complaints against licensed contractors for defective work, abandonment, and license violations. You can file a complaint online at the CSLB website or by phone. The filing is free. The CSLB assigns an investigator, who reviews your documentation, interviews the contractor, and may inspect the work.
Here’s what actually happens in a bathroom remodel complaint:
- You file. Provide the contract, the payment records, photos of the problem, the permit number, and any inspection records. The stronger the documentation, the faster the process.
- The investigator is assigned. The CSLB reviews the complaint and contacts the contractor. If the contractor is licensed and bonded, the bond may be used to cover the judgment if the case is ruled in your favor.
- There may be an inspection. For a defective-work complaint, the CSLB may send an inspector. That inspection is separate from the local building inspector.
- Resolution or citation. The CSLB may issue a citation against the contractor, order repairs, or refer the case for further action. If the contractor’s license is at risk, they have incentive to settle.
Two things to know. First, the CSLB process doesn’t get money back into your pocket quickly. It’s designed to protect consumers and hold contractors accountable, not to issue immediate refunds. Second, the contract matters enormously. If you hired a licensed contractor with a written contract, you have a strong case. If you hired someone without a license and without a written contract, your leverage is much weaker. That’s why we verify licensing and provide written contracts on every project. You should always check a contractor’s license number and bond status through the CSLB before signing anything, including in West Covina.
Common Mistakes to Avoid
- Assuming the visible symptom is the problem. Cracked grout, foggy mirrors, and low pressure are symptoms. The fix needs to trace to the source, which means a diagnostic, not a cosmetic patch.
- Hiring a tile setter without asking who built the subfloor. The tile setter owns the tile, but the framer owns the structure. If the subfloor is wrong, no amount of tile skill fixes it. In West Covina homes built before 1970, always ask who checked the deflection.
- Skipping the permit to save time. A bathroom permit costs a few hundred dollars and takes a couple of weeks. A permit is also your only path to an inspection record if the work fails. Unpermitted work is a common find during resale, and it complicates everything.
- Painting over the musty smell. Kilz and sealers mask the smell, they don’t fix the source. If there’s moisture, the problem is coming back.
- Accepting a verbal correction from the contractor. Everything should be in writing: the scope, the fix, the timeline. A verbal “we’ll take care of it” is the sentence customers remember at the CSLB hearing when the contractor claims they were never called back.
- Choosing the lowest bid. A cheap bid is cheap because the contractor skipped the pre-slope, skipped the vapor barrier, or skipped the permit. The saving is temporary; the failure is not.
- Failing to document. Photos of the inspection, the contract with the license number, the payment receipts. These are what make a CSLB case work.
See the difference
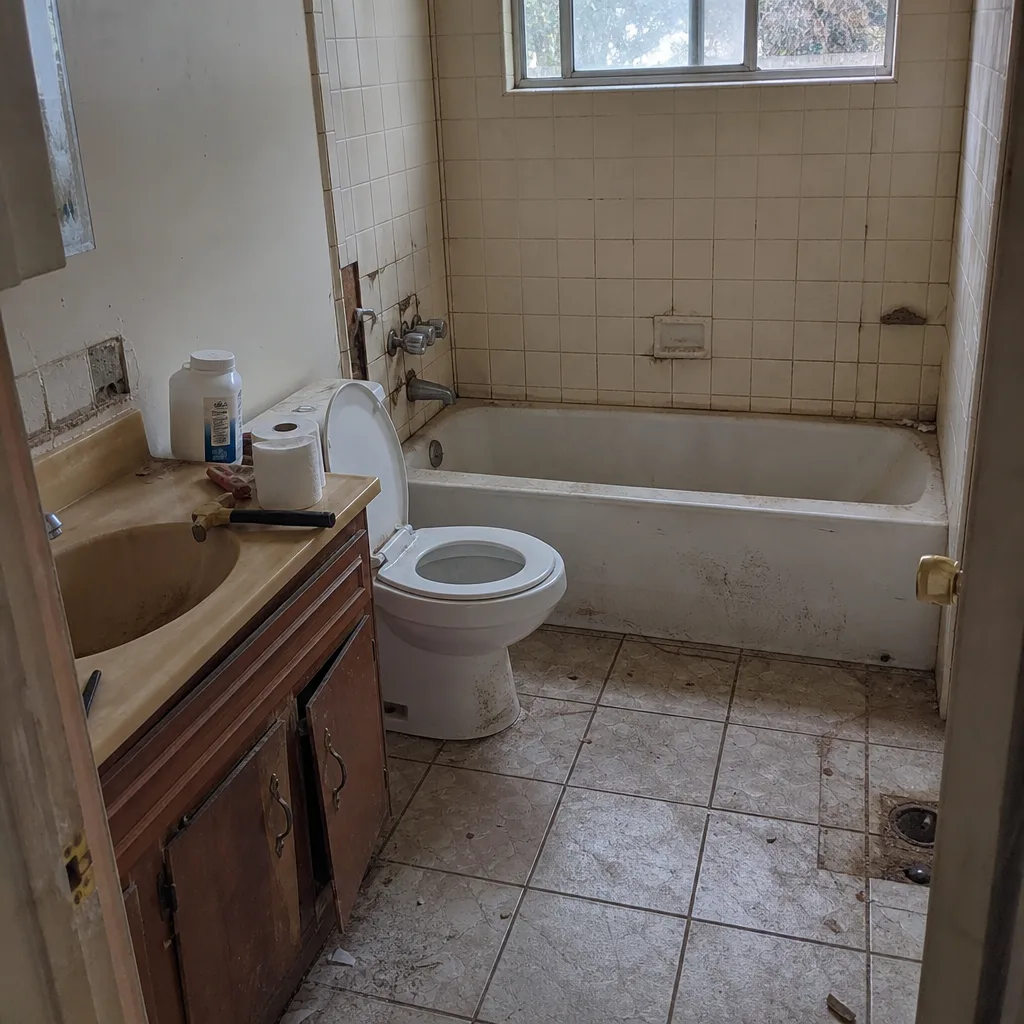 Before
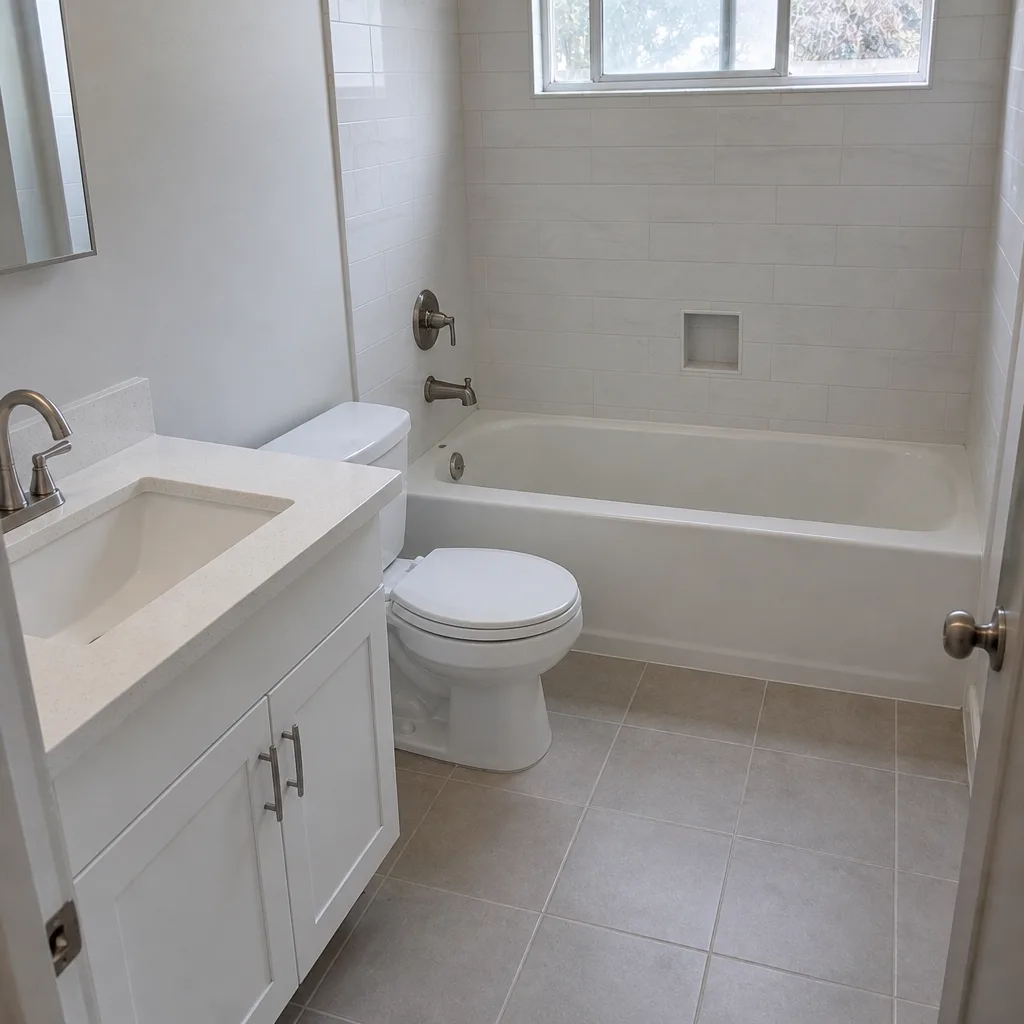 After
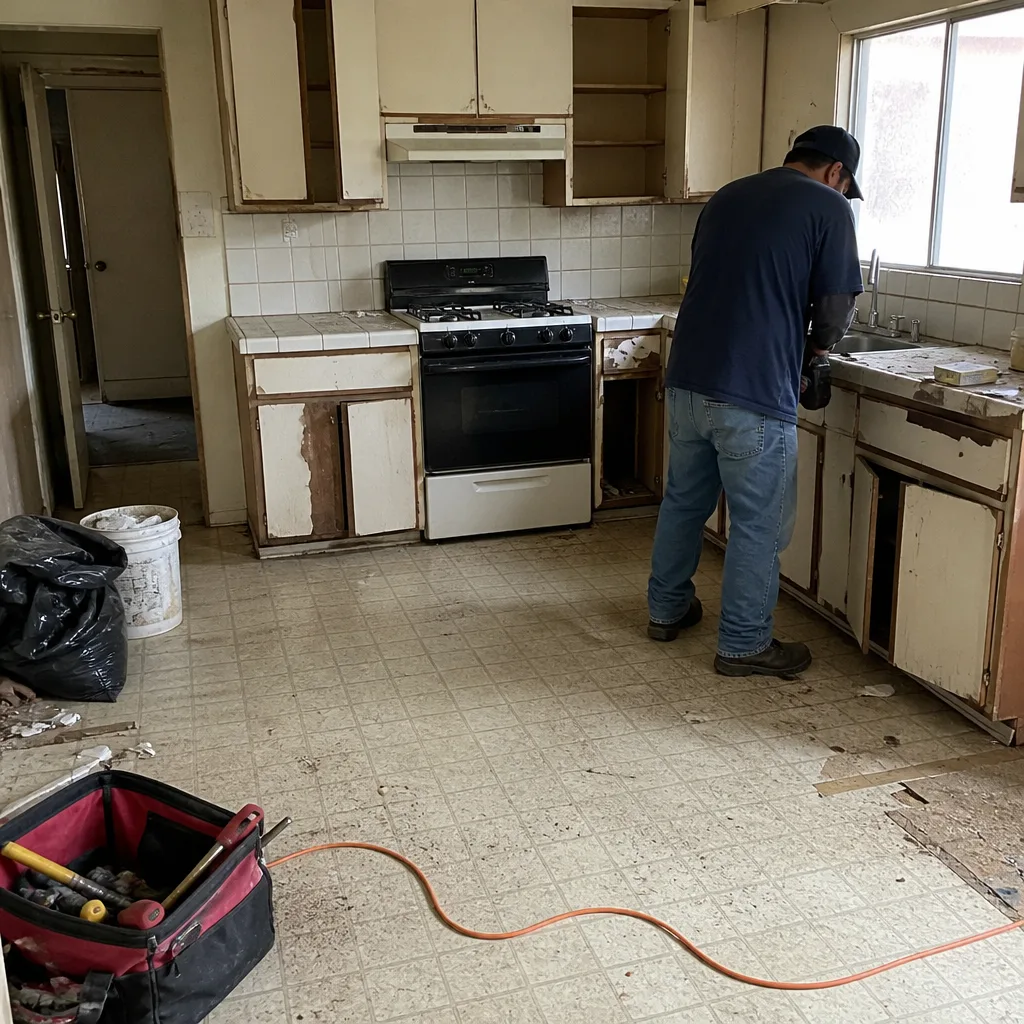 Before
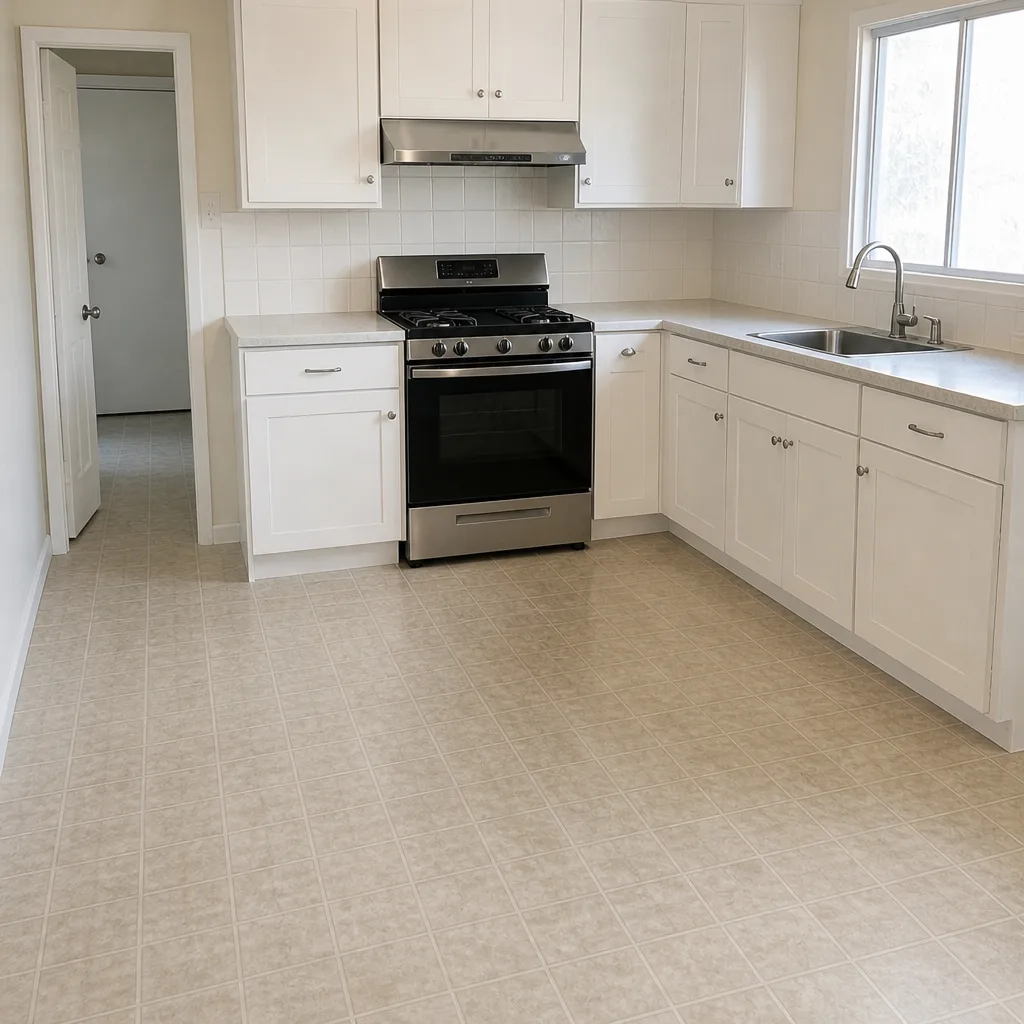 After
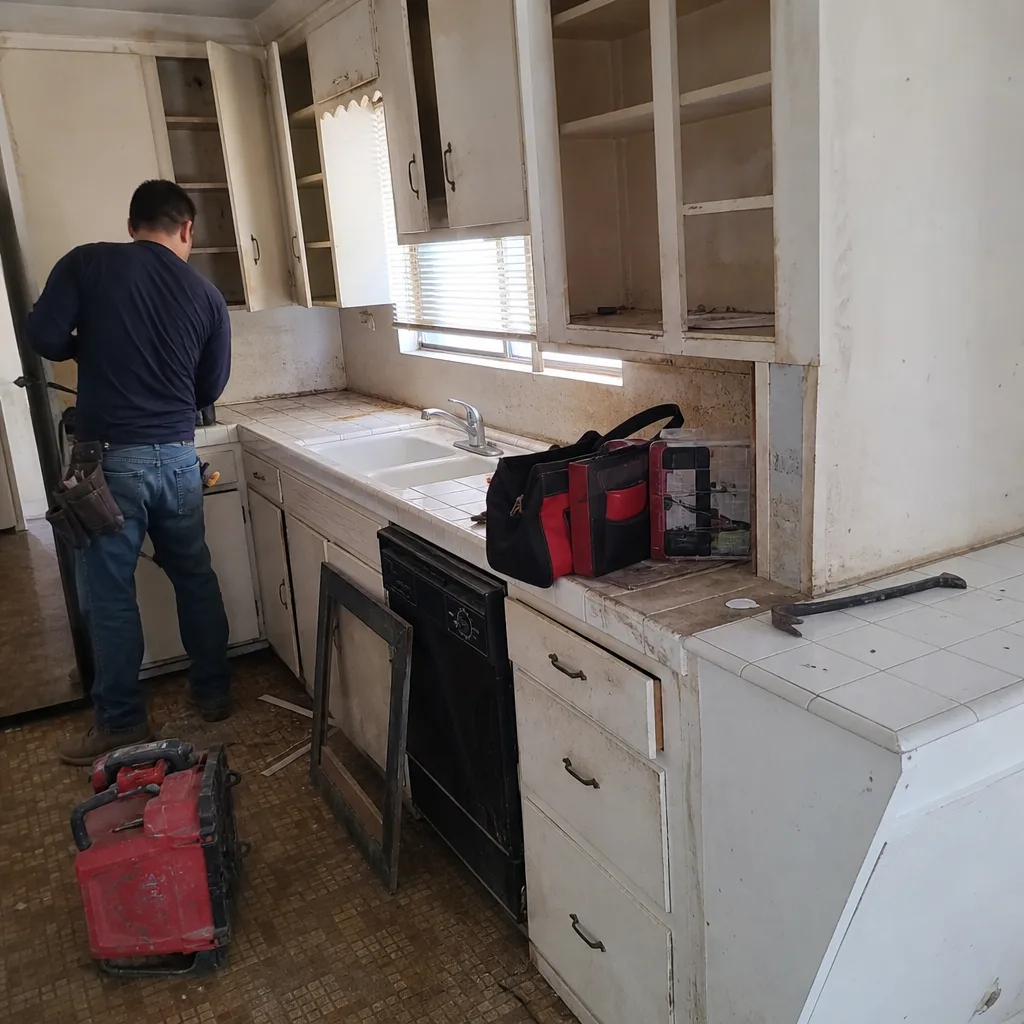 Before
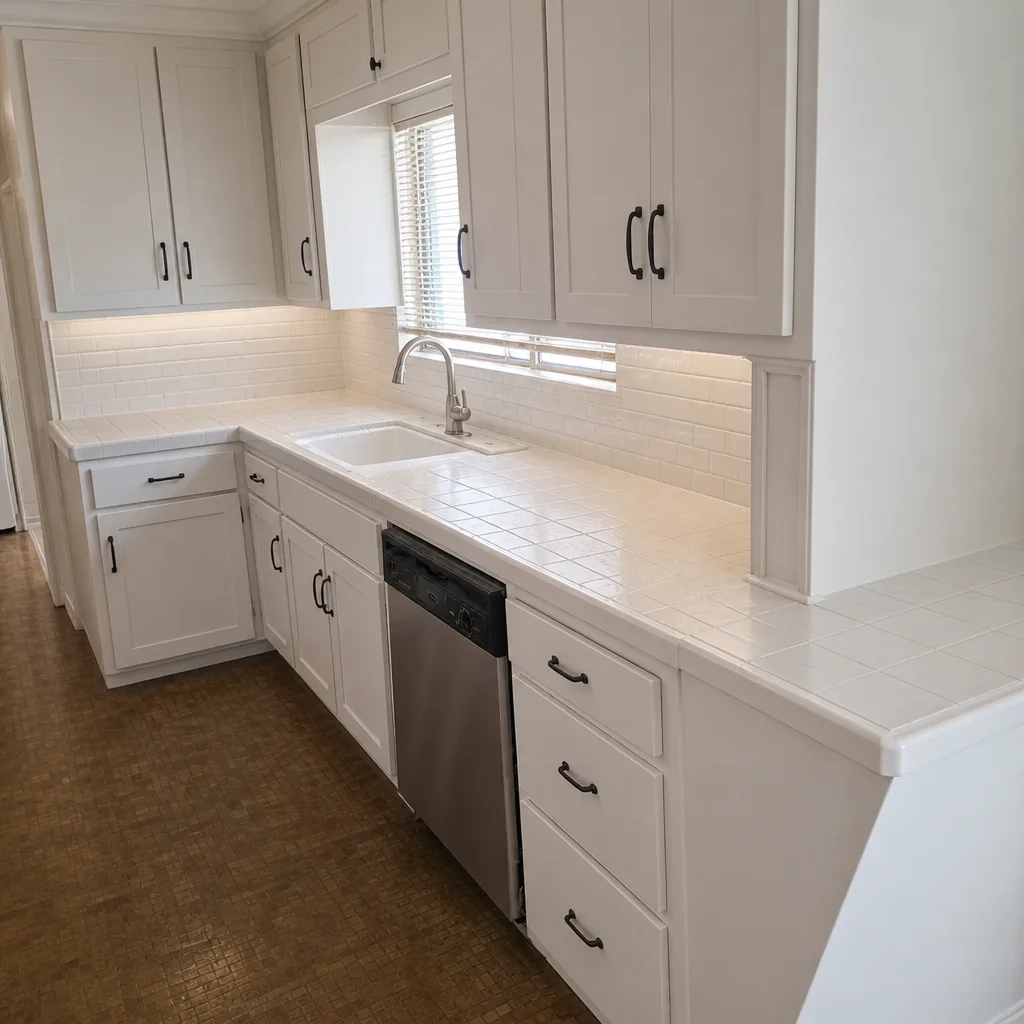 After
When to Call a Professional
Call a professional if the shower is puddling, if the grout cracks keep coming back within a year, if there’s an active leak into the ceiling below the bathroom, if the musty smell won’t go away after a full ventilation check, or if the contractor’s work failed inspection and they’re not responding in writing. Those are all situations where DIY fixes will cost more in the long run because they treat symptoms while the root cause stays in place. The other case is diagnostic: if you’ve checked the shutoff valve, the restrictor, and the supply line and the pressure is still low, you need a plumber with a flow meter, not a new faucet. Groundwork Construction Co. of West Covina offers free estimates in West Covina – call (844) 662-2335. We pull permits, we pass inspections, and every bathroom we remodel is covered by the 730-Day Done Right Promise.
Frequently Asked Questions
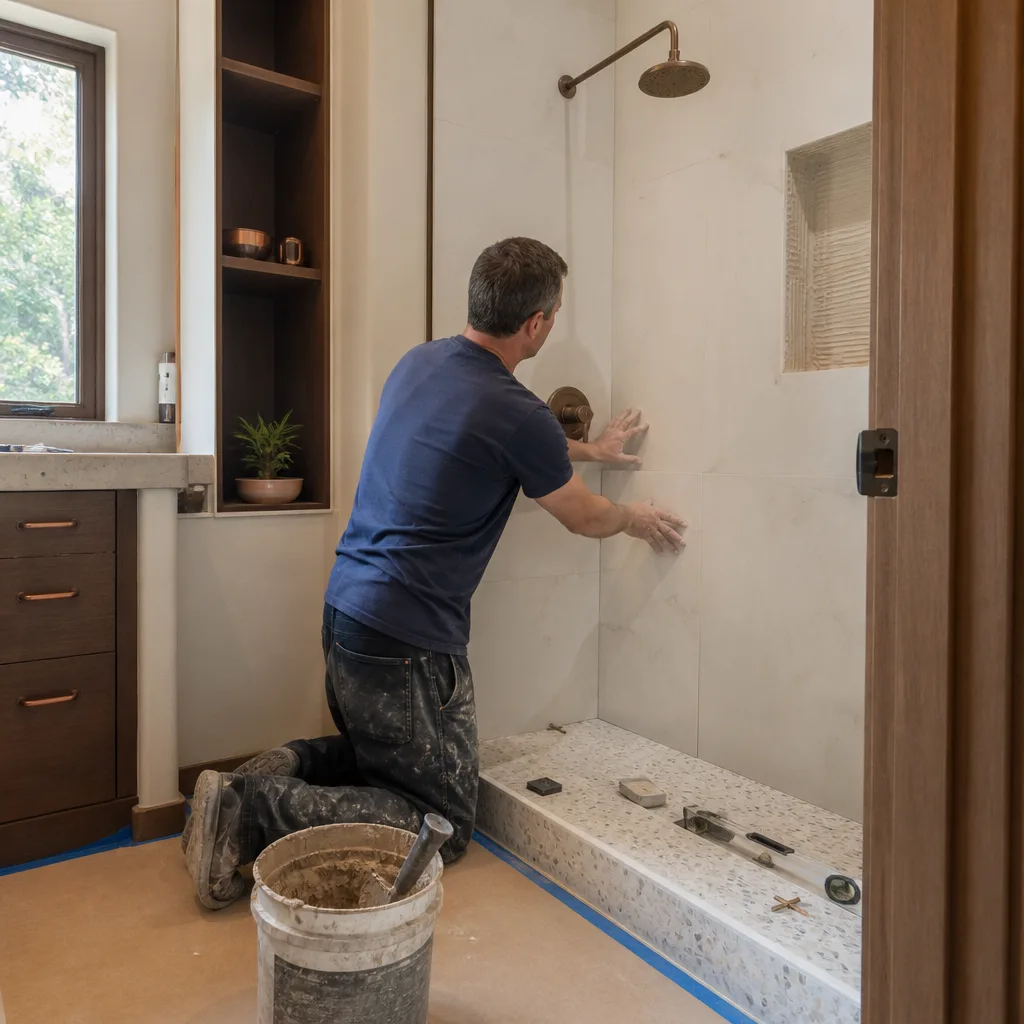
A failed shower pan repair in West Covina typically runs between $3,200 and $7,800, depending on whether the tile and pan need to be torn out and whether the subfloor is damaged. A simple pan replacement with new tile is on the lower end; a full tearout with subfloor repair and re-tiling runs toward the upper end. If the original work is still under a contractor’s warranty, the fix should be covered by that warranty. Call (844) 662-2335 for an exact quote – estimates are free.
No, with us it shouldn’t. Our pricing is upfront and itemized, so the number you see on the estimate is the number you pay, and we don’t add change orders for work that was already covered in the original scope. If a remodel you’re hiring for might uncover hidden problems (which happens often in older West Covina homes), we inspect first so the scope is accurate from the start. A written contract protects both sides. Call (844) 662-2335 to schedule a free estimate.
Yes. We pull permits on every remodeled bathroom, and we coordinate with the West Covina Building and Safety Division on both the rough-in and the final inspection. A permit is not optional; it’s the document that proves the work was inspected and helps protect you if anything fails later. The inspection record is also what you need if a future contractor’s work is ever disputed. Call (844) 662-2335 to talk through your project.
A standard shower replacement in West Covina runs 2 to 3 weeks from demo to final tile, assuming no surprise framing or plumbing repairs. The tile work itself is a fraction of that; most of the time is cure time for the pan, the waterproofing, and the thinset. A full bathroom remodel with new vanity, plumbing, and flooring typically runs 4 to 6 weeks. Call (844) 662-2335 for a schedule specific to your project – estimates are free.
You have options. First, request the inspector’s correction in writing. Second, notify the contractor in writing and give them a chance to correct it. Third, if they don’t, file a complaint with the California Contractors State License Board, which can investigate and issue a citation. The CSLB process is free and it’s the most direct route for licensed contractors. Call (844) 662-2335 if you want a second opinion on the work before you file.
A hairline crack in the first week can be shrinkage and is not always a structural problem. Grout that cracks within six months in multiple places is not normal; it means there’s movement underneath, and the fix is a substrate fix, not a re-grout. Re-grouting without addressing deflection just restarts the clock on the same failure. Our technicians have up to 12 years of experience diagnosing exactly this kind of issue. Call (844) 662-2335 to schedule an inspection.
The Bottom Line
Bathroom remodel problems almost always start underneath the surface: subfloor deflection behind cracked grout, duct undersizing behind a foggy mirror, unopened shutoff valves behind low pressure, and pre-existing mold behind a stubborn smell. Diagnose in that order, from root to surface, and you’ll save both the diagnostic fee and the repeat fix. Document everything, insist on permits, and hold the right trade accountable at the right link in the chain. When it’s time to get it done correctly the first time, the team to call is the one that inspects, permits, delivers upfront pricing with no surprises, and backs the work with the 730-Day Done Right Promise. If you’re planning a remodel, our Groundwork Construction Co. of West Covina home page covers the full scope of what we build. Considering a full bathroom renovation? We handle that alongside Driveway & Pavers in West Covina, Fence Installation in West Covina, and Home Additions & ADU in West Covina, so you can work with one contractor from foundation to finish line.
Call (844) 662-2335 to schedule your free estimate and design consult. A live person answers around the clock, so you’re never routed to voicemail or made to wait until Monday. Ask about our $1,000 off projects over $10,000 and 0% financing for 18 months – because a large remodel shouldn’t have to come with a hidden financial surprise.
Written by the team at Groundwork Construction Co. of West Covina.