Last updated November 18, 2026



Free written scope consultation - allowances, timeline, and change-order rules on paper before a single trade is scheduled
DIY vs Professional Driveway & Pavers: What’s Safe to Do Yourself
Here’s the number that should stop you before you rent your first plate compactor: the average homeowner who redoes a paver driveway themselves spends roughly 40% more than the professional bid they were trying to avoid. Not because the pavers were wrong, and not because the sand was cheap. Because the base work was wrong from the first day, and everything built on a bad base has to come out. We’re Groundwork Construction Co. of West Covina, and we’ve pulled apart enough failed DIY driveways to know exactly where the line sits. This guide draws it clearly: the four tasks you can genuinely handle yourself, the structural work that belongs to a crew, and the West Covina permit rules that decide which side of the line your project lands on.
Quick Answer
Four driveway paver tasks are genuinely DIY-safe: replacing a single cracked paver, refilling joint sand, applying surface sealer, and resetting a loose edge restraint. Everything structural – excavation, sub-base installation, compaction, and grading for drainage – is professional territory, because the equipment and the tolerances involved are unforgiving and a failed base costs more to fix than the original bid would have cost to accept. If your driveway is settling, holding water, or has pavers moving in groups rather than one at a time, stop and call a pro.
Styles & brands we work with
- Kitchen remodeling
- Bathroom remodeling
- Home additions & ADU
- Roofing
- Windows & doors
- Driveway & pavers
- Fence
Table of Contents
- Where the DIY line actually falls
- The four tasks that are genuinely safe to do yourself
- Why base excavation and compaction is professional territory
- The hidden cost math that traps DIYers
- West Covina permit requirements and what triggers an inspection
- A 10-point honest self-assessment before you start
- Common mistakes to avoid
- When to call a professional
Where the DIY Line Actually Falls
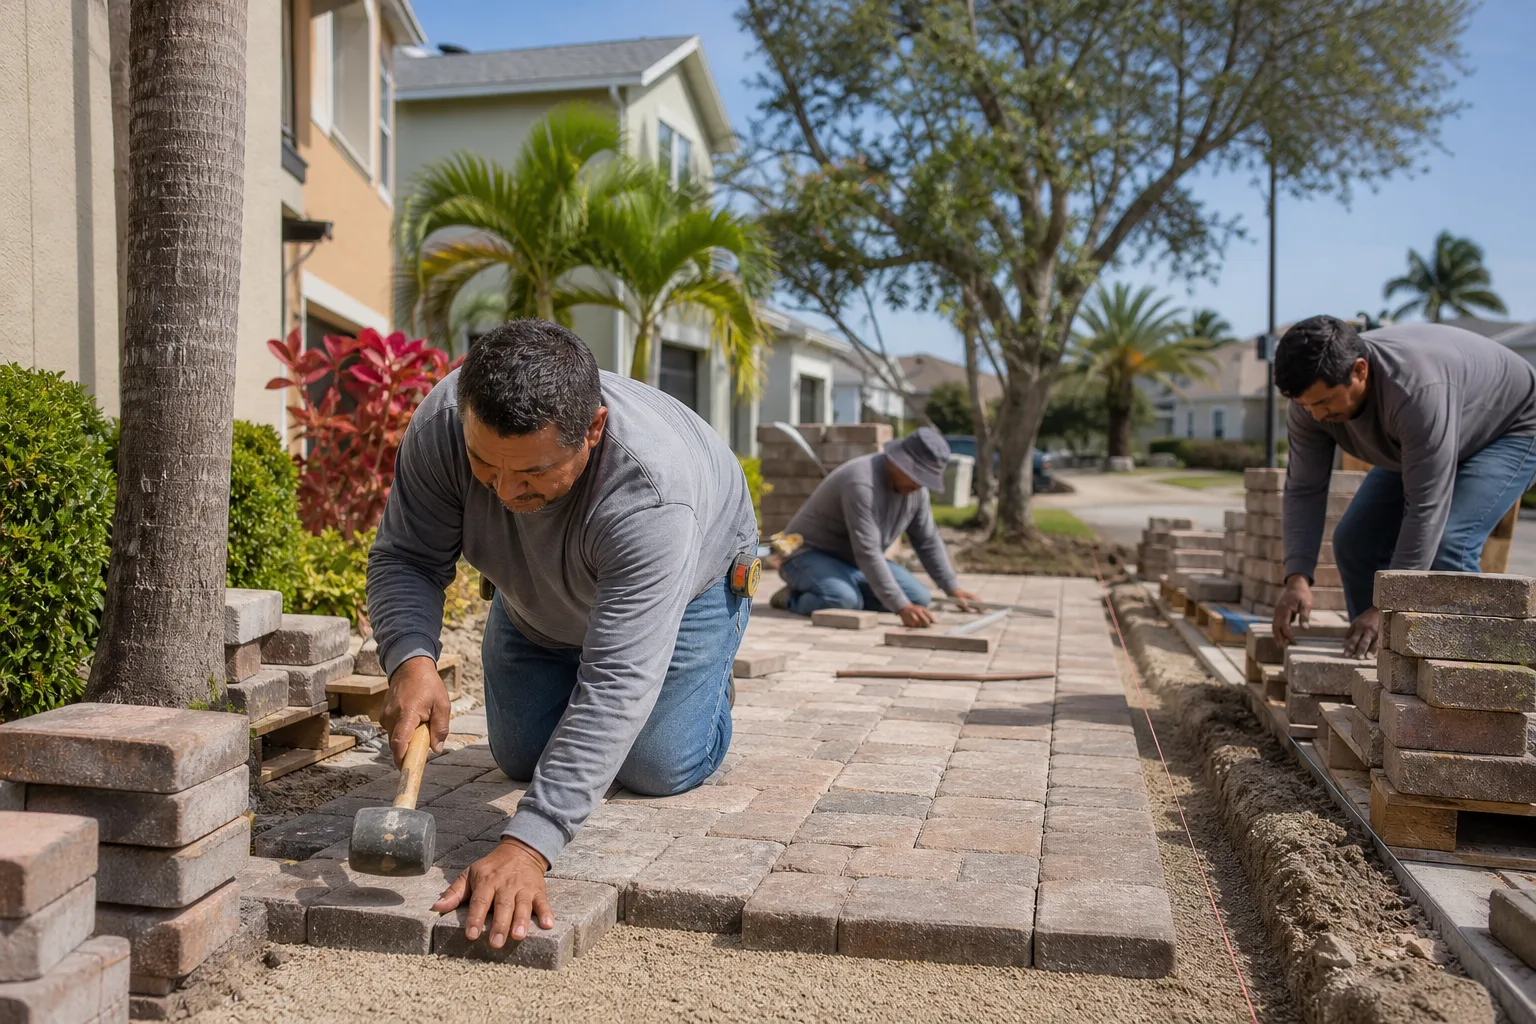
Most driveway content online treats “DIY” as one decision. It isn’t. It’s a dozen small decisions stacked on top of each other, and each one has its own risk profile. Replacing a chipped paver near your garage apron in West Covina is a Saturday afternoon job with a pry bar and a rubber mallet. Building the base under a 400-square-foot driveway is a different category of work entirely, and the gap between those two tasks isn’t effort – it’s consequence.
The dividing line is simple to state and easy to remember: anything that touches the load path is professional work. The load path is the chain that carries your car’s weight from the paver surface down through the bedding sand, into the compacted aggregate base, and finally into the subgrade soil. If a task changes how that chain behaves, a mistake in it doesn’t show up as a cosmetic flaw. It shows up as settling, heaving, rutting, or standing water, and it usually appears months after you’ve spent the money.
Cosmetic and maintenance work is different. Sealing, sanding, and single-paver swaps leave the load path intact. You’re refreshing the surface, not rebuilding what holds it up.
How to classify any driveway paver task in under a minute
- Does it remove or disturb more than about three pavers? If yes, it’s likely professional work. Grouped movement means the base has shifted.
- Does it require cutting into or adding base material? If yes, professional.
- Does it change the slope or how water leaves the driveway? If yes, professional. Drainage errors cause the most expensive failures we see.
- Does it require a plate compactor, a laser level, or a transit? If yes, professional – though you could rent the tools, the skill to read them correctly is what you’re actually paying for.
- Does it only touch surface appearance or a single isolated unit? If yes, it’s DIY-safe.
Run every task through that ladder. It sorts the fixable from the risky faster than any video tutorial will. The same logic applies to Driveway & Pavers in West Covina projects of any size, and it’s worth understanding before you commit to a scope.
The Four Tasks That Are Genuinely Safe to Do Yourself
We’re not going to pretend everything needs a crew. Some jobs a careful homeowner will do every bit as well as we would, and paying someone for them is wasted money. Here are the four, with honest tool and skill requirements for each.
1. Single paver replacement
One cracked or stained paver, sitting flat and level with its neighbors, is a fair DIY job. You’ll need a pry bar or a stiff putty knife, a rubber mallet, a bag of the correct joint sand, and a spare paver that matches. The skill requirement is low, but patience matters: you’re lifting one unit out without disturbing the bedding sand beneath it, then setting the replacement to the same height as its neighbors. If the pavers around the broken one are also loose, stop – that’s a base problem wearing a cosmetic disguise.
2. Joint sand refill
Joint sand locks the pavers together and keeps weeds and water out. It washes out over time, and in West Covina’s dry stretches followed by winter rain, it can disappear faster than most homeowners expect. Refilling is a broom-and-sweep job: pour polymeric or kiln-dried sand over the surface, work it into the joints with a broom, and mist it down. Skill requirement is minimal. The one rule is timing – refill when the pavers are dry and the forecast is clear for 24 hours, so the sand sets properly.
3. Surface sealing
Sealer slows fading, resists stains, and makes sweeping easier. It’s a genuinely DIY-friendly task, but it’s also where homeowners most often cause themselves grief. The prep is the job: clean thoroughly, kill any weeds in the joints, replace missing sand, and let everything dry completely before you open the sealer. Apply in thin coats, never in direct midday heat, and never over a damp surface. Tool list is short – a roller or sprayer, a broom, and a hose. The risk isn’t injury, it’s a cloudy finish from rushing the dry time.
4. Basic edge reset
Paver edges are held in place by a plastic or metal restraint. Sometimes that restraint lifts, or works loose at a corner. Pinning or resetting a single loose section back against the pavers is a reasonable DIY task with a hammer, stakes, and the correct fasteners. But this one comes with a hard caveat: if the edge is bowing outward significantly, or if the pavers behind it are spreading, there’s a base or drainage failure driving it. Resetting the edge without fixing the cause is like closing a door that won’t latch – the reason it opened is still there.
Notice what all four have in common: none of them require you to move material in volume, and none change how weight and water travel through the driveway. That’s the honest dividing line.
Why Base Excavation and Compaction Is Professional Territory
Under every paver driveway is a layered system: native soil, a compacted aggregate base typically several inches deep, a thin bedding layer of sand, and then the pavers. That base is doing almost all of the work. The pavers are the pretty part, and the base is the part that decides whether the pretty part is still flat in five years. It’s also the part that every DIY shortcut skips, because doing it right takes equipment most homeowners never touch.
The equipment isn’t the barrier – the reading of it is
You can rent a plate compactor over a weekend. You can rent a laser level or a transit. But renting the tool and knowing what correct looks like are different things. A plate compactor run in too few, too many, or unevenly spaced passes leaves soft spots. Compact in one direction across the whole job and the aggregate never locks properly. Drop a laser level on a slope and it tells you the grade – but you have to know how much fall a driveway needs to shed water away from the house, and where that fall should point. In our experience, the tool rental is the cheap part. The judgment is what you’re actually buying.
Why the base decides everything
- Settling: base that wasn’t compacted to the right density keeps moving under weight, so pavers dip where your tires roll.
- Heaving: in West Covina’s climate, the swing between dry summer and wet winter can push a poorly drained base unevenly, lifting pavers in patches.
- Rutting: soft base under a concentrated load like a parked car leaves permanent grooves that no amount of sand or sealer fixes.
- Standing water: a base graded flat or, worse, toward the house traps water under the pavers, which softens the base further every season.
Each of these failures traces back to work that’s invisible once the driveway is finished. That’s exactly the problem – it’s hidden. You can’t inspect what you paid for, so you either trust the process or you don’t get the result. If you want to understand how this plays out on full projects, our Groundwork Construction Co. of West Covina home page lays out the scope we take on.
The Hidden Cost Math That Traps DIYers
The reason that 40% figure exists is that DIY budgets almost always compare the wrong two numbers. The homeowner compares a pro bid against the cost of materials and stops there. The real total lives in four columns most people never write down.
The four hidden line items
- Tool rental: a plate compactor, laser level, and a proper cutting saw for pavers can run into the hundreds even on a short rental, and you pay for the days you fumble and the days it rains.
- Material waste: cutting errors, over-ordering, and damage during handling add up. Pavers are heavy and unforgiving, and a miscalculated base means reordering stone you already paid to haul in once.
- Time: a full paver driveway is not a weekend. It’s weeks of evenings and weekends, and if you’re doing it in West Covina’s summer, that’s weeks of heat you’re working through.
- Correction work: this is the big one. If the base fails, the fix is pulling up every paver, re-excavating, re-compacting, and rebuilding – which means you paid for the first attempt, the materials again, and the professional job you were trying to avoid.
A worked example of the trap
Say the professional bid for a full paver driveway comes in at a known higher number and the DIY materials estimate looks like roughly half of it. That gap is what tempts people. But add tool rental, the second stone order after a base mistake, two months of weekends, and the eventual correction work when the driveway ruts in the tire tracks – and the DIY path lands above the bid it was meant to beat. The materials don’t fail. The base does. That’s the whole story, and it repeats in every neighborhood we work in.
This is also why we insist on upfront pricing, no surprises – a written, line-item number you can actually compare against your own DIY math, instead of a vague figure you’re guessing at. When you can see both real numbers side by side, the comparison stops being a guess.
West Covina Permit Requirements and What Triggers an Inspection
Permits are where a lot of DIY plans quietly die, and it’s worth understanding before you break ground. The broad rule with West Covina driveway work is consistent with most Los Angeles County cities: the permit requirement is tied to structural and site changes, not surface maintenance. What matters is which category your project falls into.
What typically does not require a permit
- Replacing individual pavers, refilling joint sand, and sealing the surface.
- Like-for-like resurfacing where you’re not changing the footprint, grade, or how water drains.
- Basic edge restraint maintenance on an existing driveway.
What usually does trigger a permit or inspection
- Changing the driveway’s footprint or widening it.
- Changing the grade or the way stormwater is directed, especially on a sloped lot or near a property line.
- Any work that affects drainage toward the street, the sidewalk, or neighboring property.
- Work that changes the driveway approach where it meets the public right-of-way.
The practical takeaway: the moment a project stops being cosmetic and starts changing grade, footprint, or drainage, you’re into permit territory, and that’s another reason it belongs with a licensed pro who pulls permits and passes inspections as part of the job. Confirm the current specifics with the city before you commit – requirements and fees do shift, and this guide is written as a starting map, not a substitute for the city’s own answer. If your scope starts to include fencing at the edge of the driveway, Fence Installation in West Covina covers the permit side of that work too.
A 10-Point Honest Self-Assessment Before You Start
Most guides won’t put this list in front of you, because it’s more fun to say “you’ve got this.” We’d rather be straight with you. Score yourself honestly on all ten. If you stall out on three or more, the professional bid is the smarter money.
- Do you own a plate compactor and a cutting saw, or will you rent them? If you’re renting, factor in the learning curve on rented time.
- Can you read a laser level and grade a slope so water leaves the driveway and not the house? If you’re not sure what the right fall actually is, that’s the answer.
- Can you lift and carry pavers all day across weeks without injury? Pavers are heavy, and back injuries are the invisible DIY cost.
- Do you have an accurate materials estimate that includes a real waste allowance? Under-counting is the common failure.
- Do you know your subgrade soil and whether it needs extra base depth? Soil varies block to block in West Covina, and it changes the base spec.
- Do you have a place to store and stage stone that isn’t your lawn or the street? Staging is a real logistic, not a detail.
- Is the project changing the footprint, grade, or drainage? If yes, you’re into permit and inspection territory.
- What happens to your schedule if it rains for a week mid-job? An uncovered base in the wet is a failed base.
- Will you do the correction work yourself if the base fails, or pay someone else? Price that second option now, before you start.
- Is your time worth more than what you’d save? If your answer is “yes,” the DIY math already doesn’t work.
There’s no shame in scoring low on this list. A lot of capable, handy homeowners do, because the honest requirements of a full base job are genuinely different from what general handyman experience prepares you for. The moment your project starts involving substantial structural change like a new garage apron or an enlarged driveway footprint, the scope can also brush up against additions work – our Home Additions & ADU in West Covina guide explains how structure, grade, and permits connect.
If any part of the driveway project involves matching pavers to exterior surfaces on a remodel, our brand partners like Silestone and Caesarstone show up in adjacent hardscaping conversations, because matching stone tones across surfaces is a detail professionals handle as a matter of course.
Common Mistakes to Avoid
- Skipping compaction passes: running a plate compactor in one direction only and calling it done. The base never locks, and ruts appear in the tire track areas first.
- Getting the drainage fall wrong: grading flat or slightly toward the house. In West Covina, where winter rain arrives suddenly, this is the failure that costs the most to correct.
- Sealing over a dirty or damp surface: the most common cosmetic mistake. The finish clouds, and you can’t undo it without chemical stripping.
- Refilling joint sand and skipping the weed kill first: refilling over existing growth just feeds it. Kill the growth, remove it, then sand.
- Assuming a small base issue is a small problem: a driveway holding water near the garage is a base-grade failure, and it will worsen each season until the base is rebuilt.
- Cutting pavers without a proper wet saw: dusty, inaccurate cuts that chip. Cutting is a skill, and the right tool handles the dust and gives clean edges.
- Skipping the permit question entirely: a footprint or grade change done without a permit can complicate a future sale and put the drainage responsibility on you.
When to Call a Professional
Call a professional when the driveway is moving in groups rather than single pavers, when water stands anywhere on it after rain, when the base is settling in the tire tracks, when the footprint or grade is changing, or when the scope is any part of the load path. Those aren’t fuzzy scenarios – each is a specific signal that the base needs rebuilding, not refreshing. And if you’ve read the 10-point list and stalled on three or more, your project belongs with a crew that does this work every week and carries a written guarantee. Groundwork Construction Co. of West Covina offers free estimates in West Covina – call (844) 662-2335. We answer with a live person any hour, and our 730-Day Done Right Promise means if it’s not done right, we make it right.
See the difference
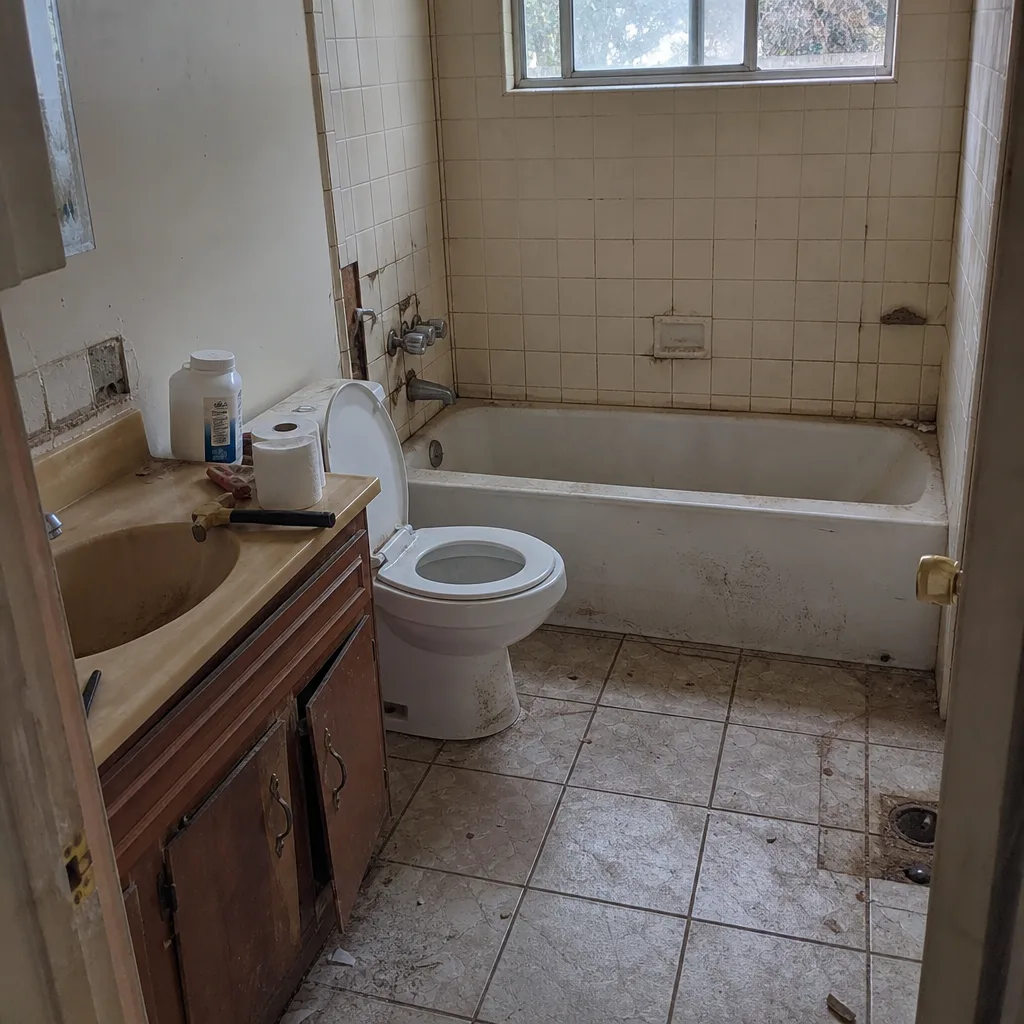 Before
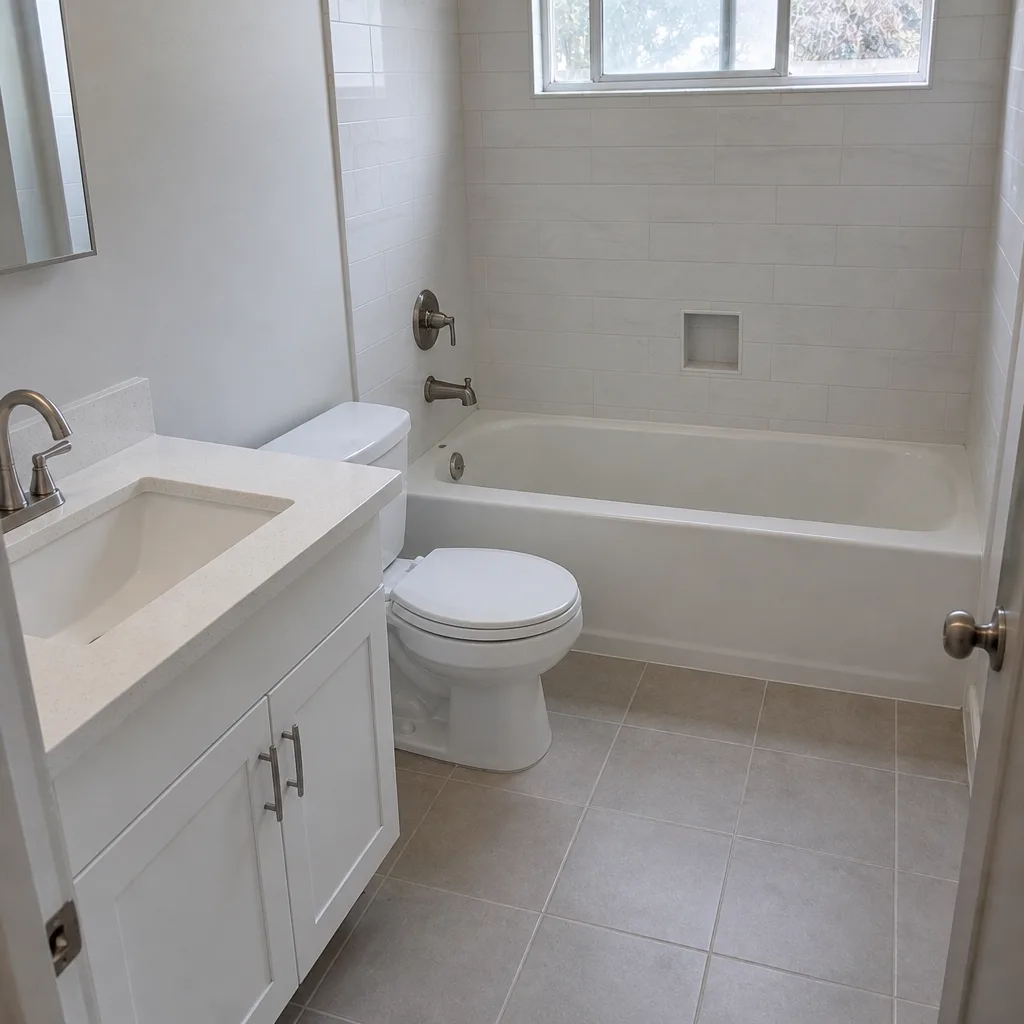 After
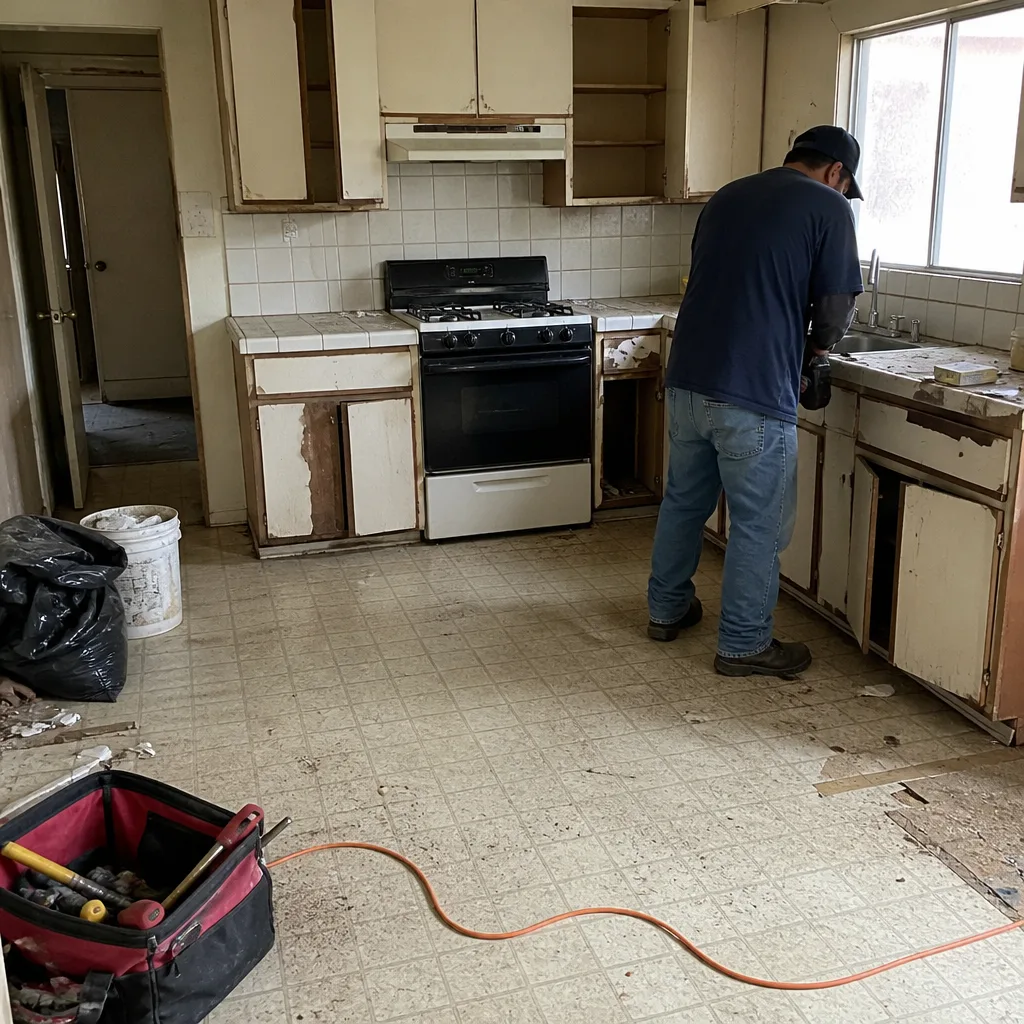 Before
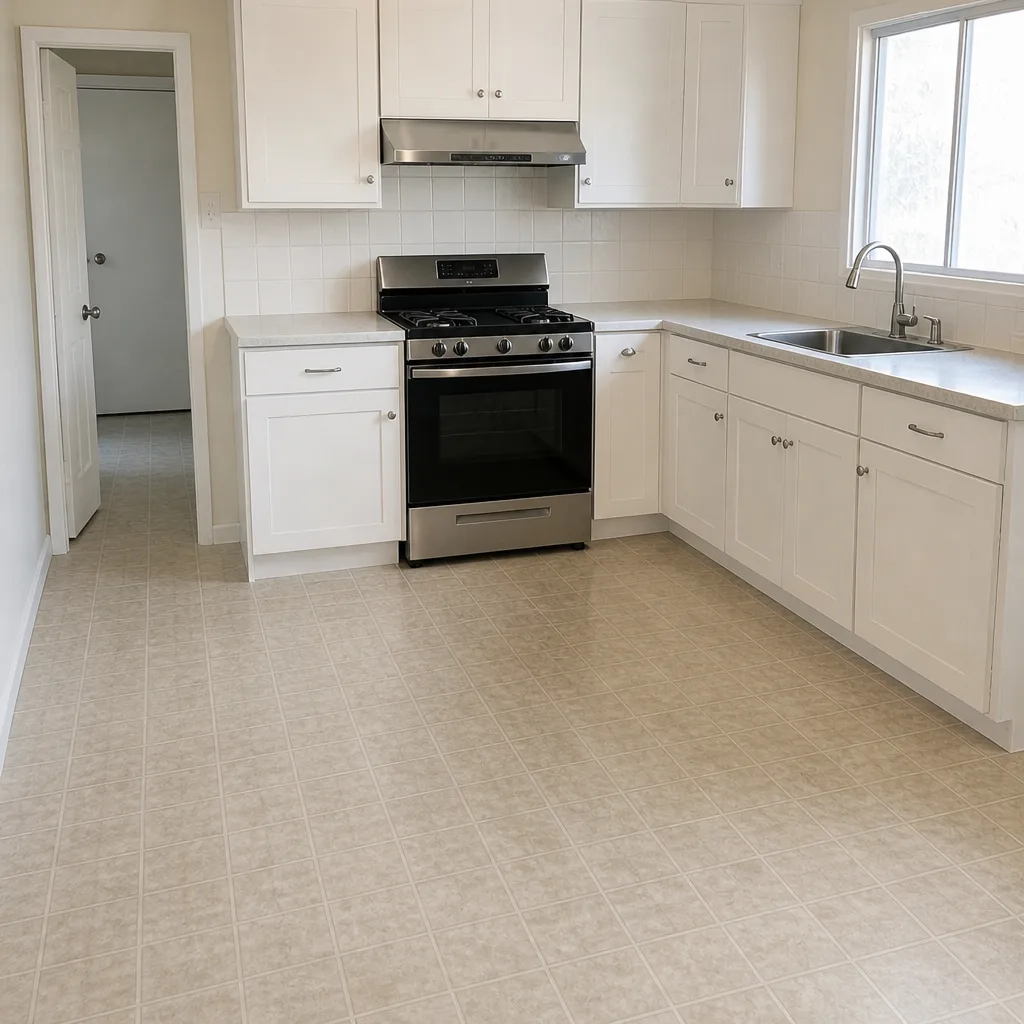 After
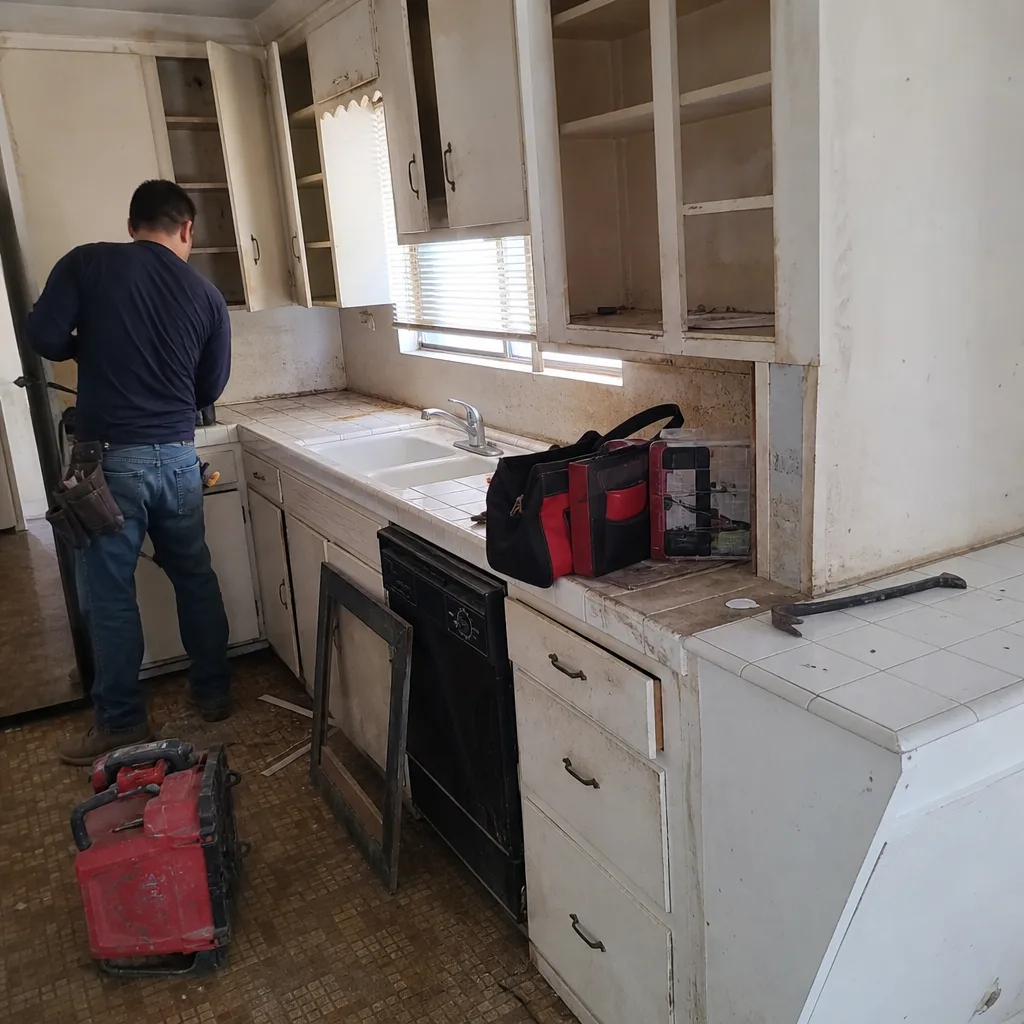 Before
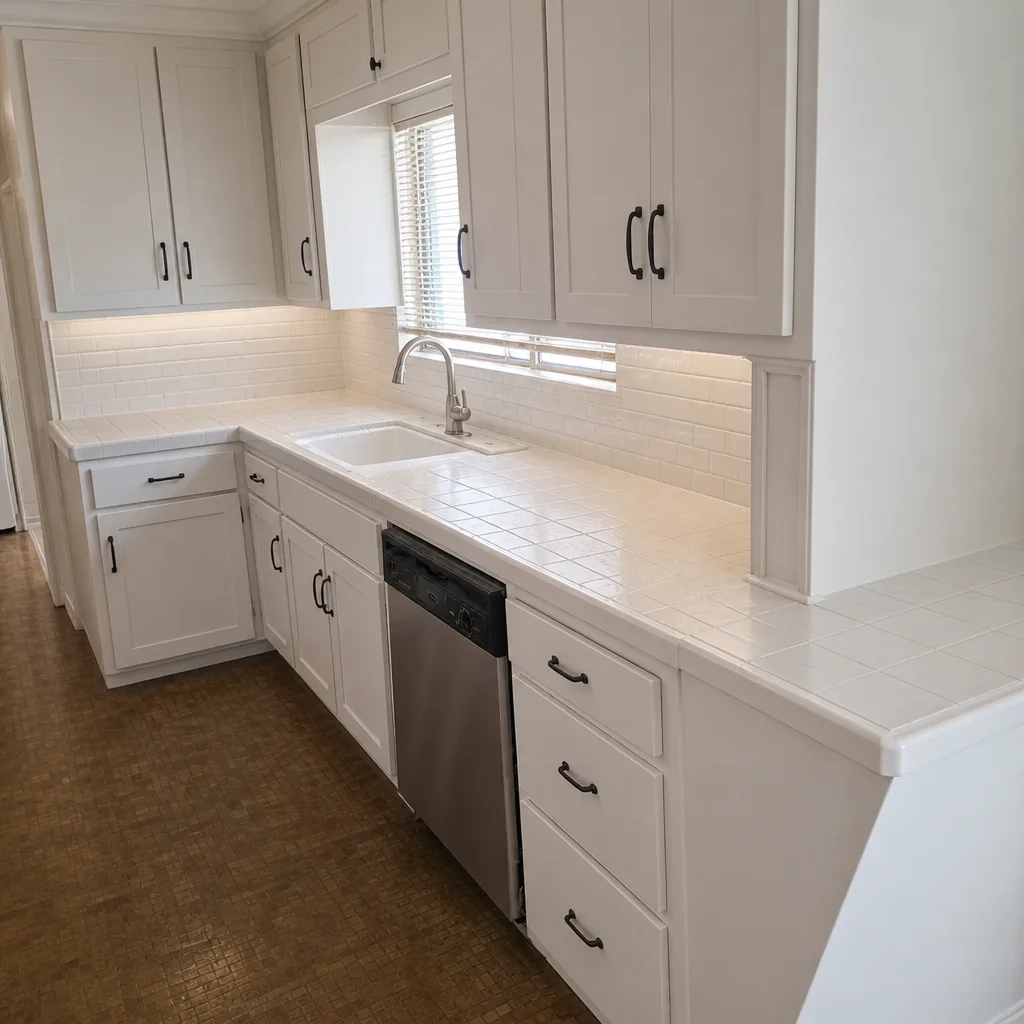 After
Frequently Asked Questions
A full paver driveway, including base prep and materials, typically runs into the tens of thousands depending on square footage, paver selection, and site grading. The exact figure depends on your driveway size and access, which is why we give a written, line-item quote rather than a range. Call (844) 662-2335 for a free estimate – the number you see is the number you pay.
You can, but you’re unlikely to save money over the professional bid once tool rental, material waste, the base correction work, and your own time are on the ledger. The reason is that almost all DIY driveway failures come from the base, not the pavers. If you’re set on trying, stay within the four genuinely safe tasks and leave the base to a professional.
Single paver replacement, joint sand refill, surface sealing, and resetting a loose edge restraint are the four safe DIY tasks. Each leaves the load path intact and requires modest tools and no structural skill. Anything that changes the base, the grade, or the drainage is professional territory.
Cosmetic work like replacing individual pavers, refilling sand, and sealing typically doesn’t require a permit. Changing the footprint, grade, or drainage direction usually does, and that’s the trigger for an inspection. Confirm specifics with the city before you start, and remember a licensed pro pulls permits and passes inspections as part of the job.
It shouldn’t, and with us it doesn’t. We quote from a written, line-item scope so there are no surprise additions – the number you see is the number you pay. If something unexpected shows up under the base after we dig, we bring you the scope change in writing before we do the work, not after.
Yes. All of our work is covered by our 730-Day Done Right Promise – if it’s not done right, we make it right, for over two years from completion. That’s one of the longest workmanship guarantees in residential construction, and it covers the driveway base as well as the surface.
The Bottom Line
The DIY tasks worth doing yourself are the four: single paver swaps, joint sand, sealing, and basic edge resets. That’s the full safe list. Everything that touches the base, grade, drainage, or footprint belongs with a professional crew that has the equipment and the judgment to build it right the first time – because a failed base costs more to correct than the original bid would have cost to accept. If your project is anything beyond cosmetic, get a real number before you commit. Groundwork Construction Co. of West Covina offers free estimates with upfront pricing – call (844) 662-2335. Live person, any hour.
Written by the team at Groundwork Construction Co. of West Covina.